

🏠 Table of Contents > 📚 What is the JAMStack > ⚒️ Setup and deploy your first app
Once you get your tools and environment setup you'll be good to go, not just for this workshop, but for your own JAMStack applications moving forward. Just repeat the process for your own application repositories.
We're going to start with just the basics and then build up our capabilities from there.
We will cover:

The very first thing we want to do is create a copy of the BattleStax repository into YOUR GitHub account. This is important because as part of this workshop you will deploy the BattleStax application to production and will need your own repository to do so. To do this we will fork the DataStax-Academy/battlestax repo.
✅ Step 1a. Launch the BattleStax repo into another tab
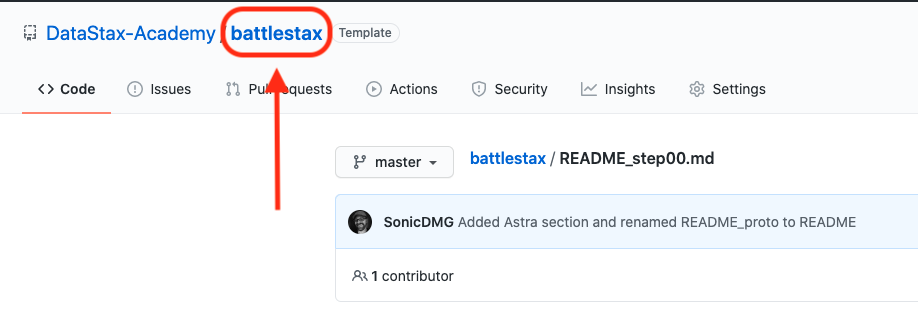
This might seem like an odd step, but will allow you to keep your place in the instructions you are reading now until you move to the new repo. Scroll up on the GitHub repo page, Right-Click on the battlestax repo name, and choose Open Link in New Tab to launch it in a new tab:
✅ Step 1b. Fork repository into YOUR GitHub account
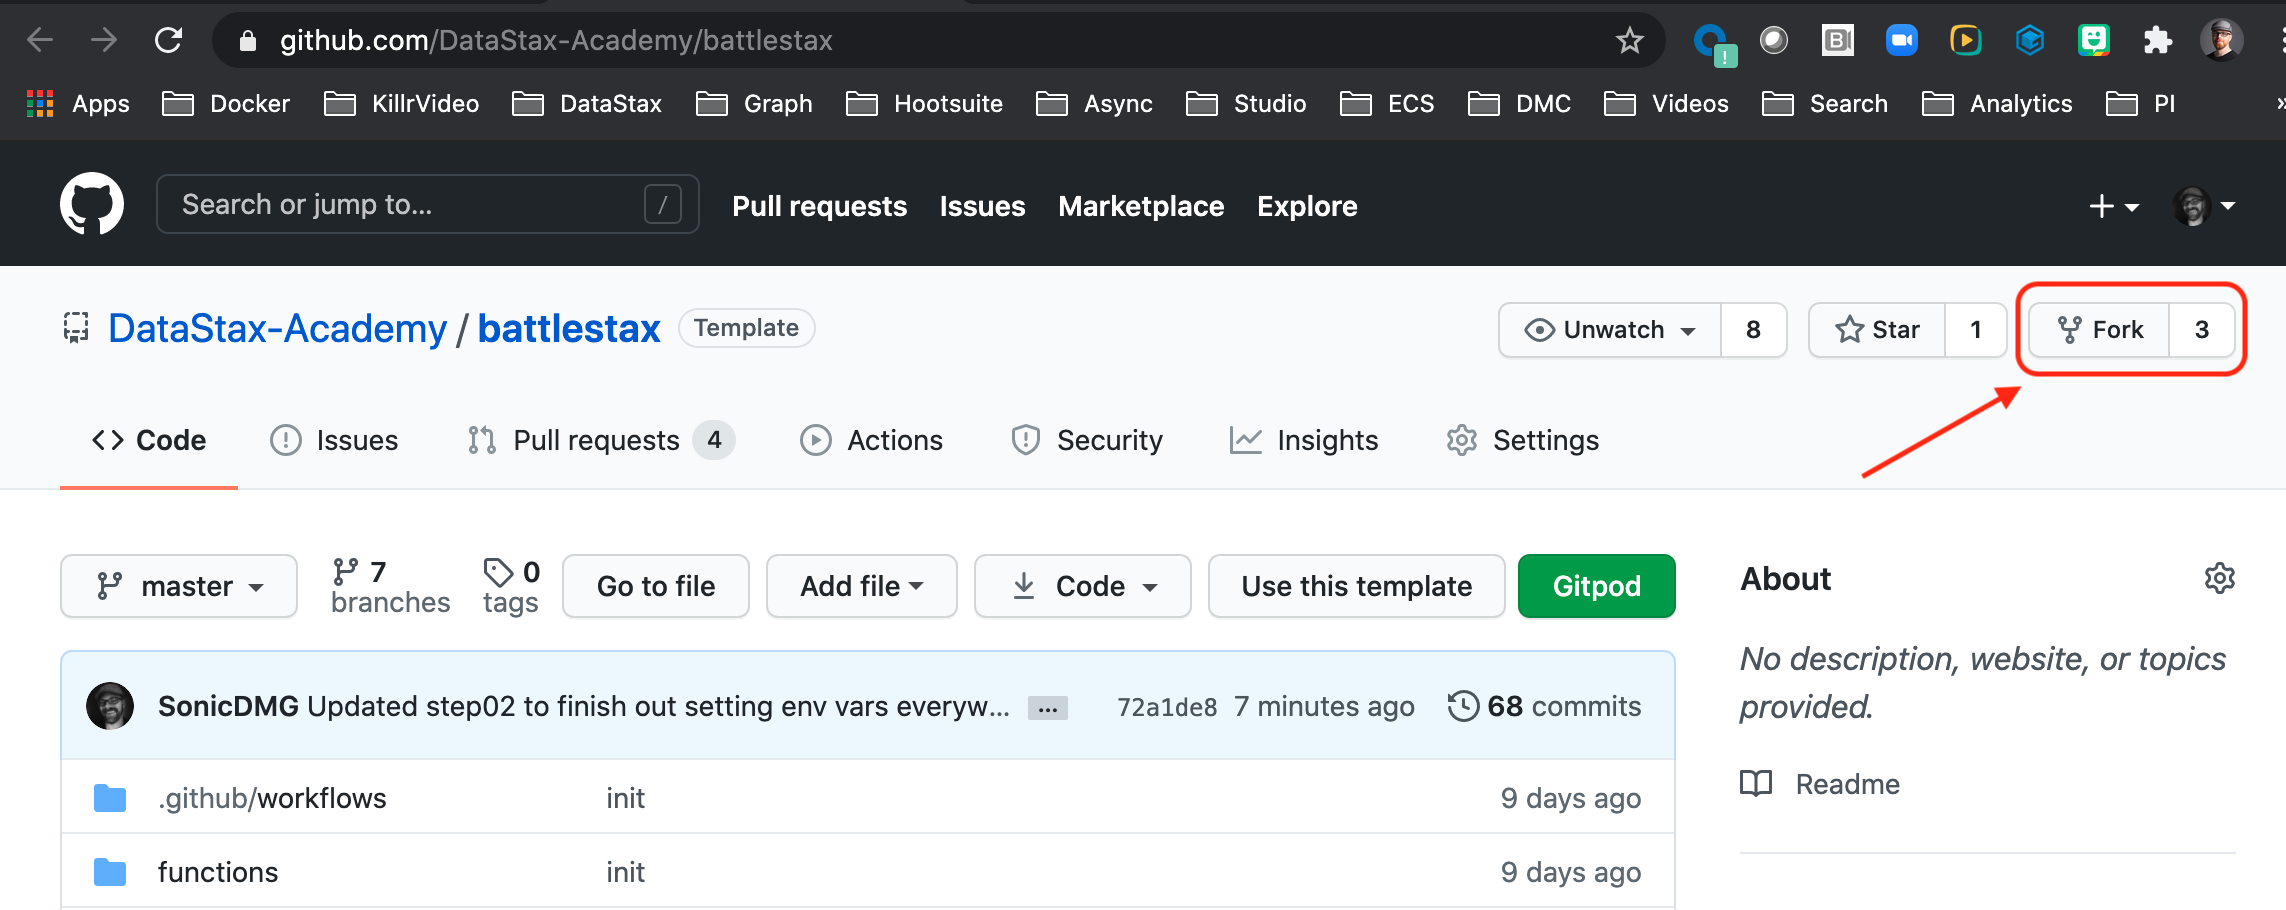
✔ From the new tab you just launched, click on the Fork button up on the top right of the page.
✔ On the Fork battlestax dialog, choose the repository you wish to fork the repo to. This should be to one of YOUR personal GitHub orgs.

It should only take a moment for GitHub to generate a new repository in your account.
✅ Step 1c. Navigate back to your place in the docs
✔ Once complete you should now have your own battlestax repo within YOUR account. Notice both the GitHub org is no longer DataStax-Academy and the text forked from DataStax-Academy/battlestax.

✔ From there, navigate back to your place in the documentation and continue on with step Setup Netlify account
✅ Step 2a. Setup a Netlify account
✔ Using the link HERE, sign up for a new account and follow Netlify's instructions to create a New Site from Git (you must be logged in to see this option).

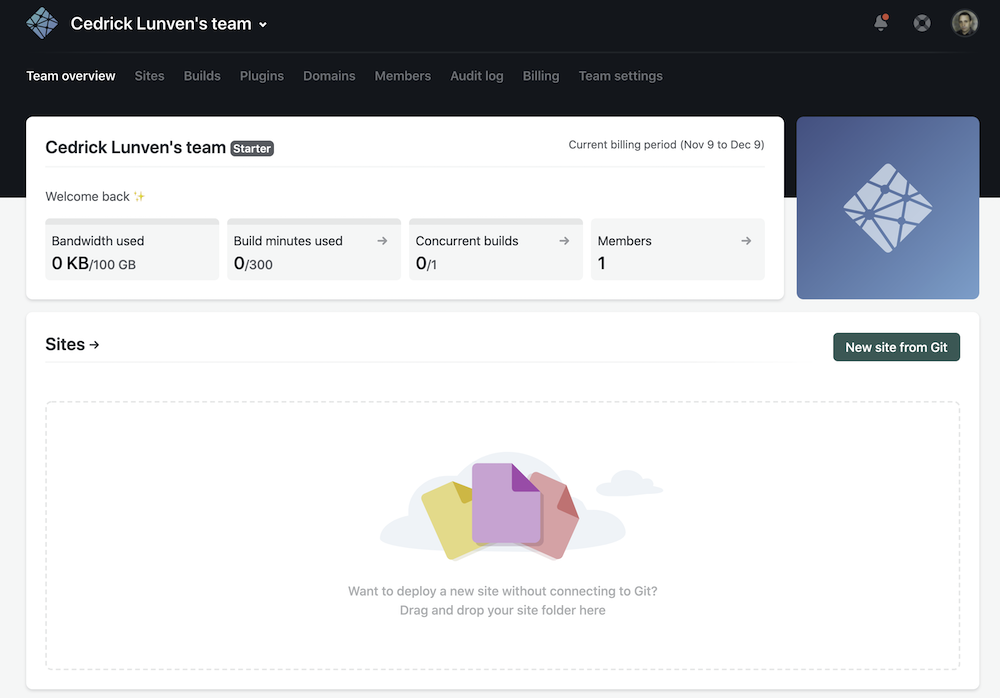
✔ Once signed in, you should land on the following page.
✅ Step 2b. Create a new site
✔ Move to the Sites tab and Click the New site from git button.

✔ On the new page select Github and locate the proper repository in your github Account.

✔ After allowing the Netlify application on Github select the BattleStax repository.

✔ Use all of the defaults for Basic Build Settings

✅ Step 2c. Deploy your site
✔ Click Deploy Site and once deployed copy the domain name of your new site from Netlify.
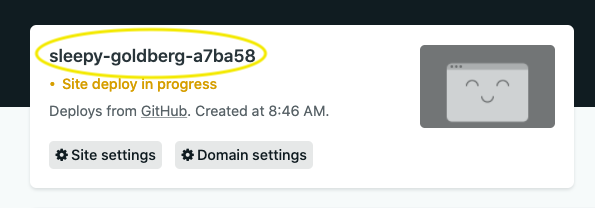
✔ We'll let that bake for a moment and move on to the next section. It will take Netlify a couple minutes to spin everything up. We'll come back to this interface in an upcoming section.

At this point, by creating a new site from GitHub in Netlify anytime you commit to master your site will automatically be deployed with a CI/CD pipeline. No servers needed. This is seriously powerful stuff and really gets at the core of what we're all good at, coding.
As we move on we'll dive deeper into what this all means and how it's hooked up.
🏠 Back to Table of Contents or move to the next section => 📚 What can Netlify do for you