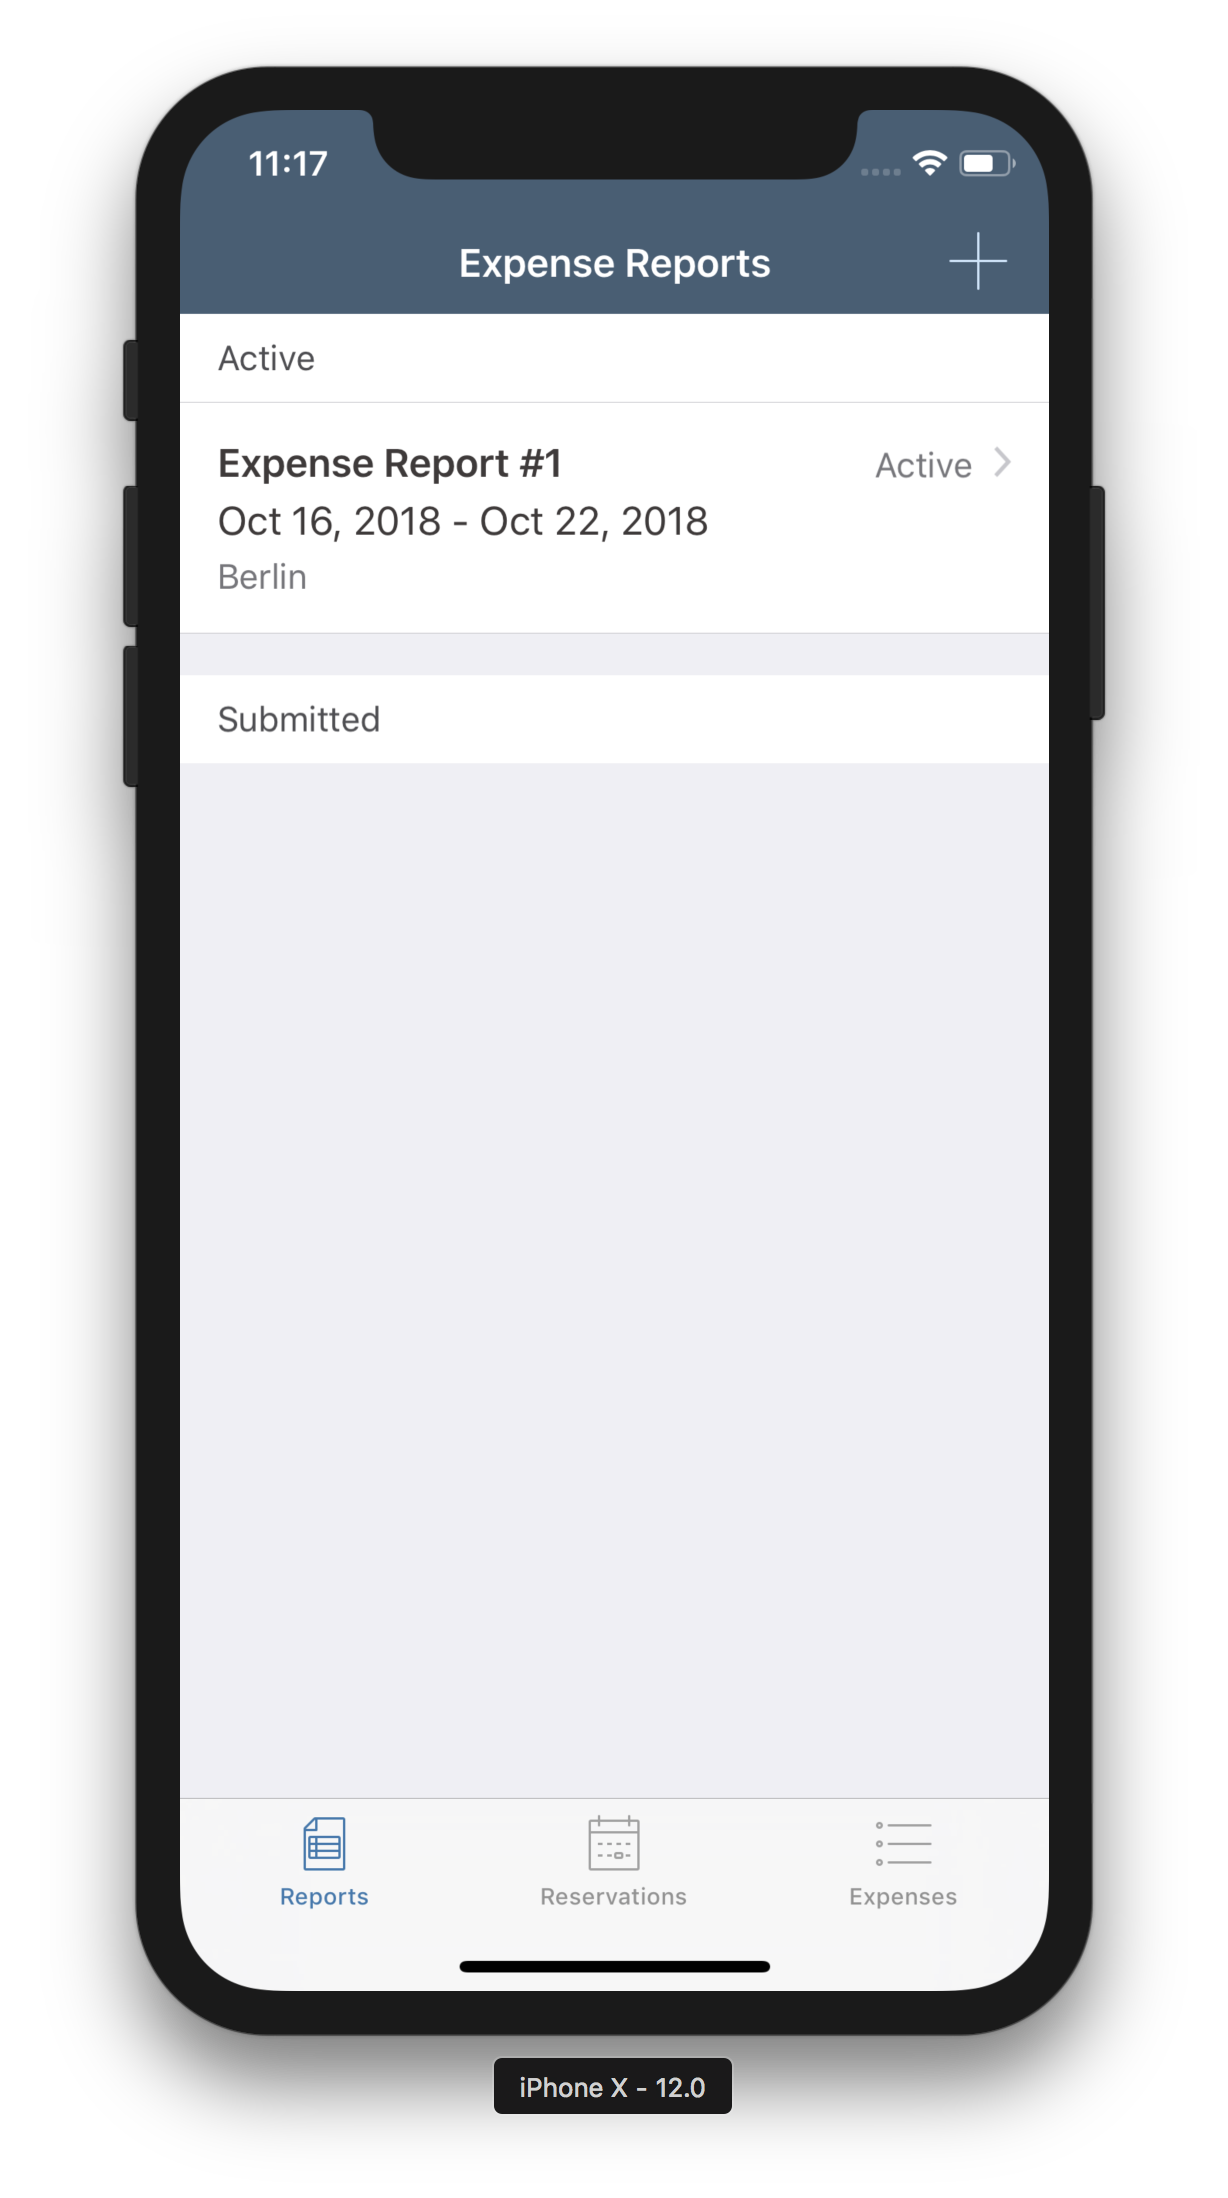
This guide will help you setup all necessary components to explore OData, generate a minimal app with the Assistant, and run the reference app in this repository.
This page is broken into the following sections:
- Clone this Repository
- Install Sample Expense Data
- Generate a Minimal Entity Viewer App for Expense Data
- Configure Pre-built Travel Expense App
In order to complete the steps outlined below, you’ll want to have a copy of this repository dowloaded to your Mac. To clone this repository, open Xcode and choose clone… from the Source Code menu. Paste in the URL for this repository and click Clone. After you’ve cloned this repository, you can close the Xcode project and continue with the following steps.

To provide a database for our app, we’re using a predefined Java Application backend you can host in your Neo Trial Cloud landscape.
Open a browser window to https://account.hanatrial.ondemand.com/cockpit#/home/trialhome
Click on Neo Trial to enter the Neo Trial landscape on the SAP Cloud Platform.
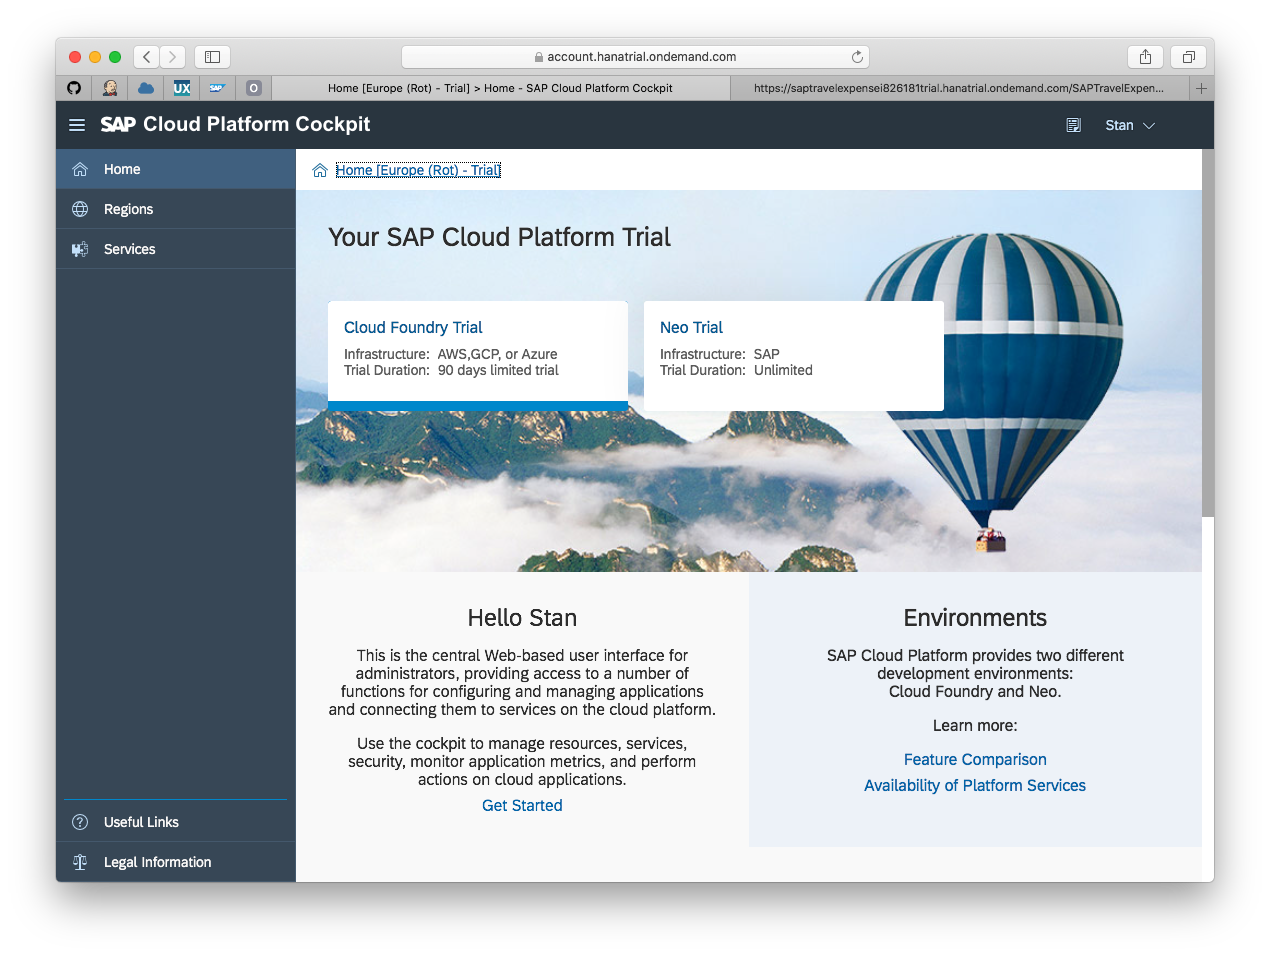
Next, click on Applications and then Java Applications.

To deploy a new Java application, click on Deploy Application. A new pop-up, should appear.
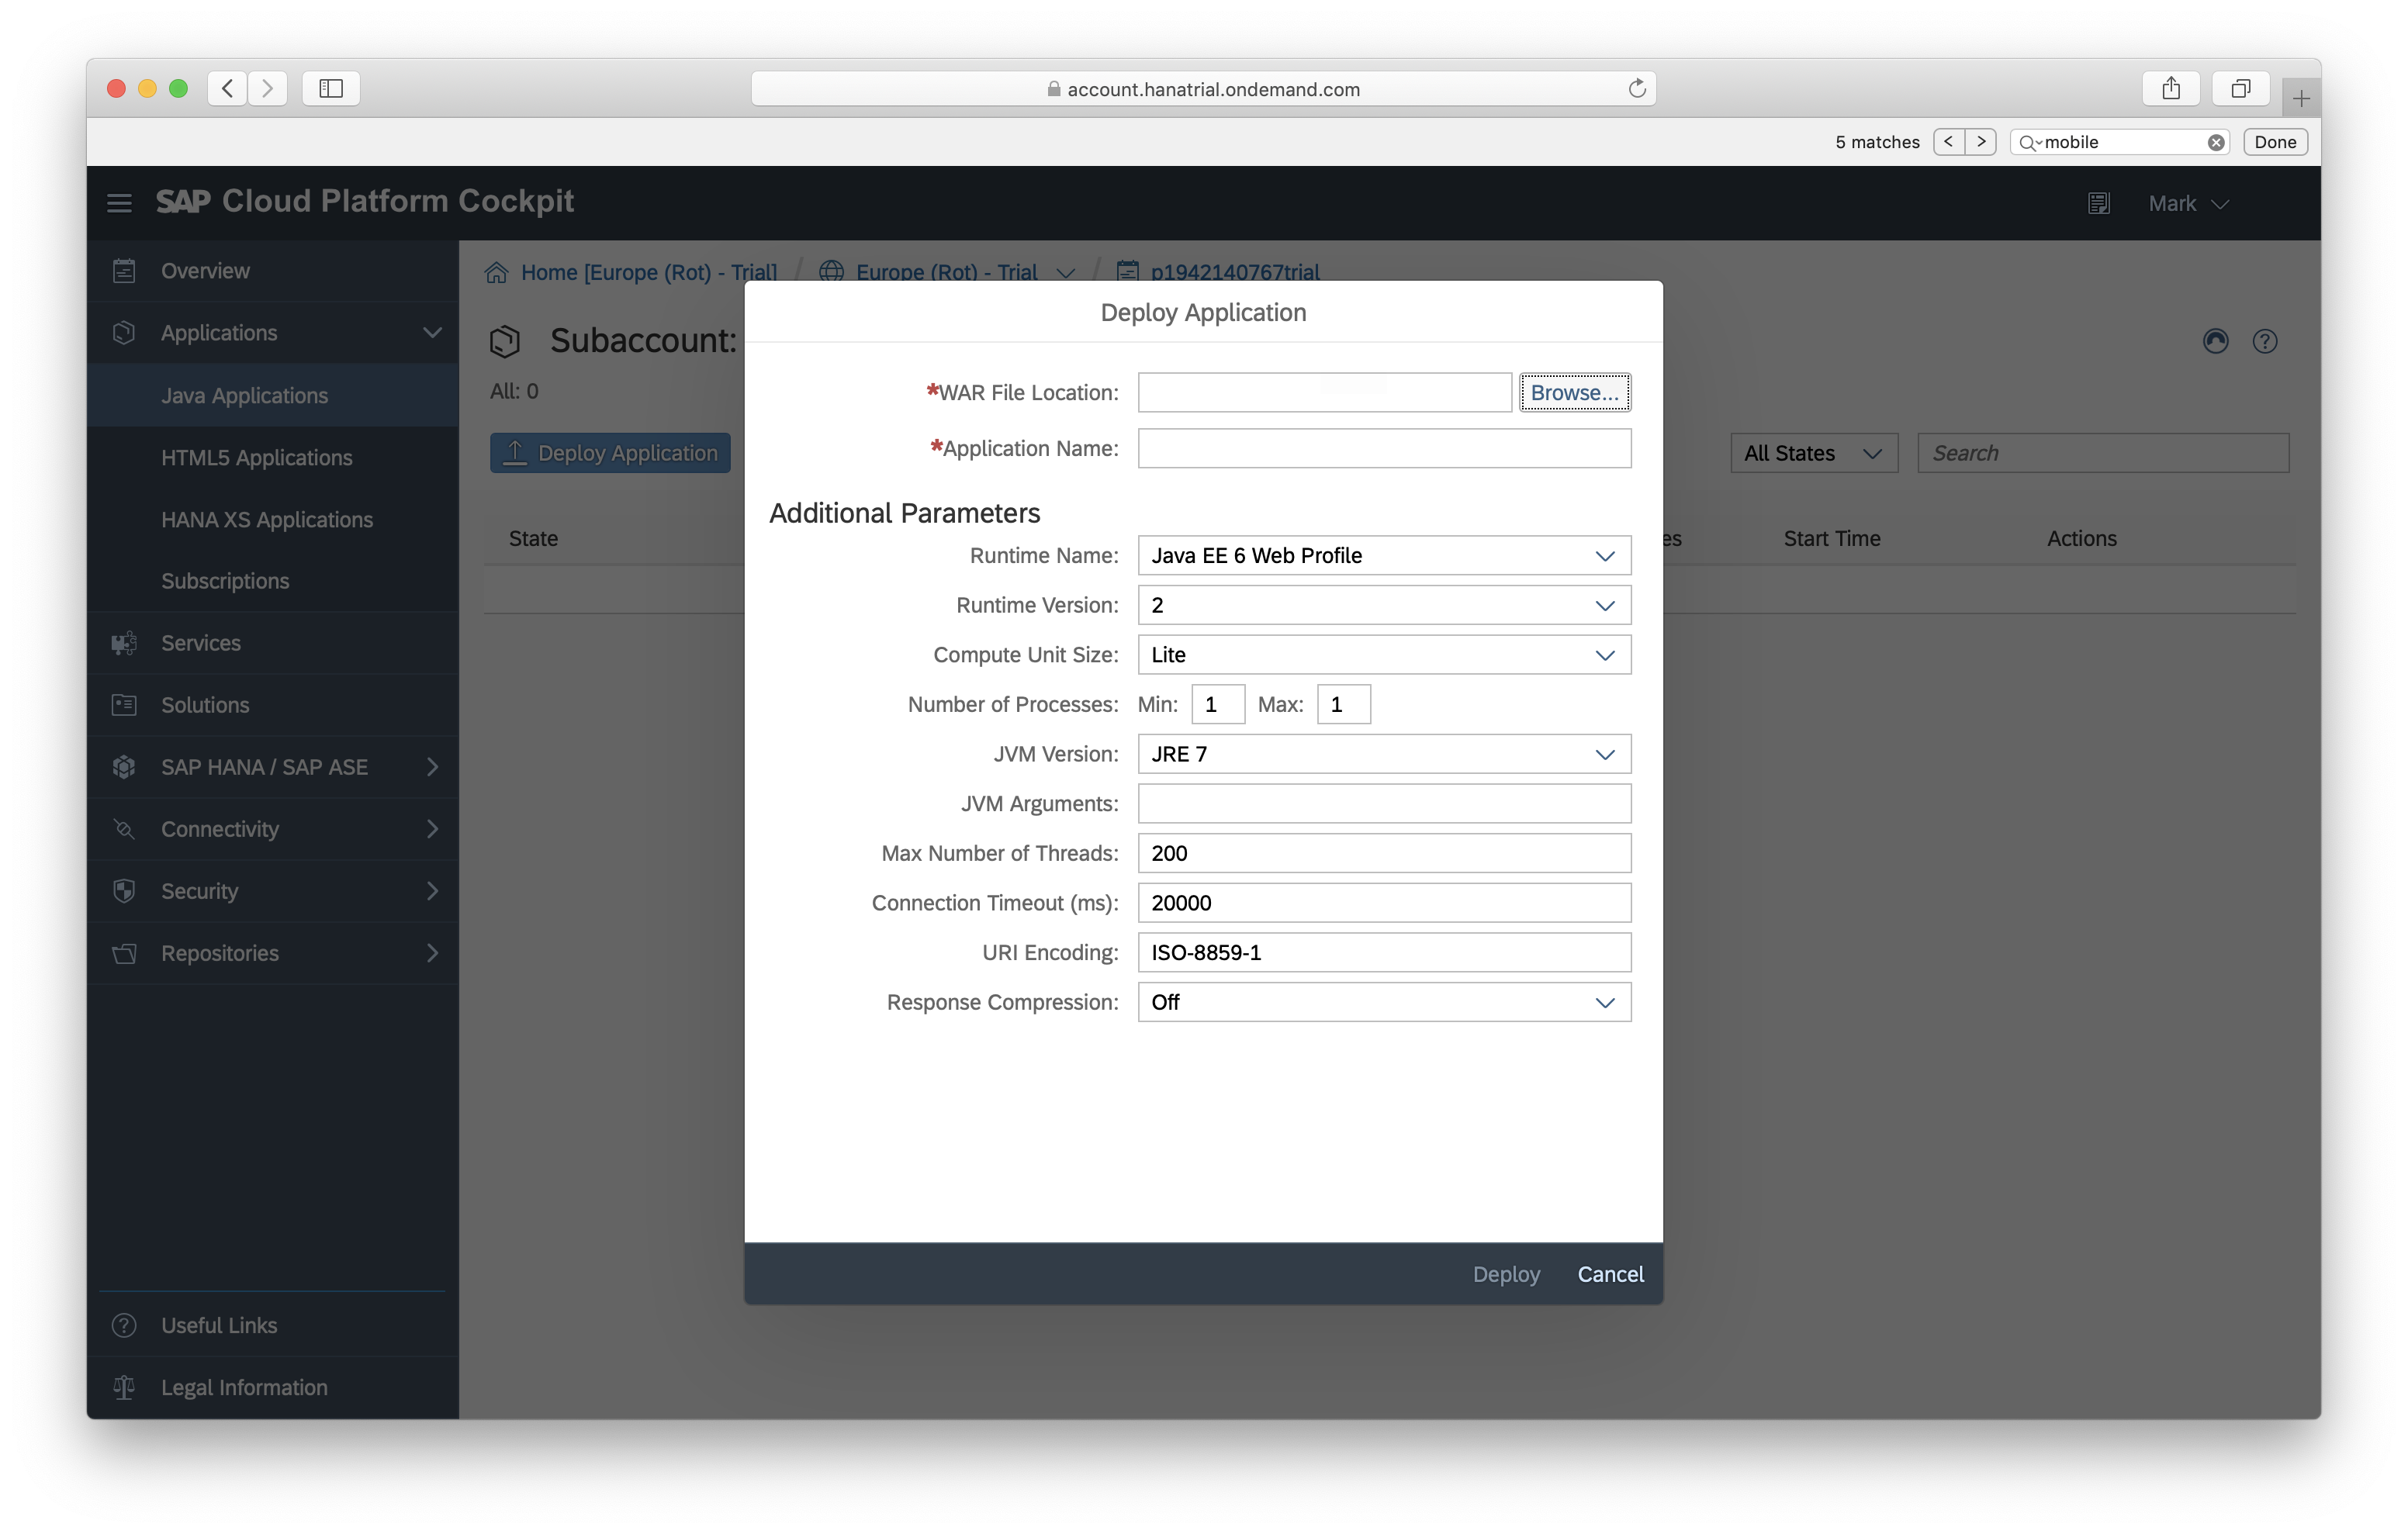
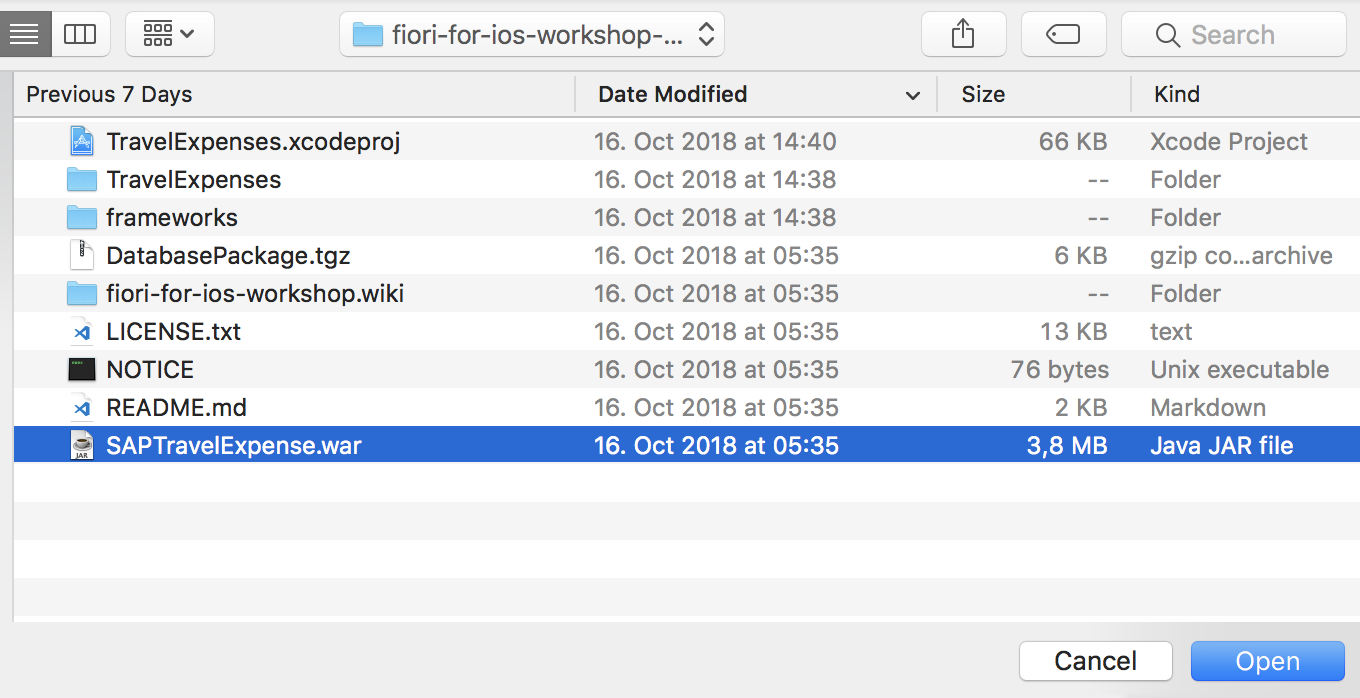
From here click on Browse and navigate to your local version of the cloned repository. Select the SAPTravelExpense.war file and click Choose.
Next you’ll select a Runtime where your backend should run. For this sample Java Backend we're using the Java Web Tomcat 8 runtime. Under the Runtime Name dropdown menu, select the Java Web Tomcat 8 runtime and leave the rest as it is.
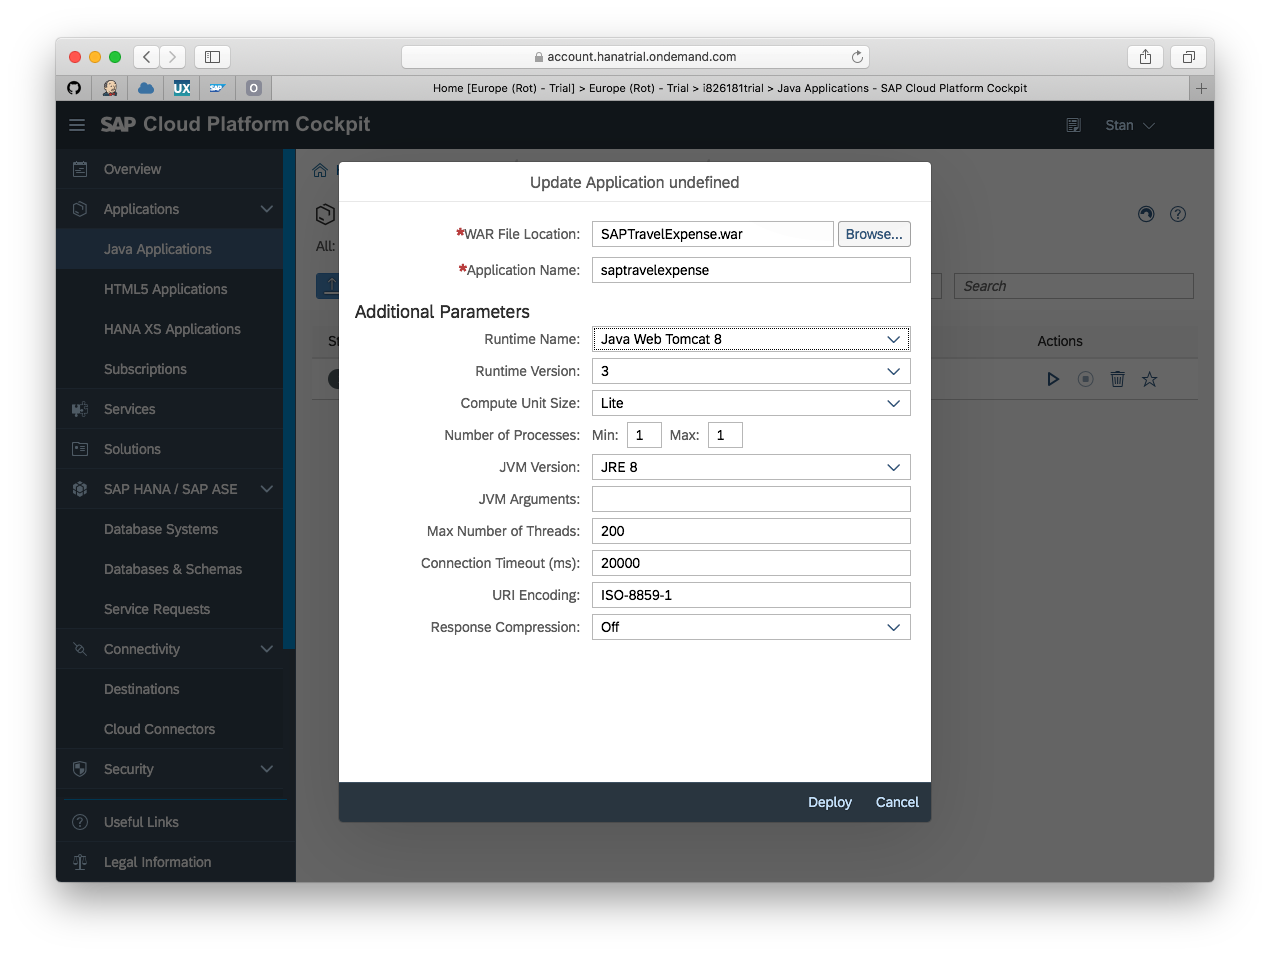
Click the Deploy button at the bottom of the window to start the deployment of the .war file.
After the deployment finishes you have to start your application by clicking the Start button at the bottom of the window.
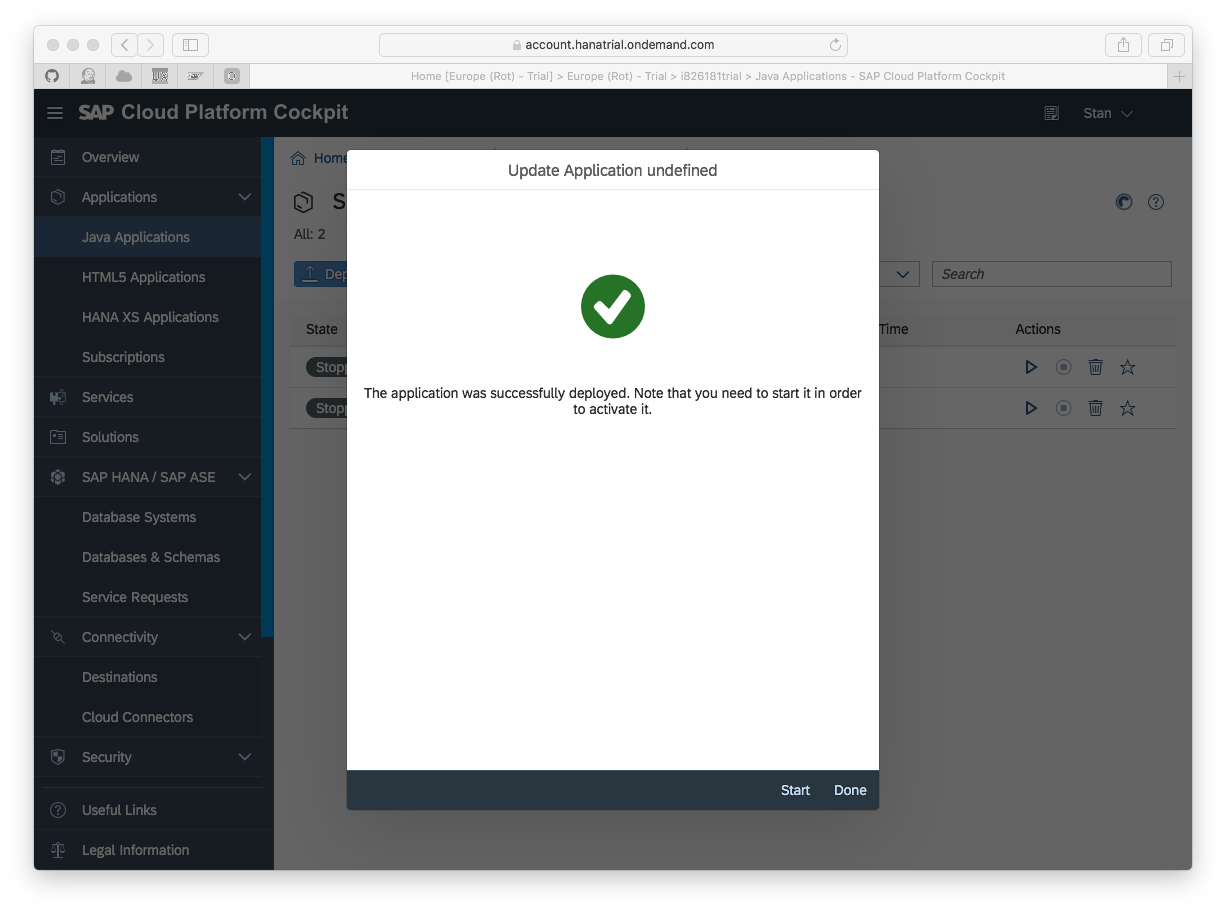
Now the SAP Cloud Platform starts the Java Application so you can use it as a backend.
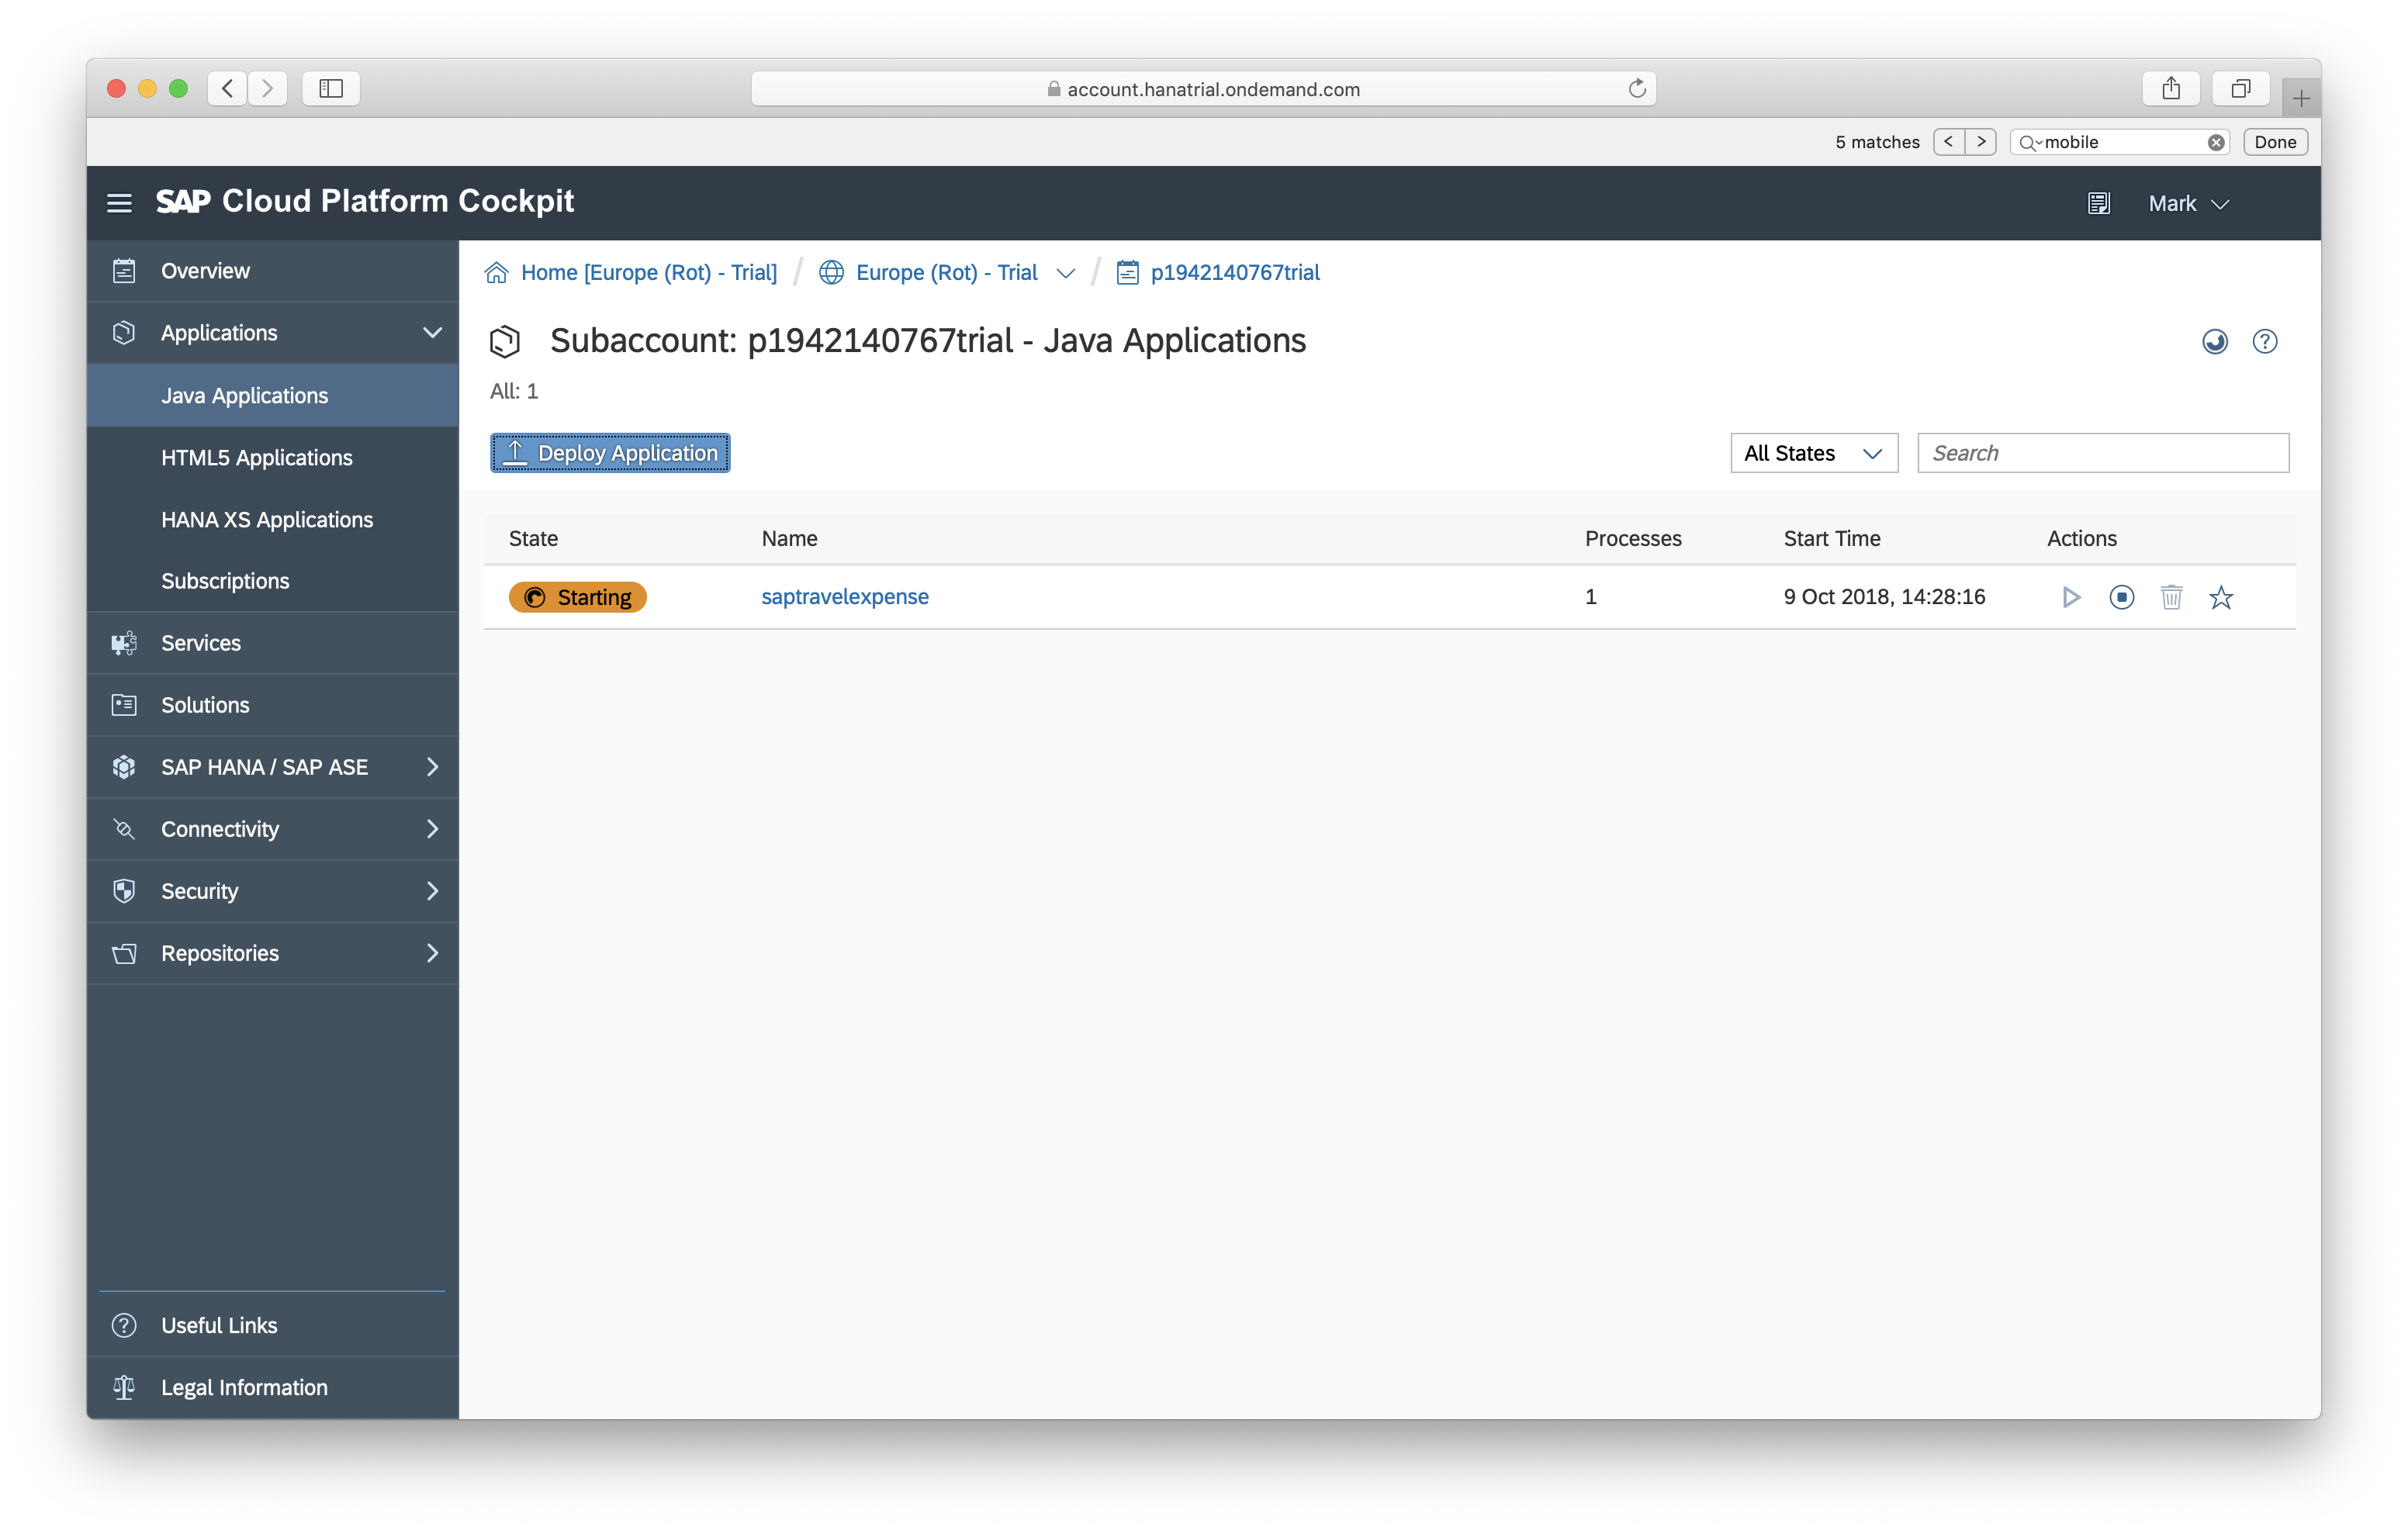
Once the application transitions from Starting to Started your backend is up and running.
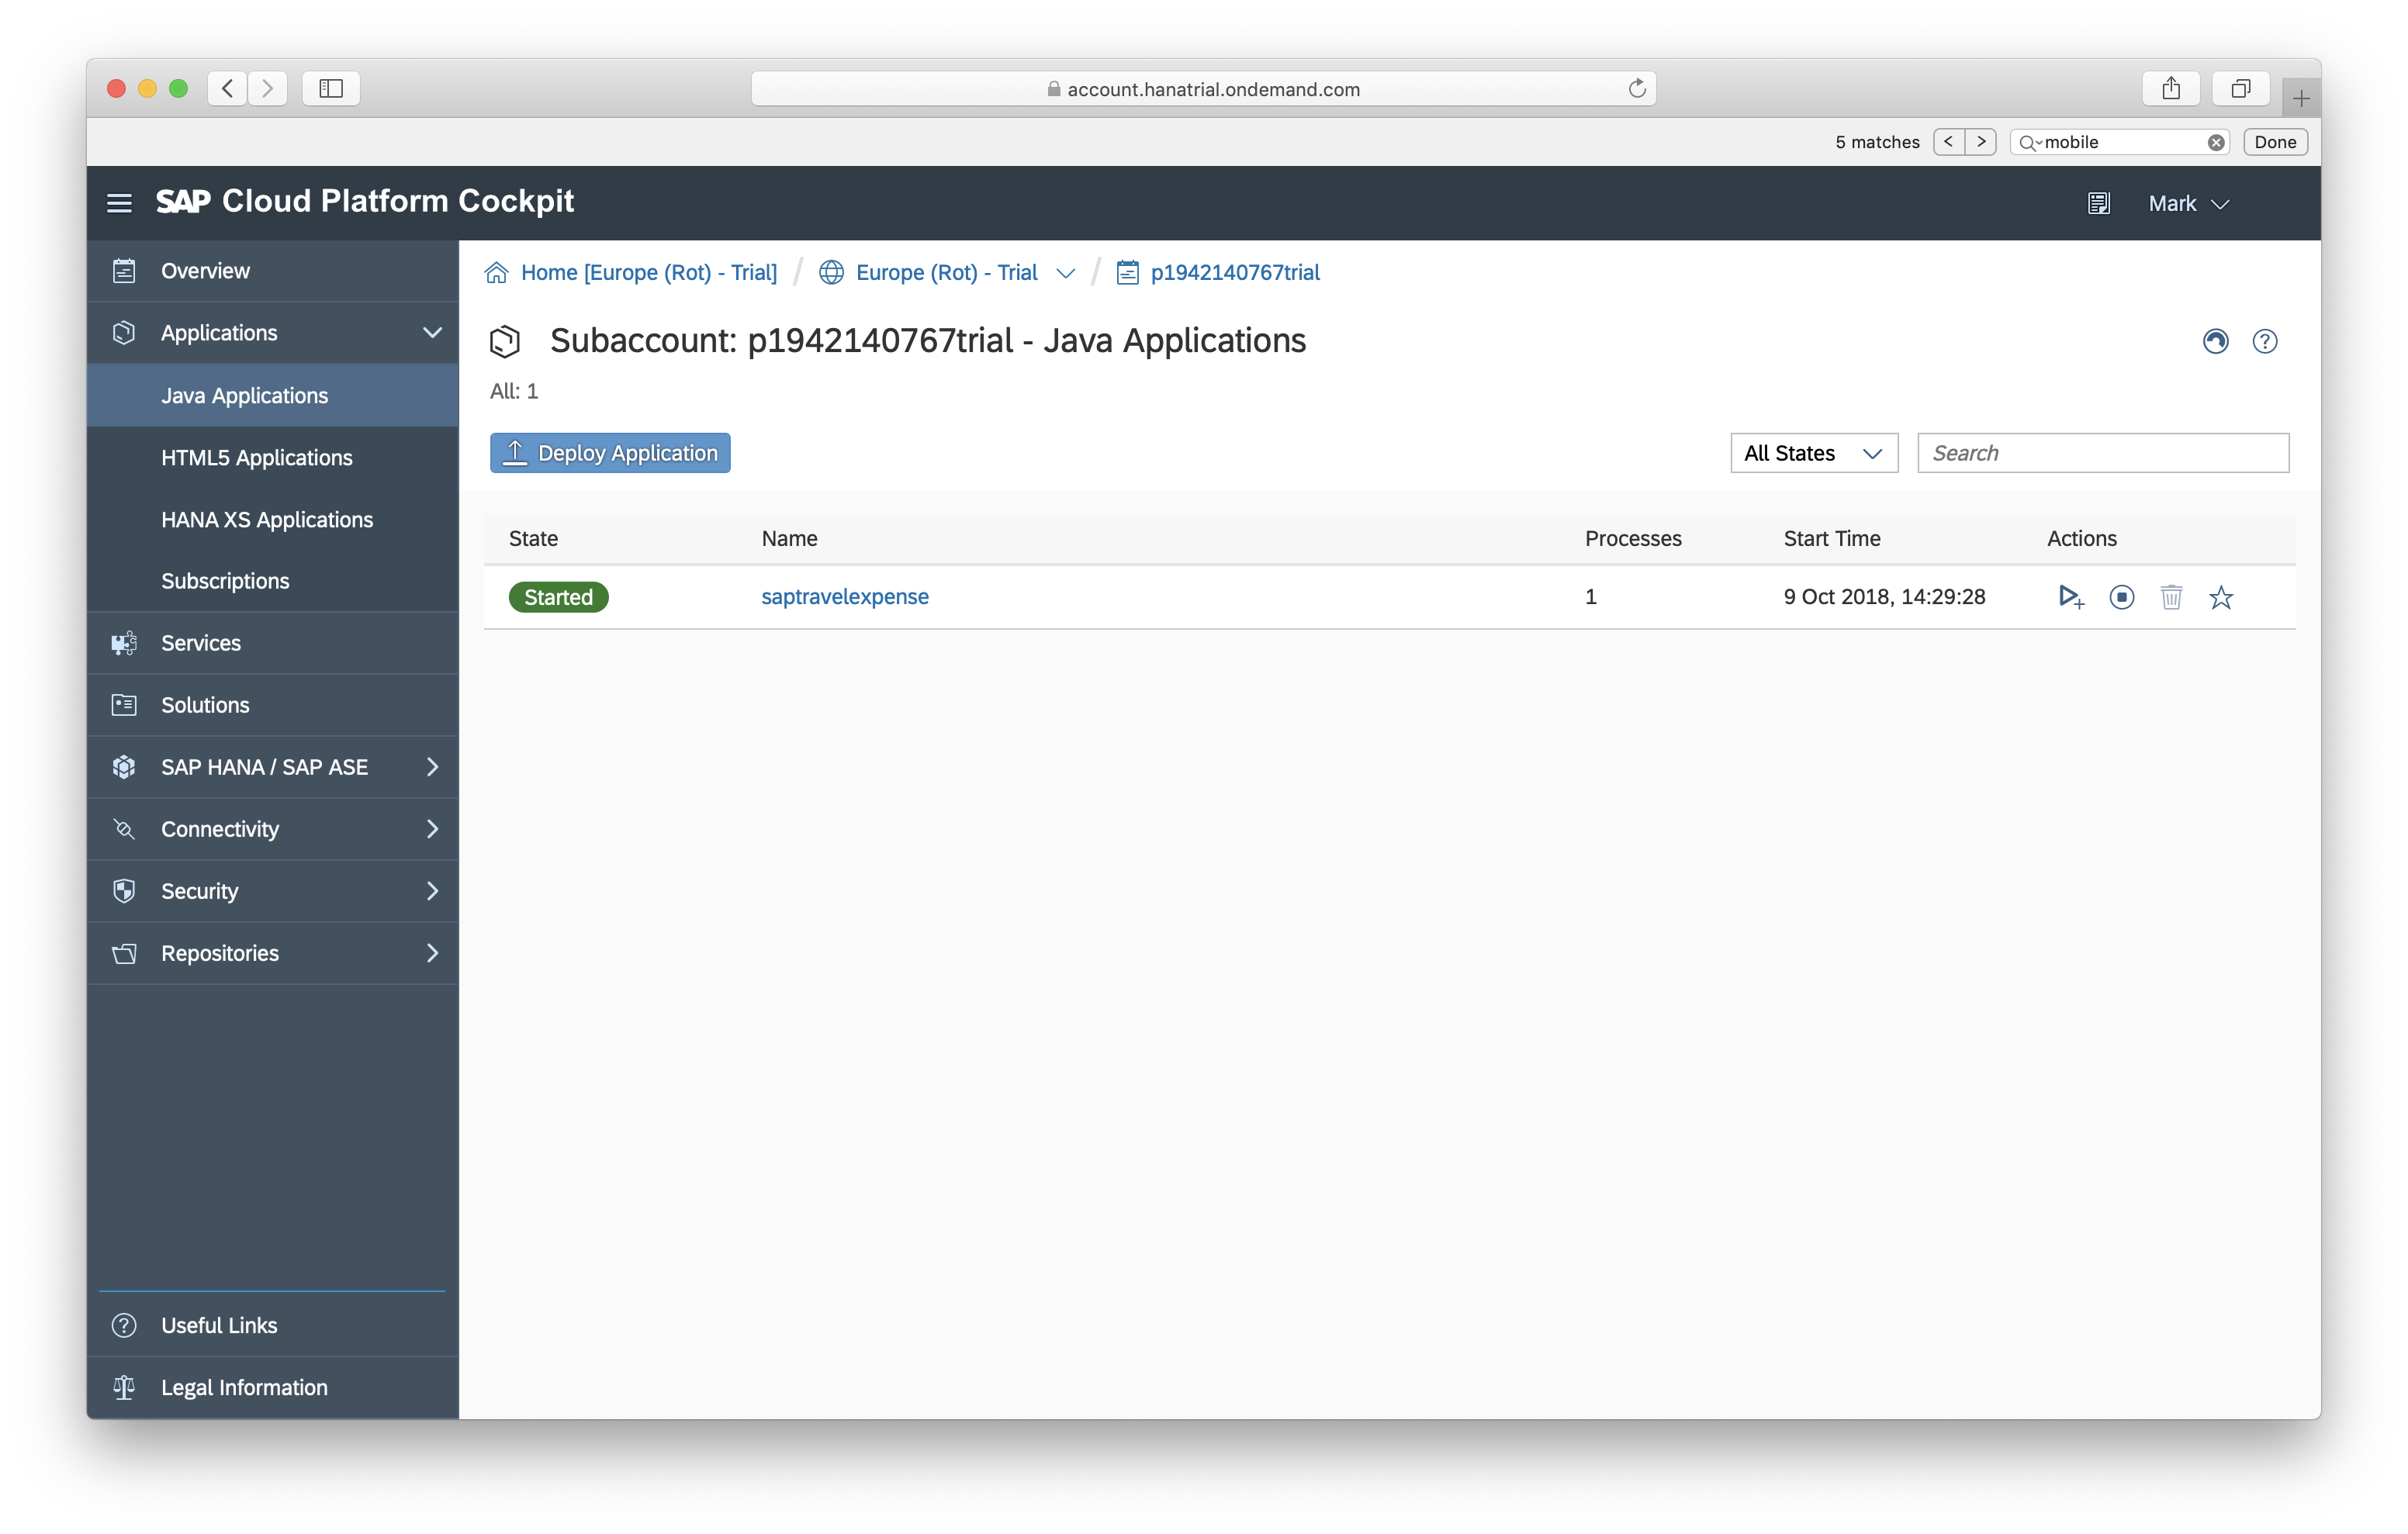
To verify the services data click on the name saptravelexpense and click on the link under Applications URLs to open the Service Document of the OData Service.
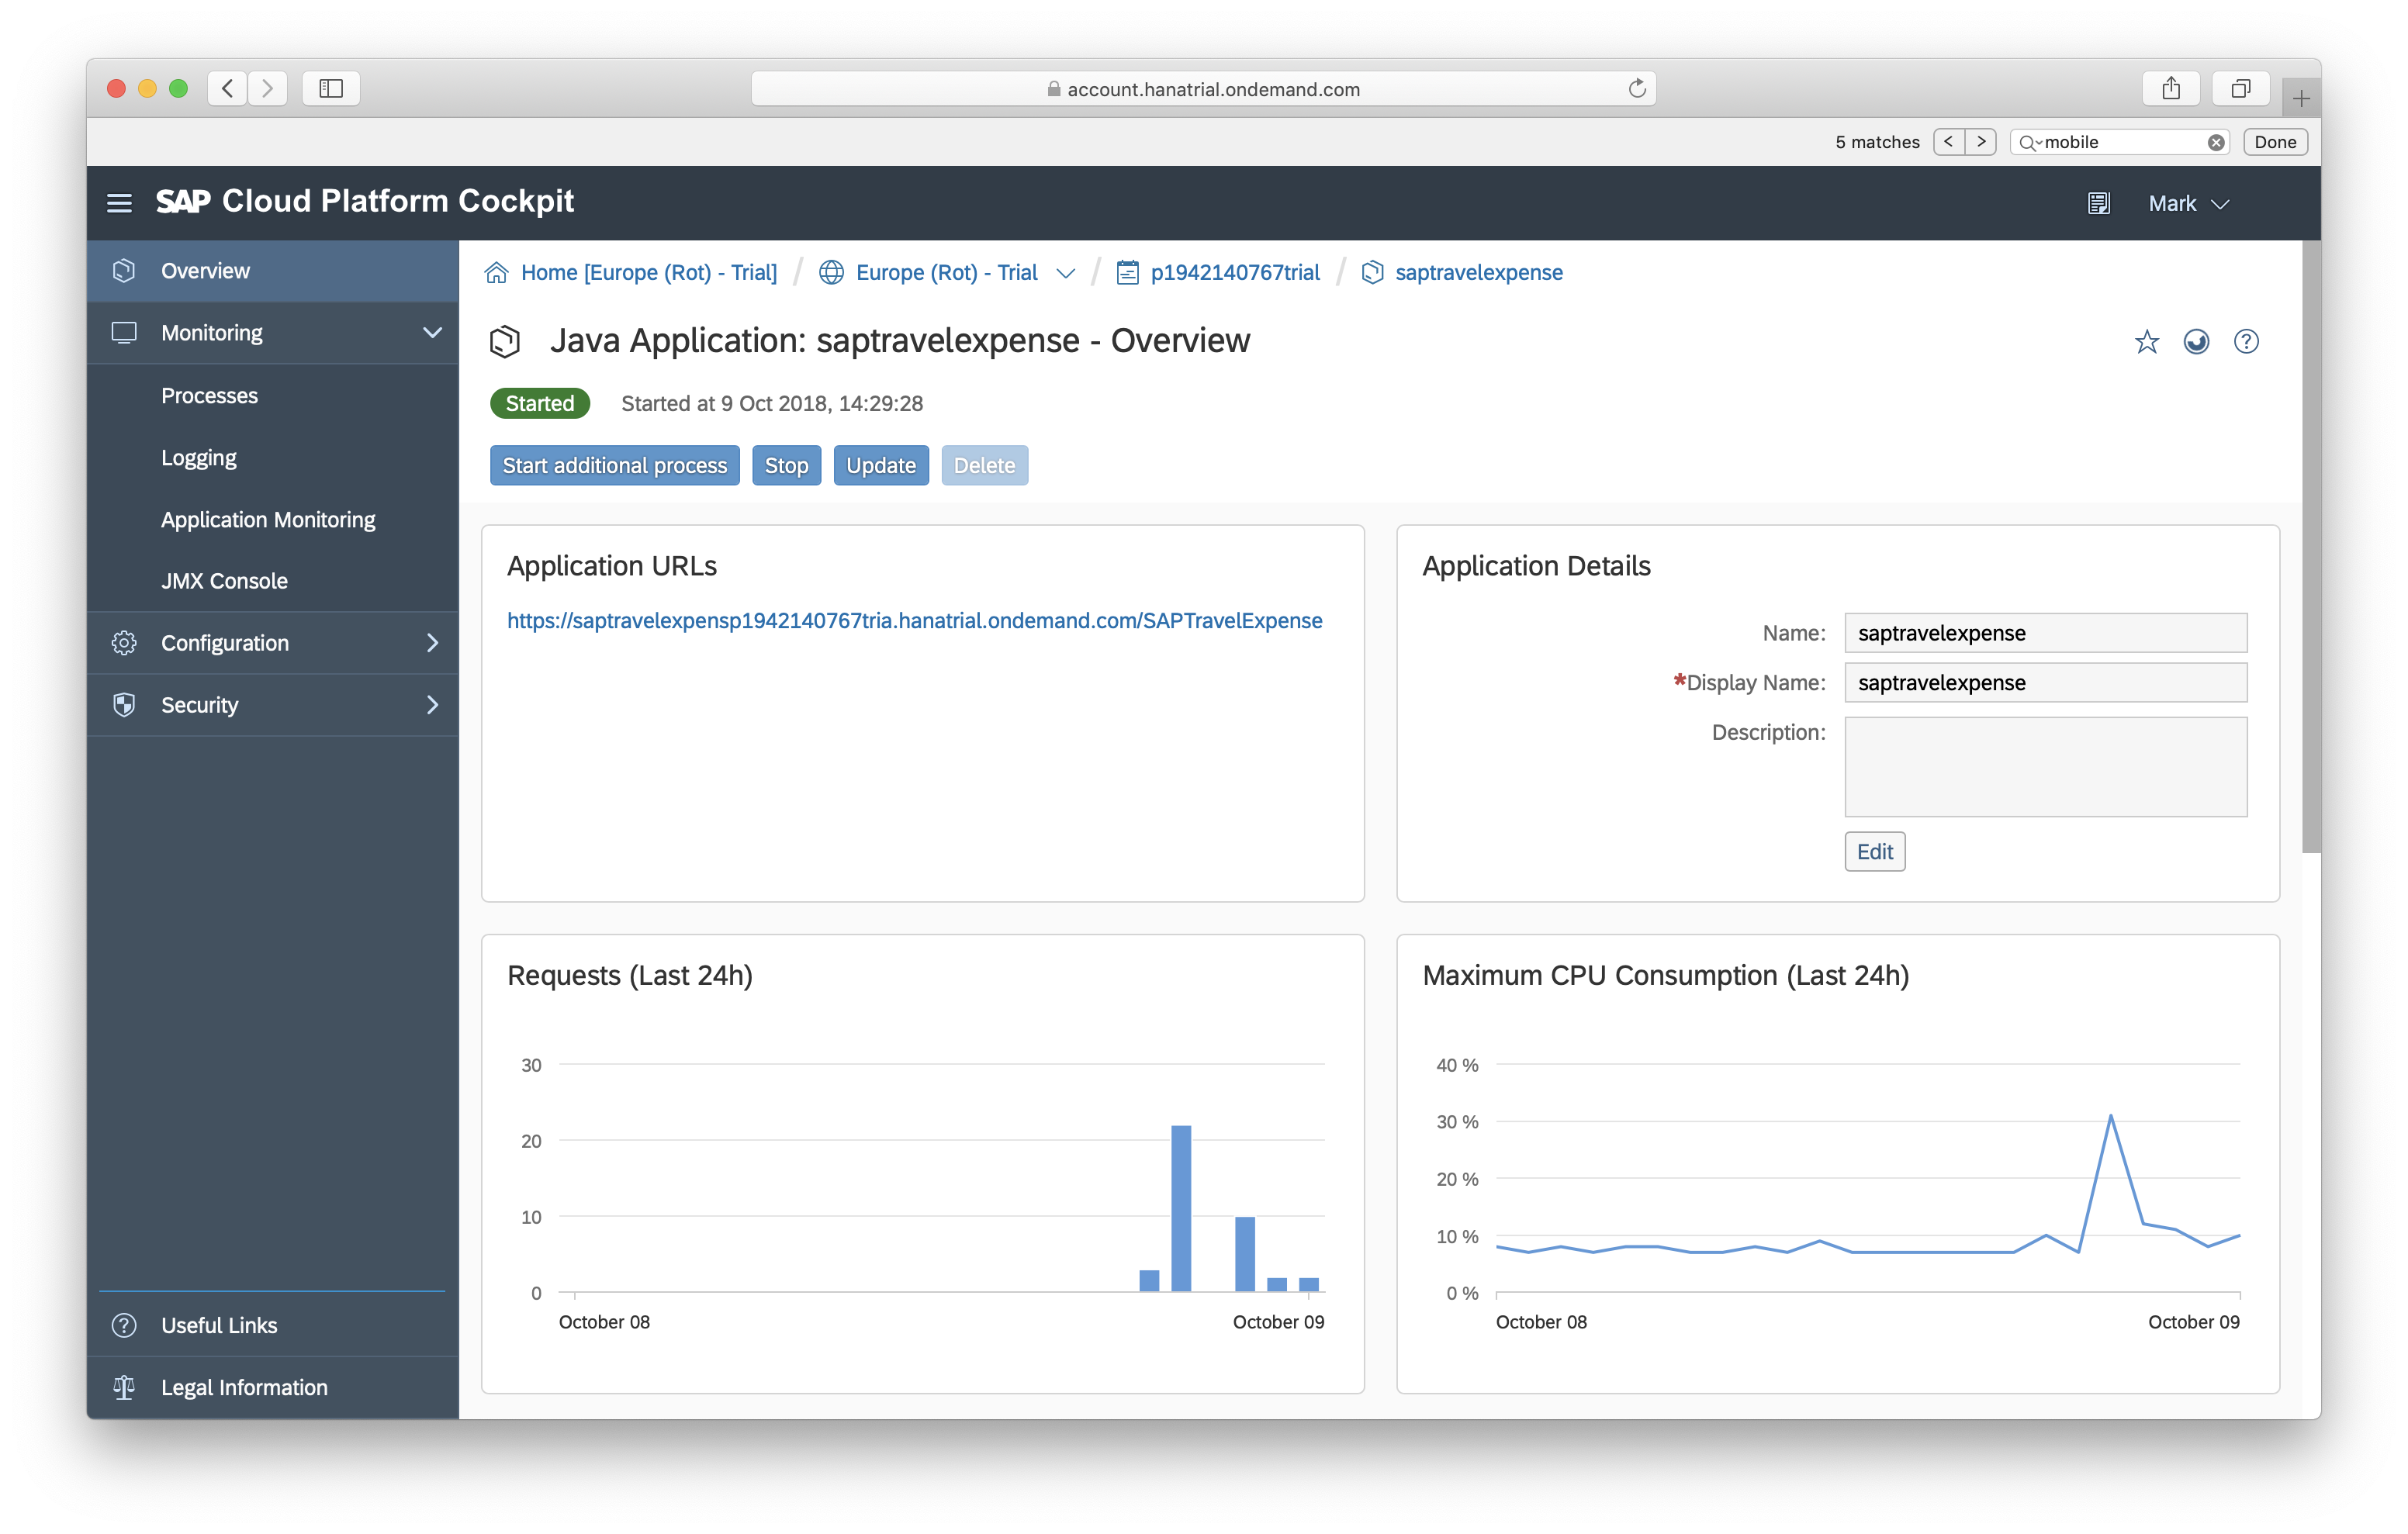
Here you can review the structure of the backend data model and alter the service URL in the browser to explore the data.
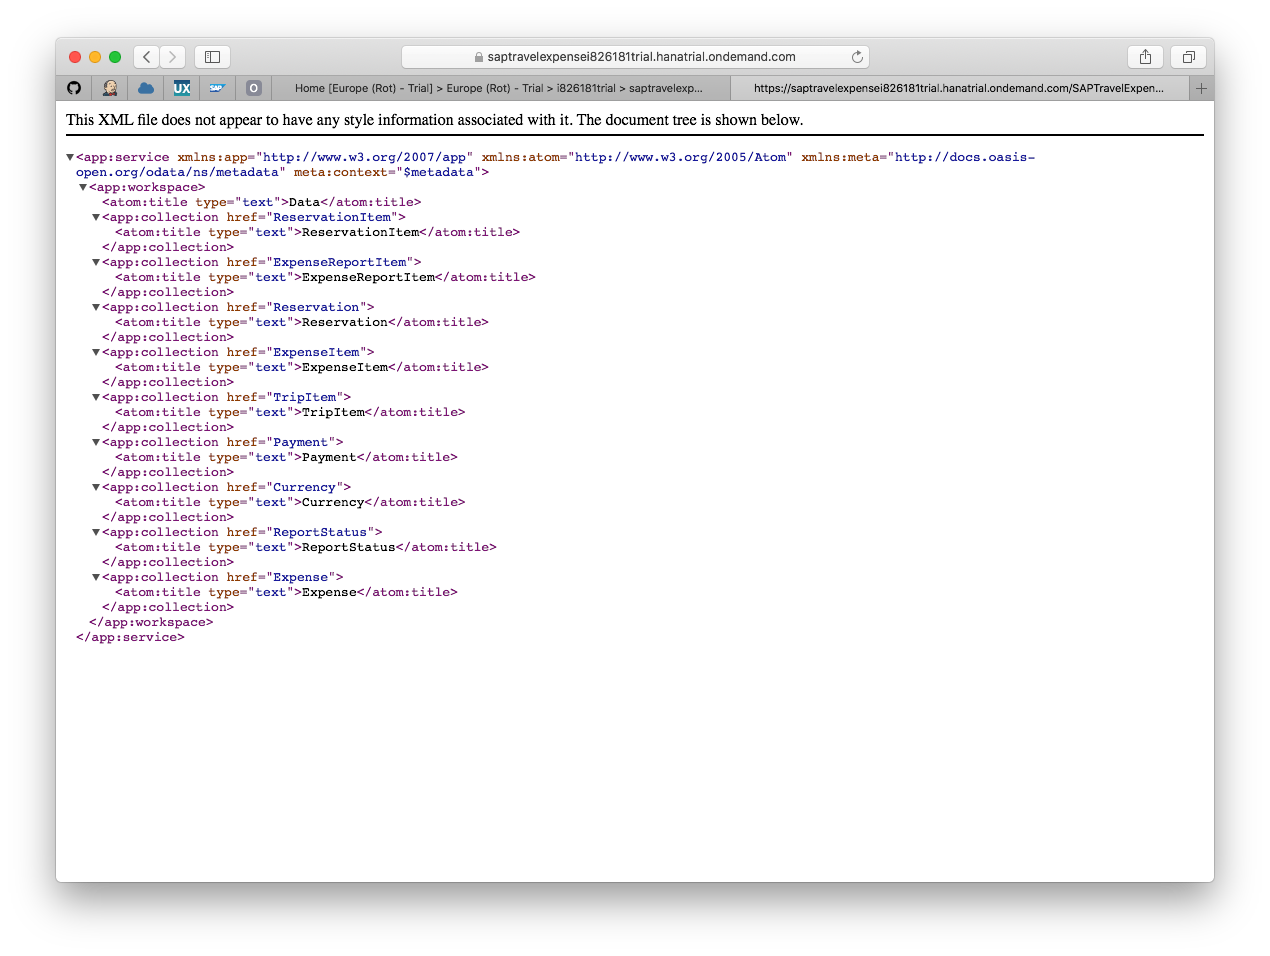
Finally, copy the browser URL for use as the Backend URL in the following steps.
After deploying and starting the saptravelexpense backend we could configure the reference application in this repository and the Mobile Services, std configuration now; However, as we want to develop our own T&E app later on, we will use the SAP Cloud Platform SDK for iOS Assistant to create the Mobile Services, std configuration and a minimal expense app titled MyTravelExpense app. You can extend this generated app to build your own full-featured Travel Expense app.
First you have to activate the Mobile Services, std in your Neo Trial Cloud landscape. For that open a browser window to https://account.hanatrial.ondemand.com/cockpit#/home/trialhome and select Neo Trial.
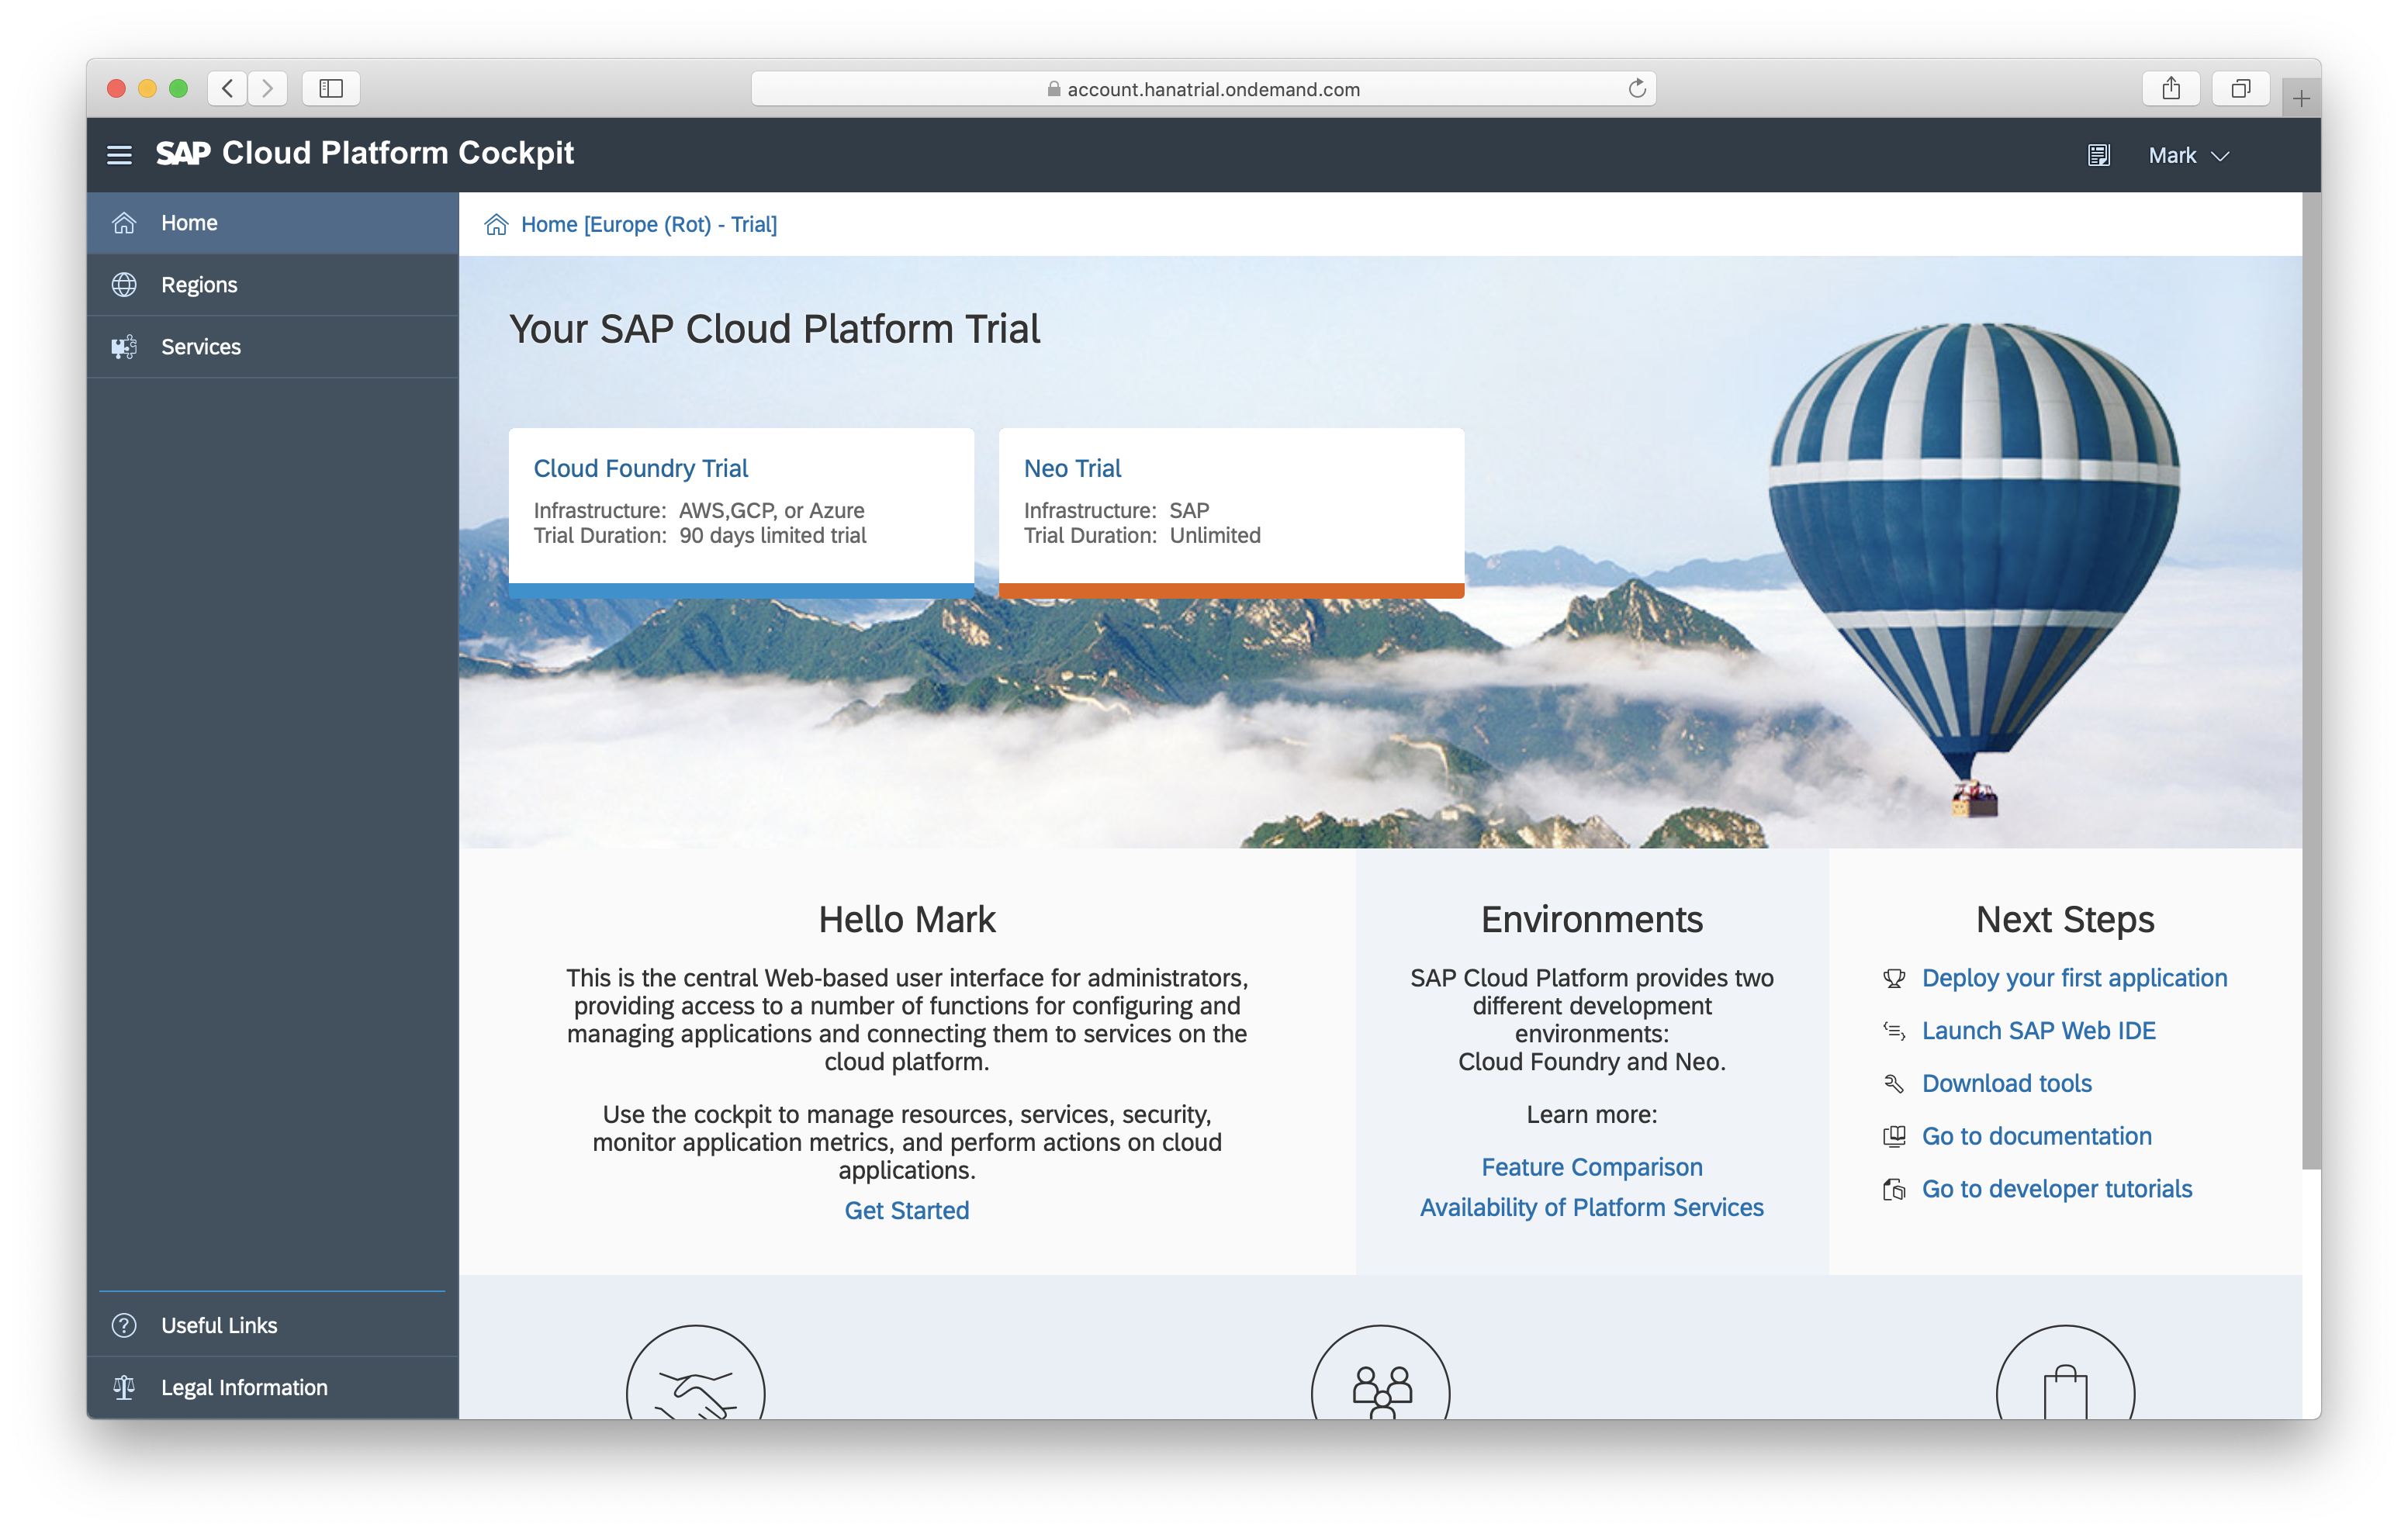
Next click on Services in the left navigation panel.
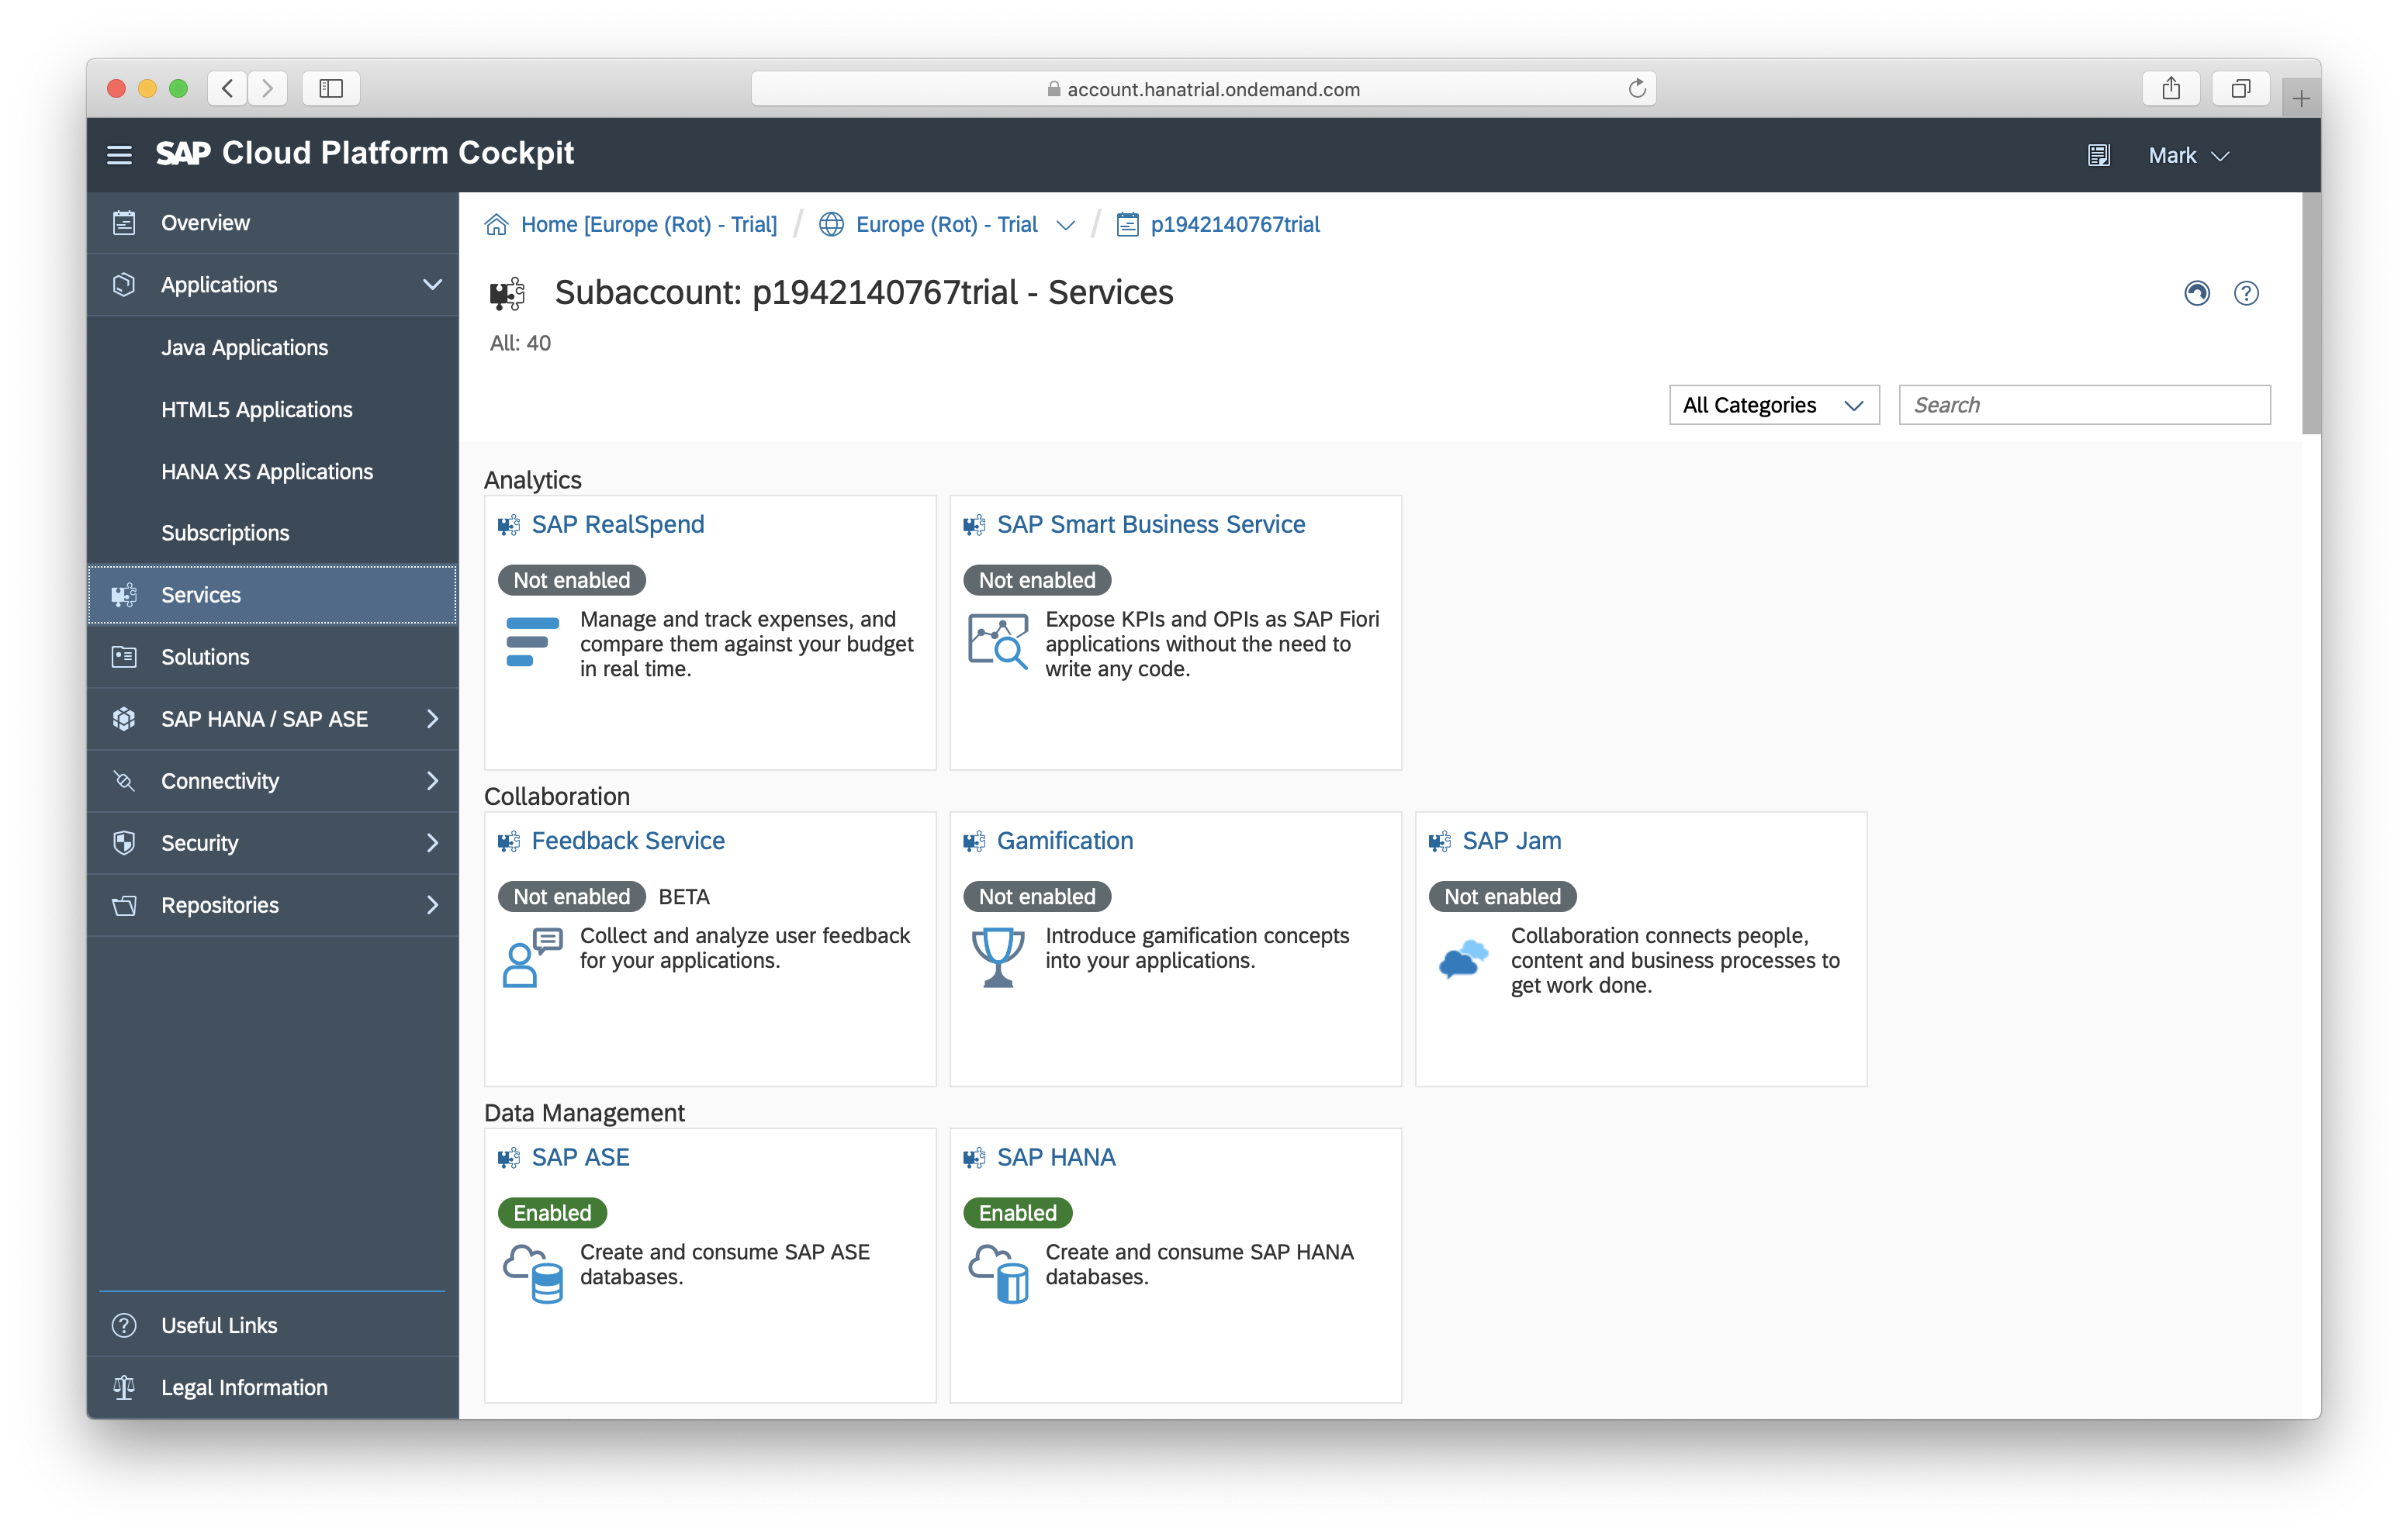
Use the search field to search for Mobile on this page.
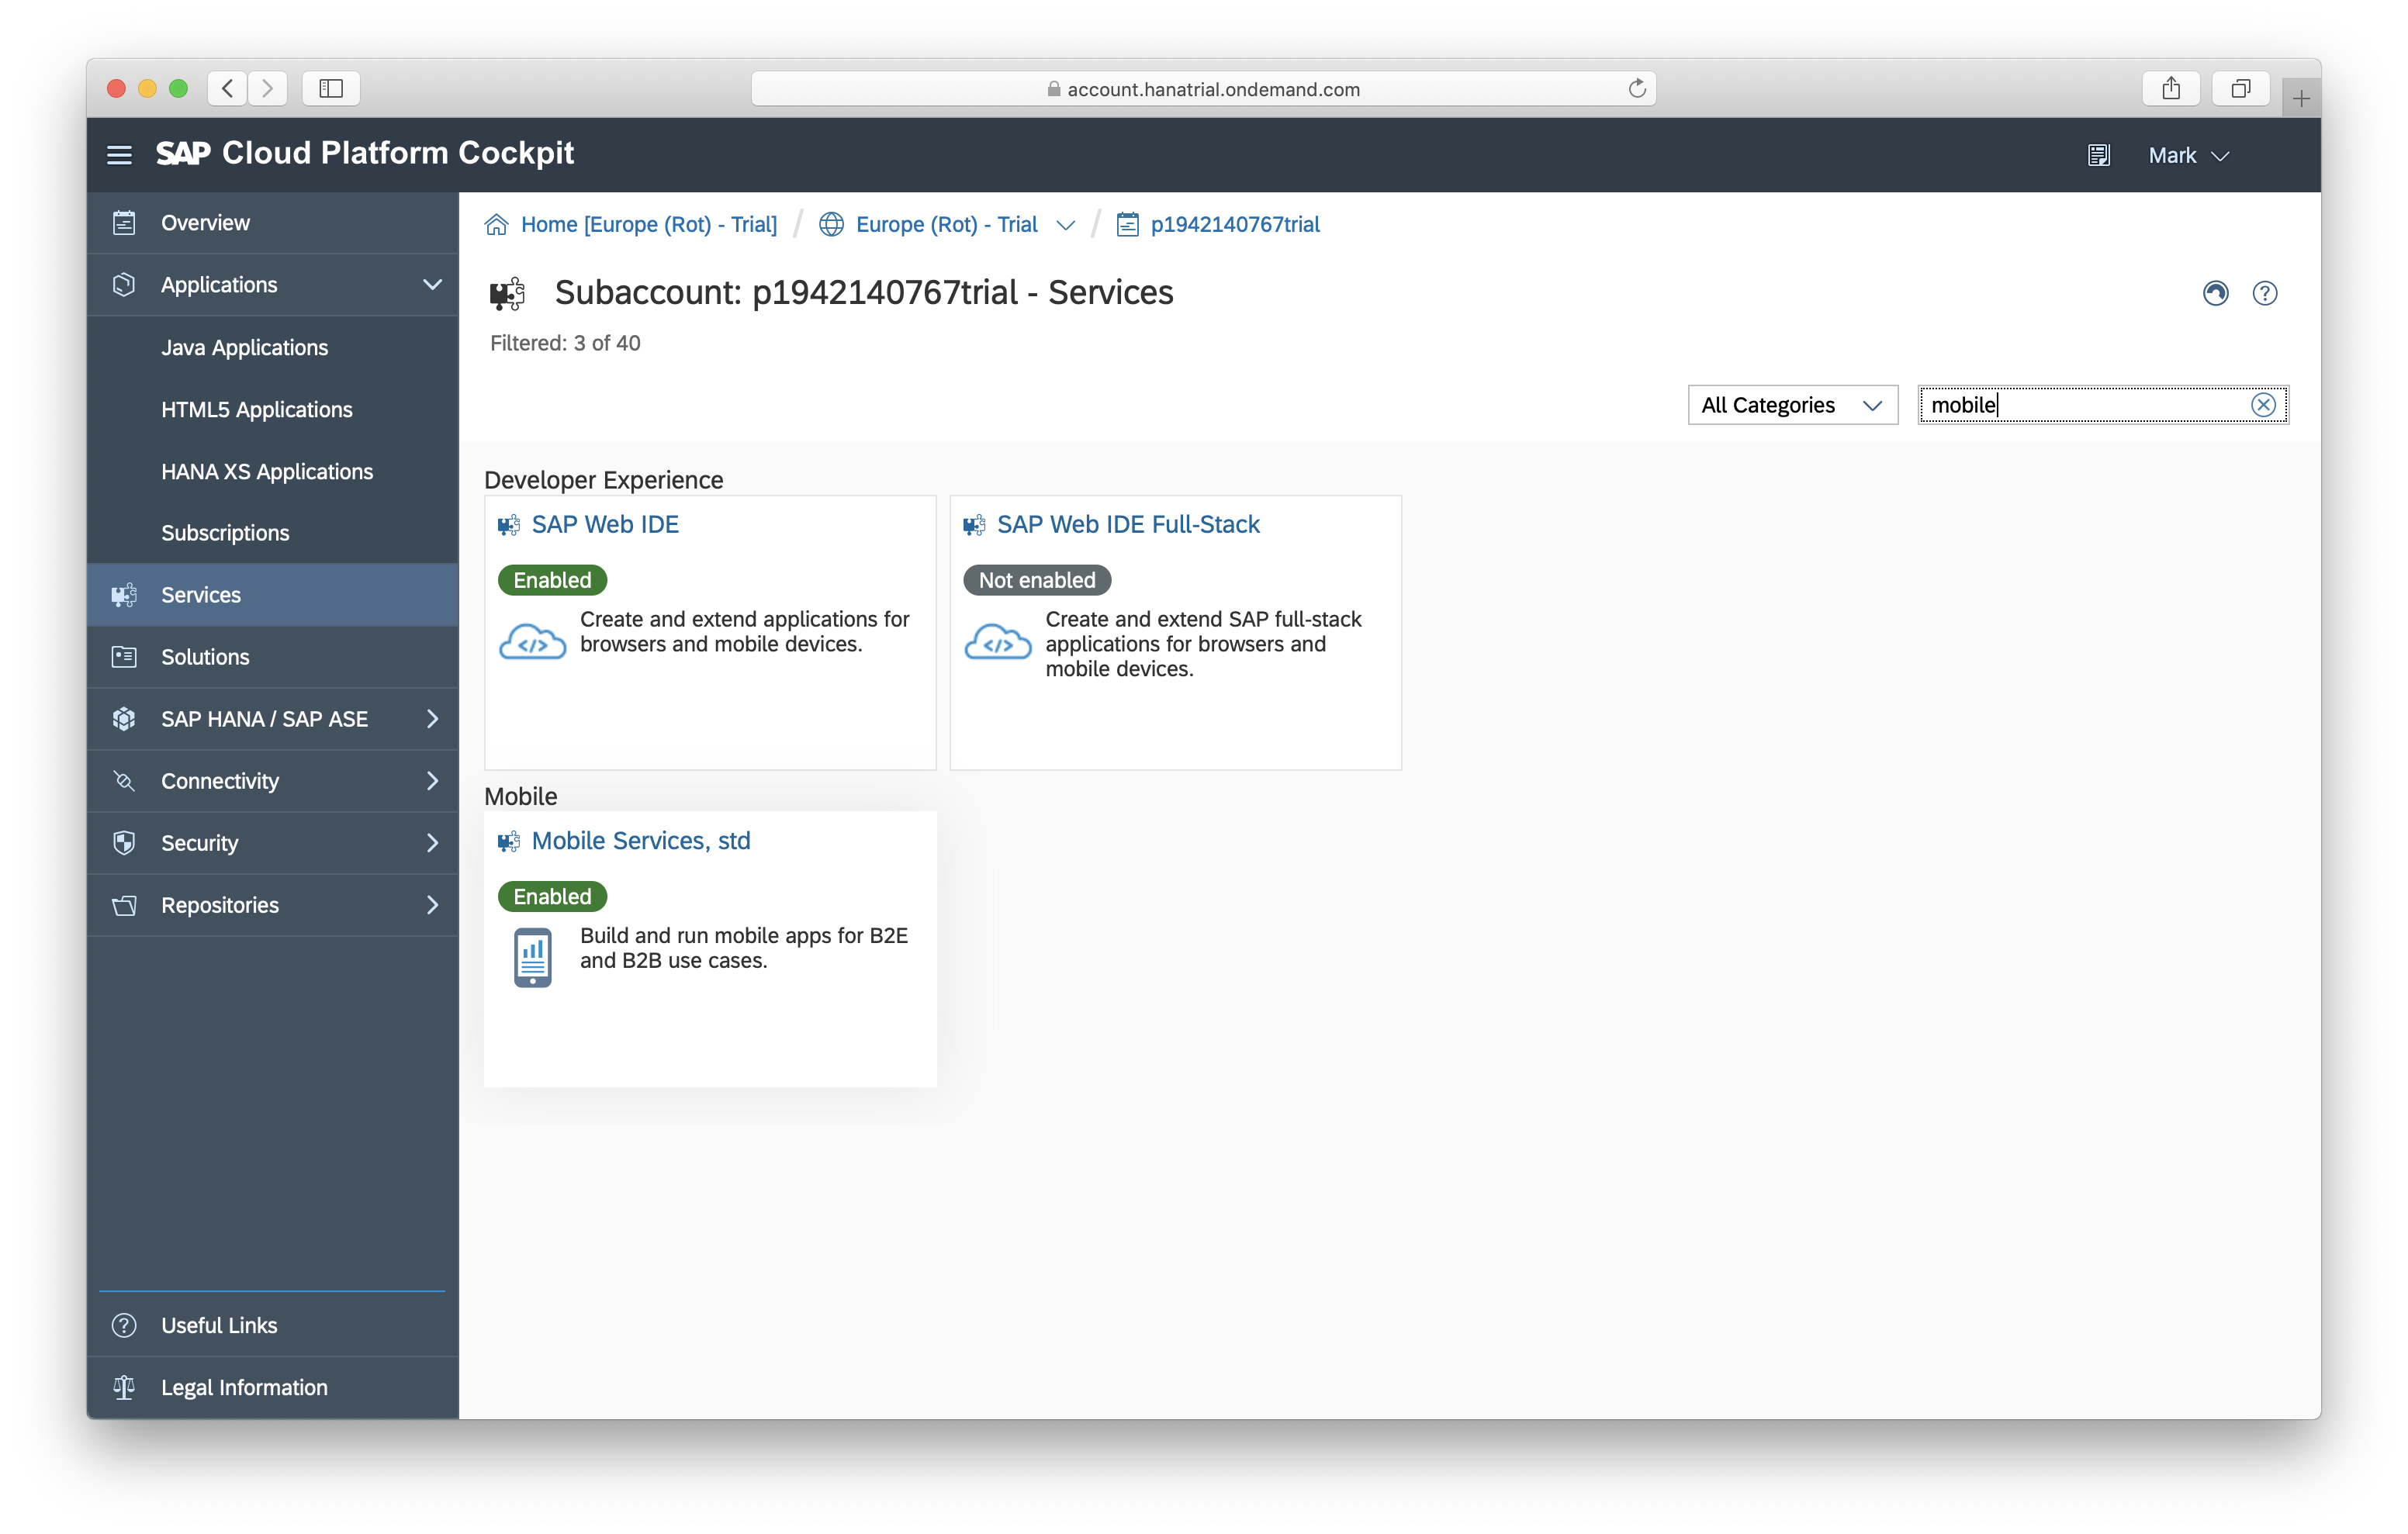
Click on Mobile Services, std and if not enabled yet, click on Enable.
Note: This may take a while so no worries!
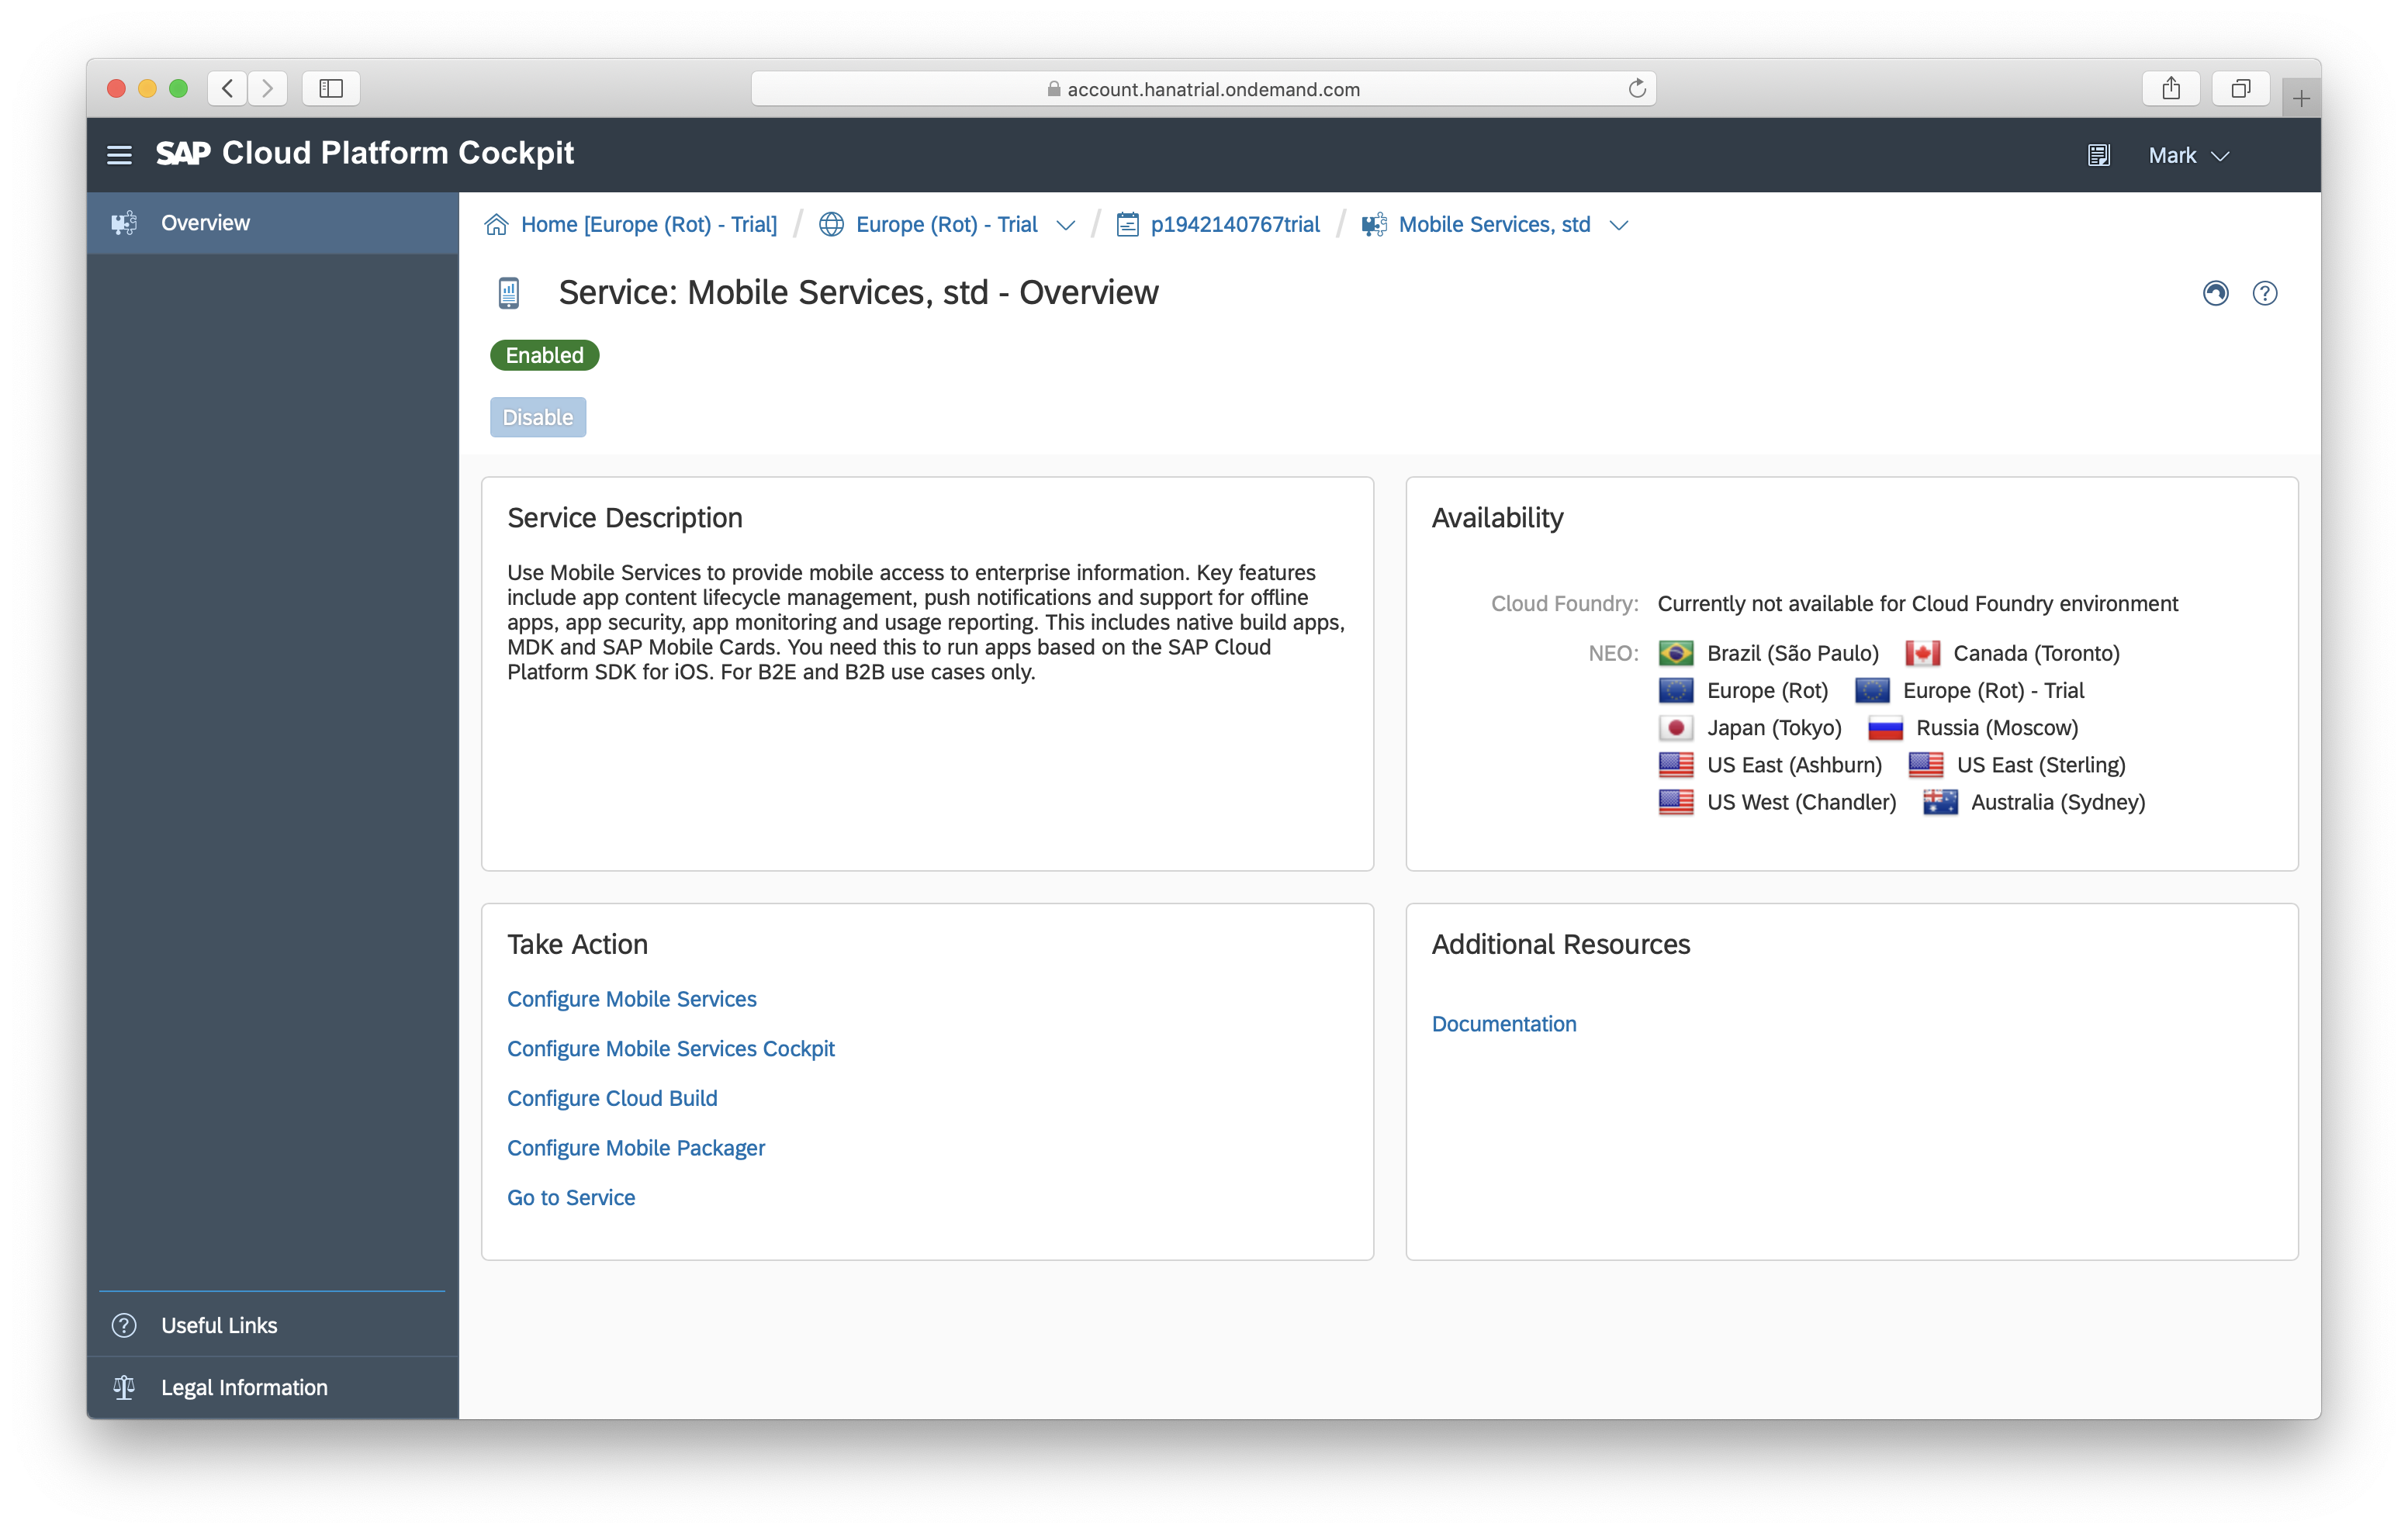
After enabling the service or if already enabled, click on Go to Service to open SAP Cloud Platform Mobile Services window.

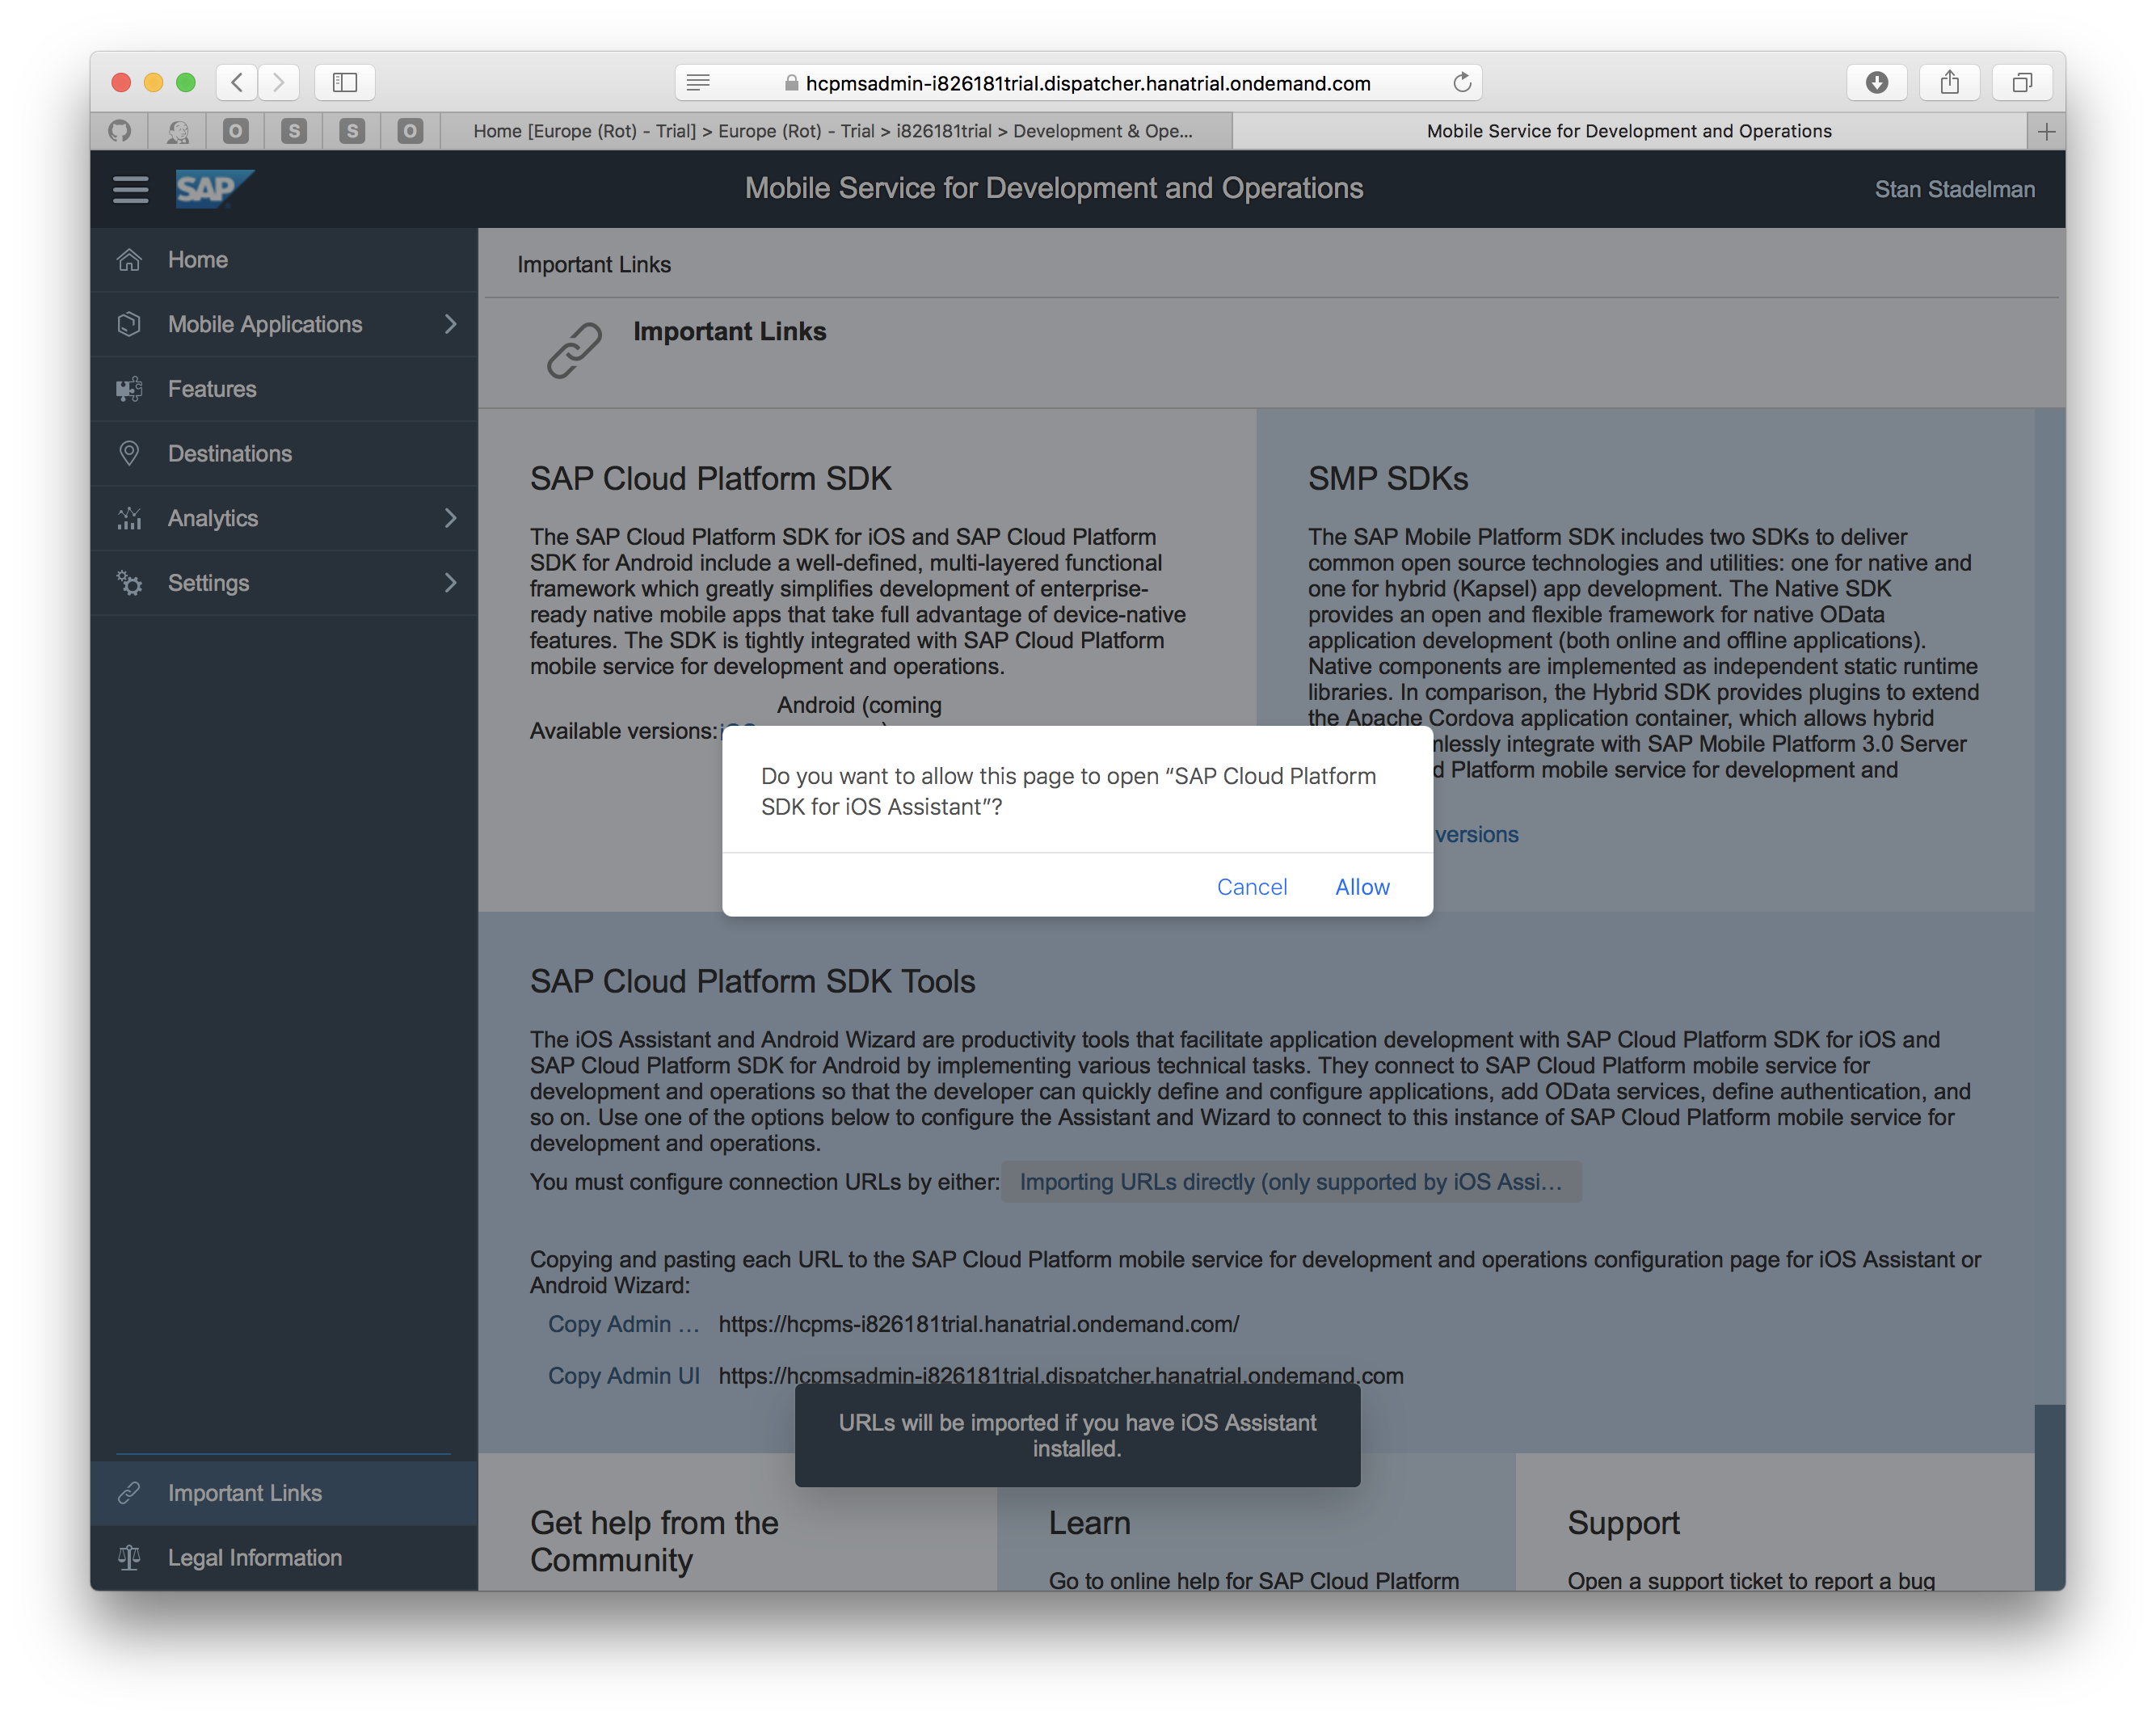
To configure the SAP Cloud Platform SDK for iOS Assistant go to Important Links and click on the Importing URLs directly link.

The SAP Cloud Platform SDK for iOS Assistant will launch and prompt you to complete the entry of your account information.
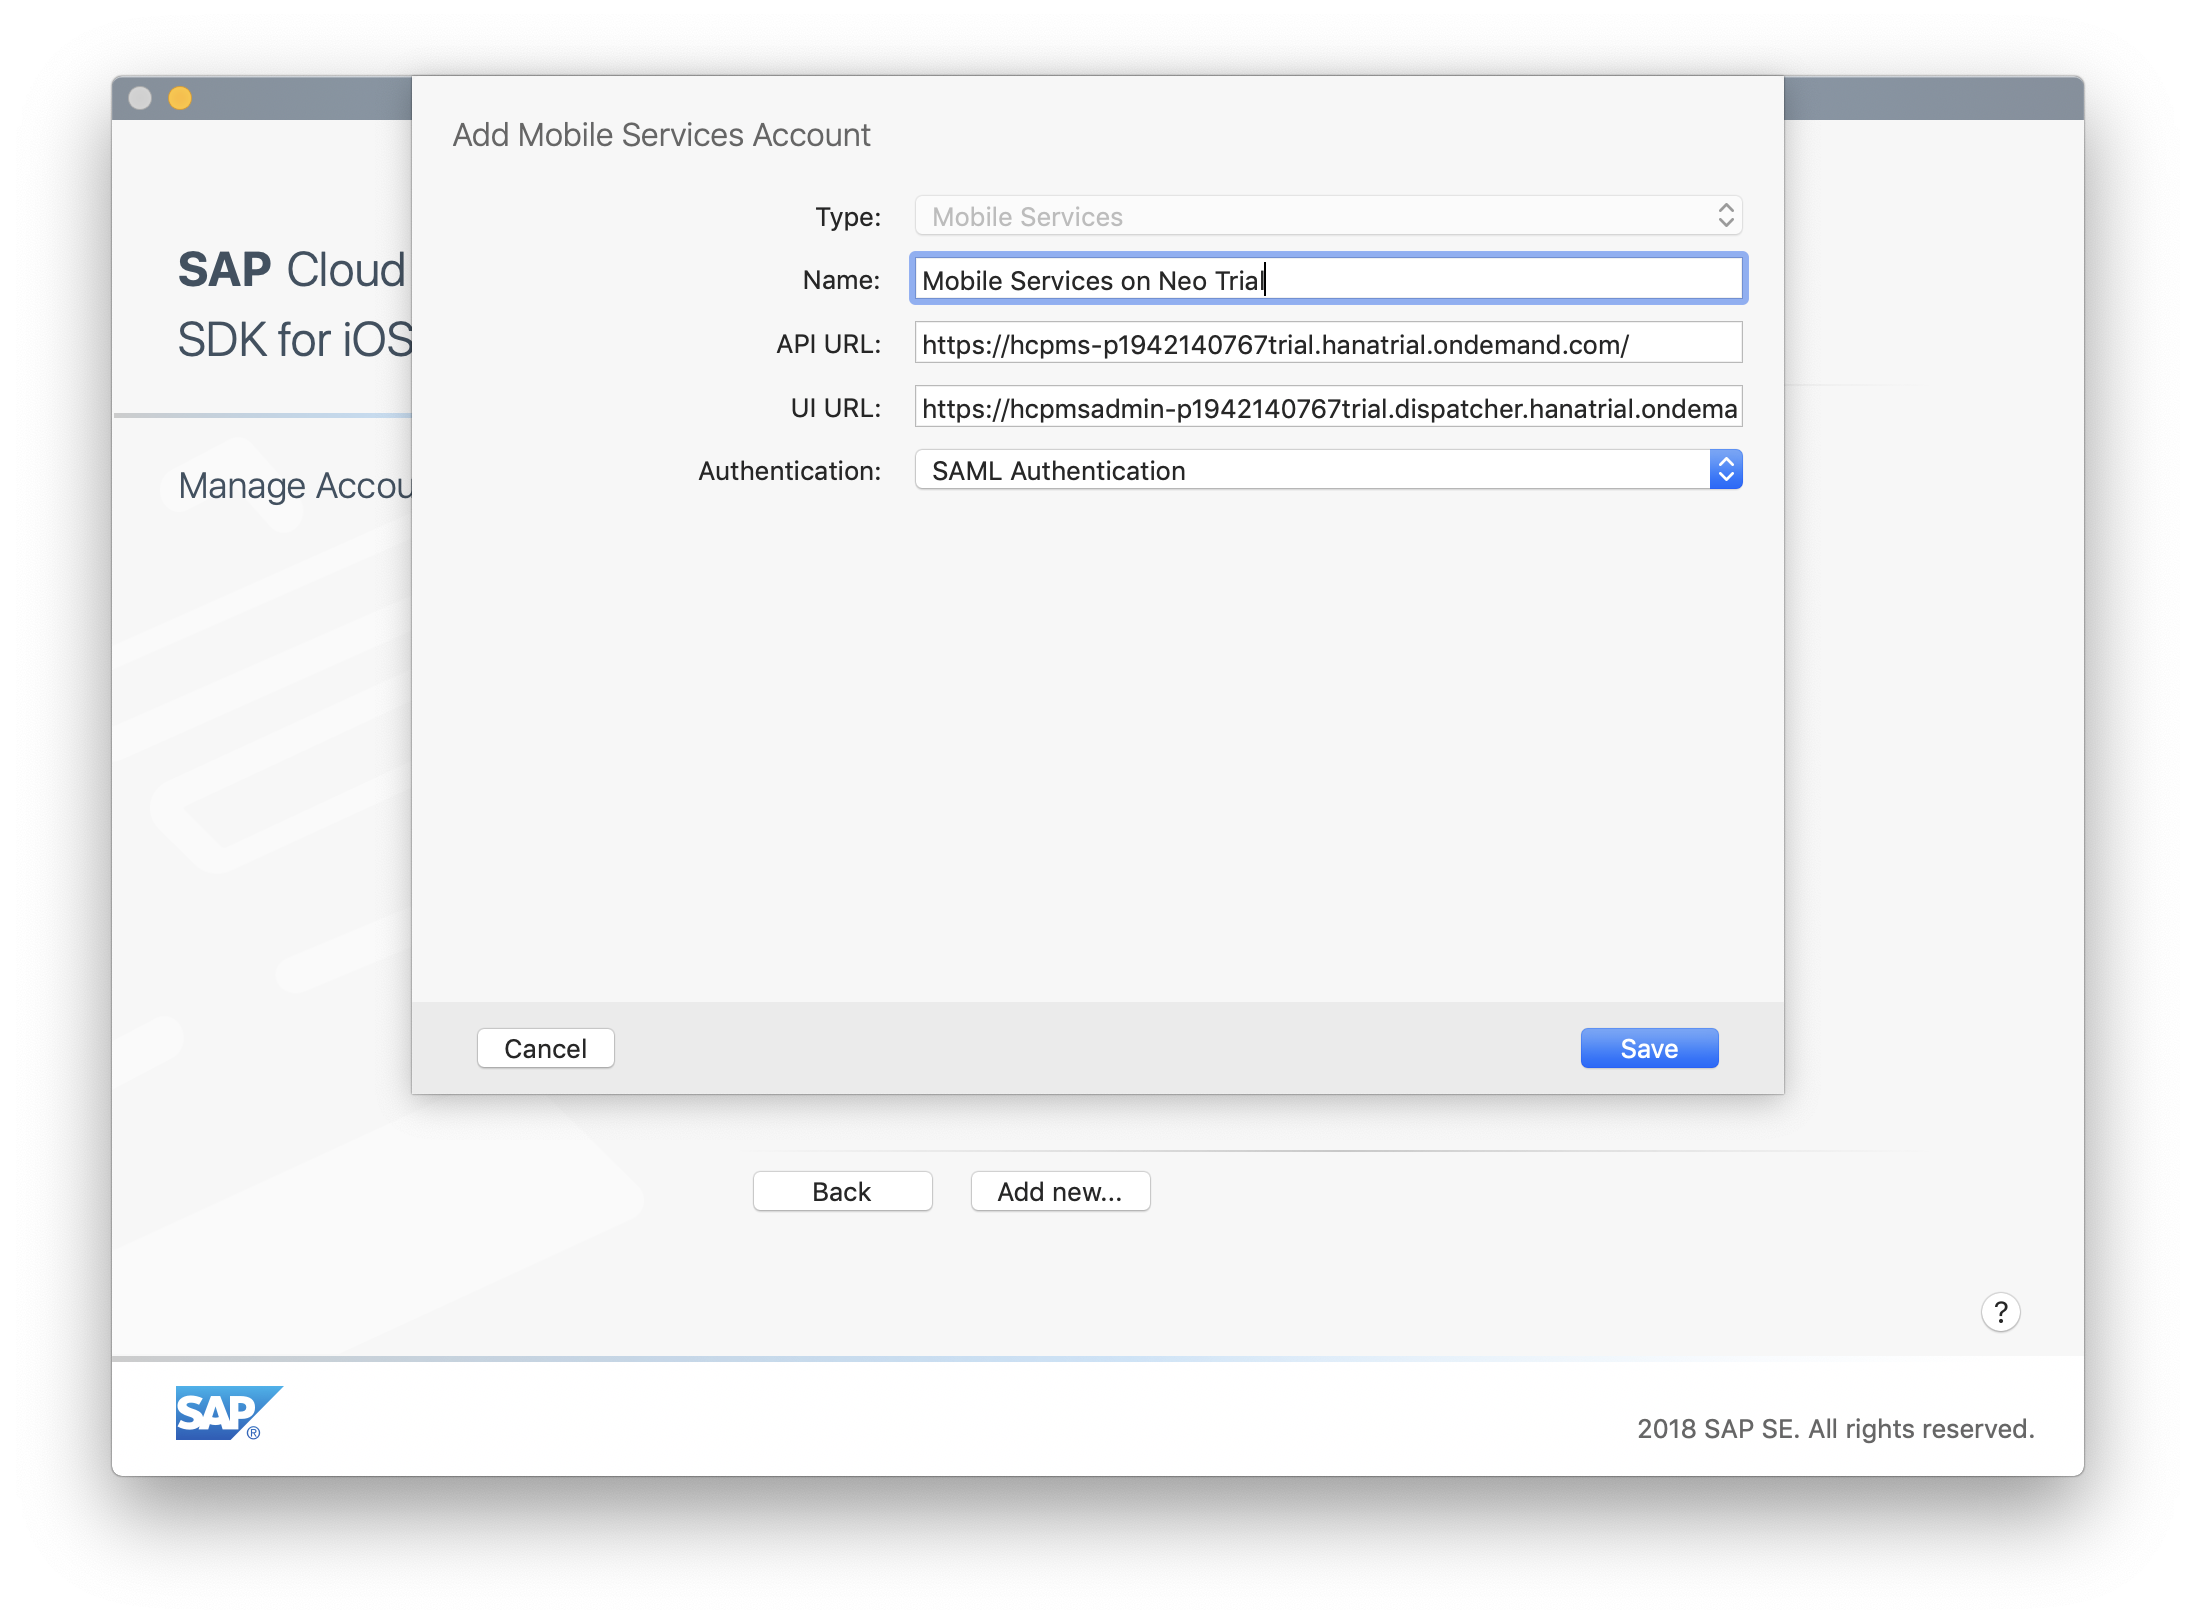 Enter the following information:
| Field | Information |
|---|---|
| Name | Mobile Services on Neo Trial |
| Authentication | SAML |
Click Back to return to the main page of the assistant.
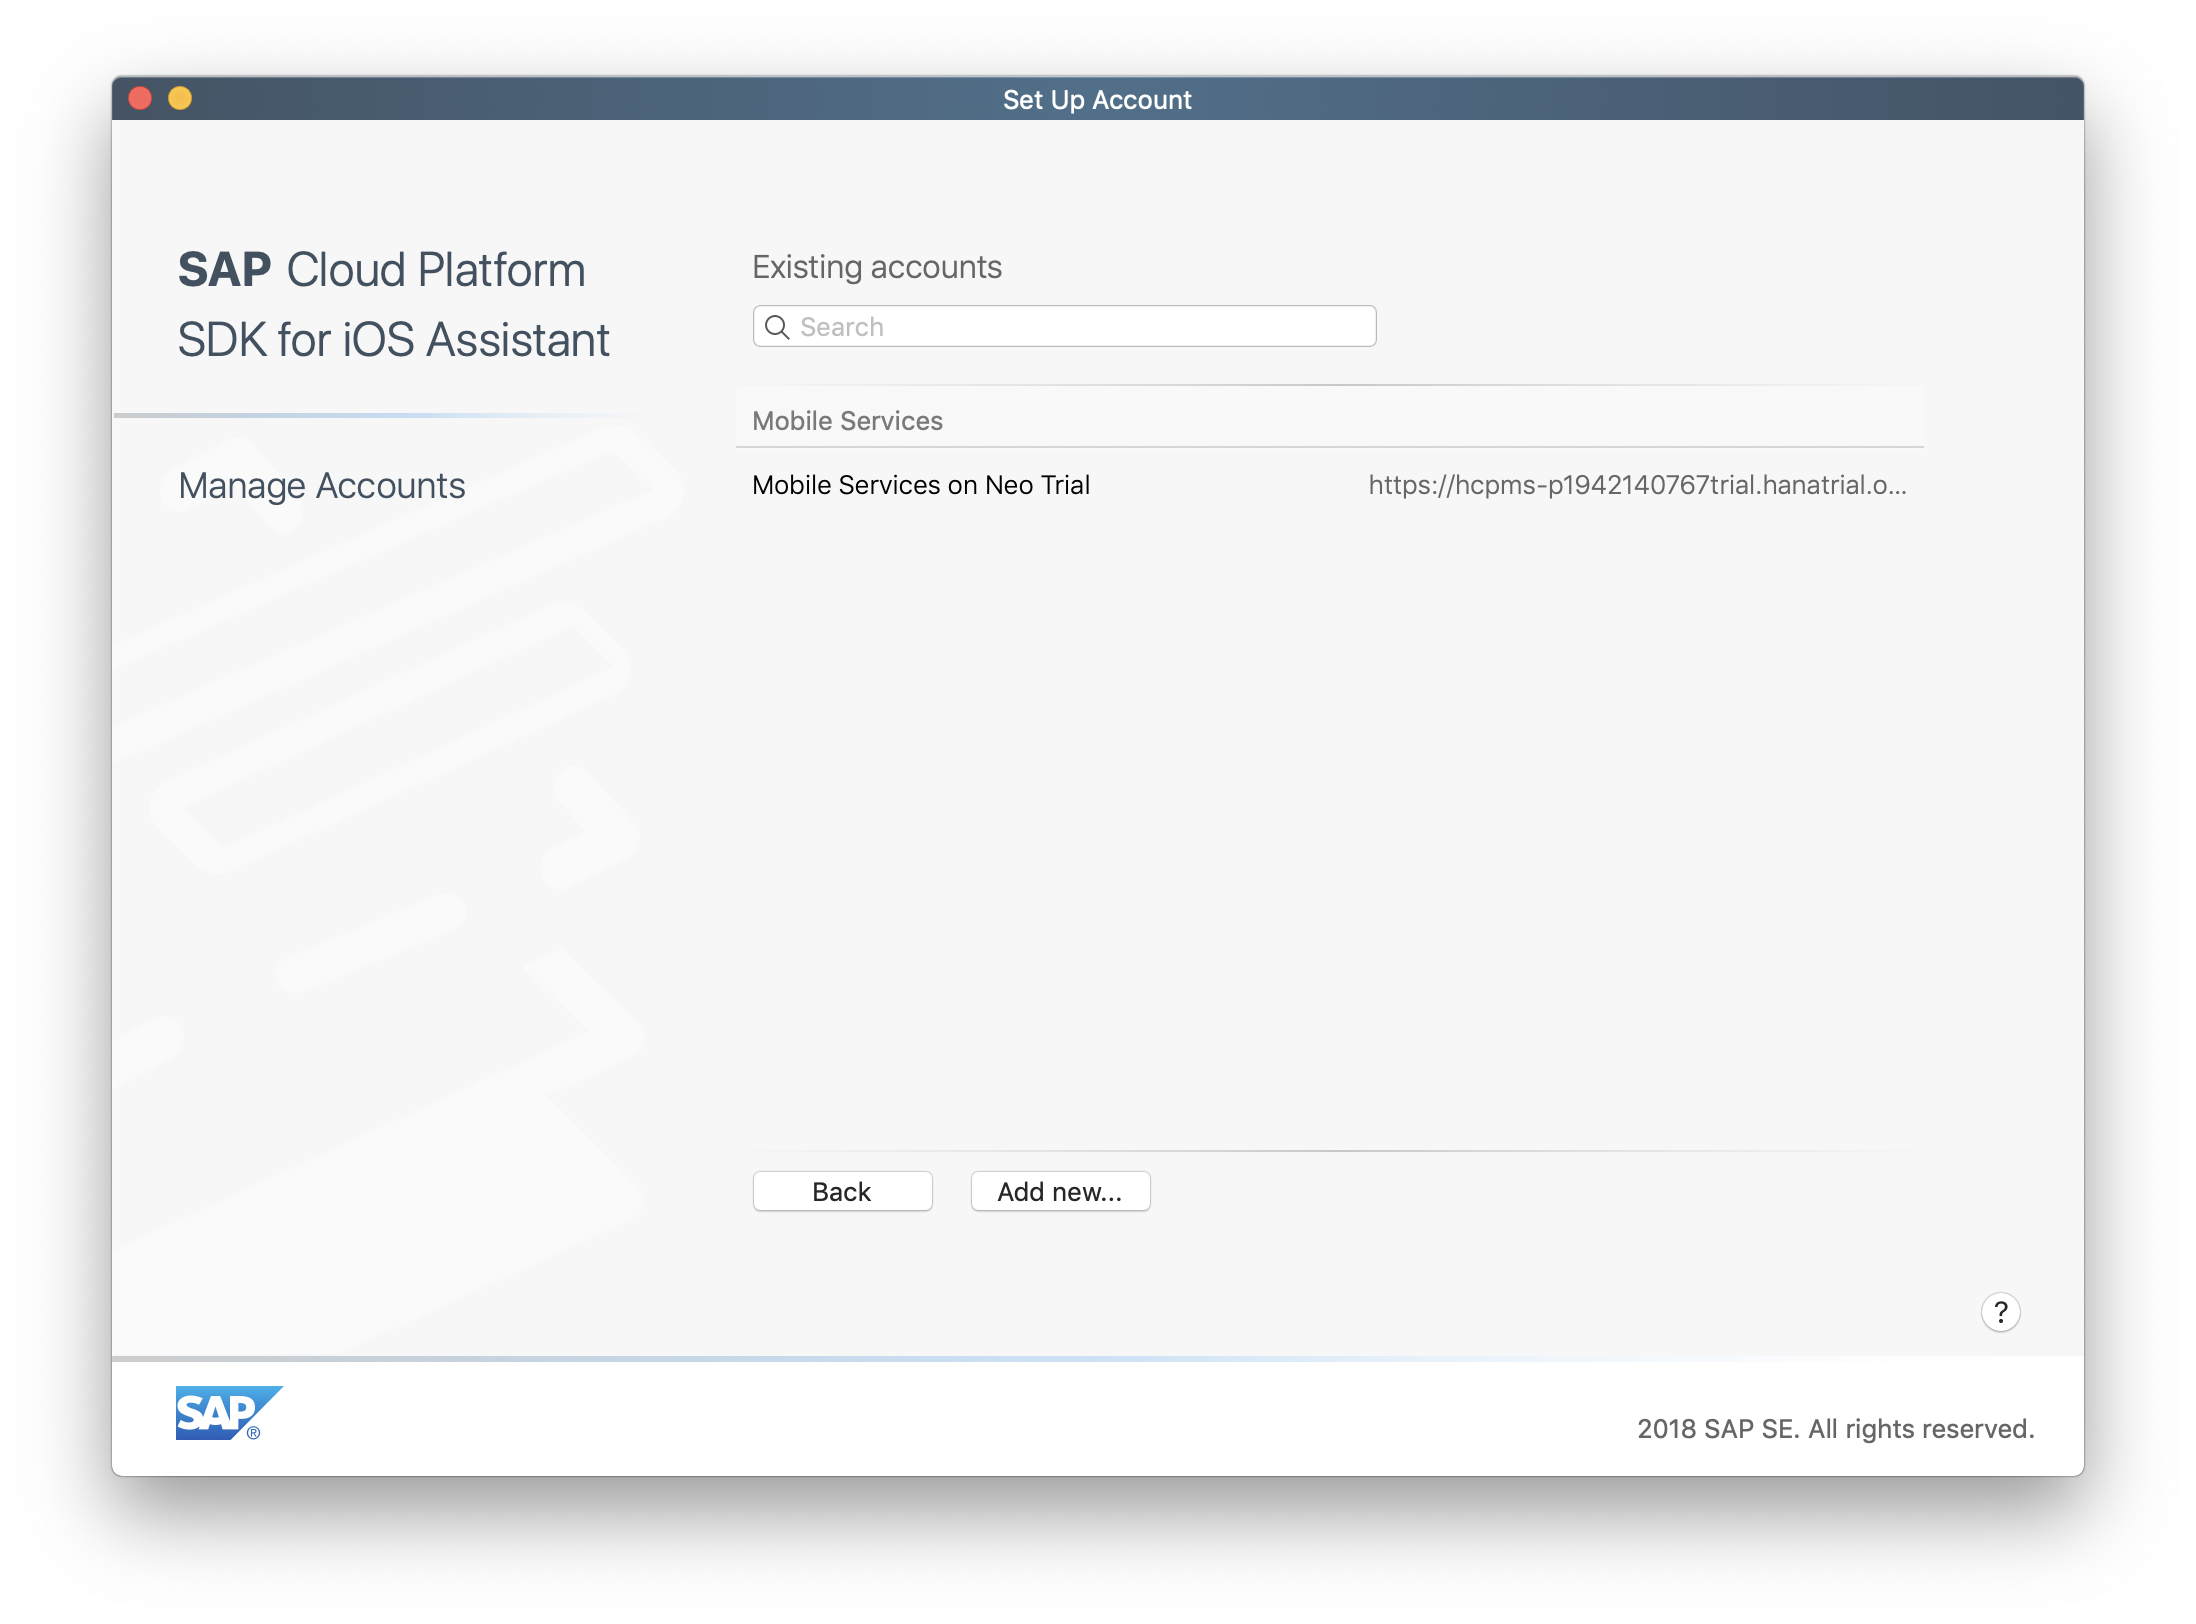
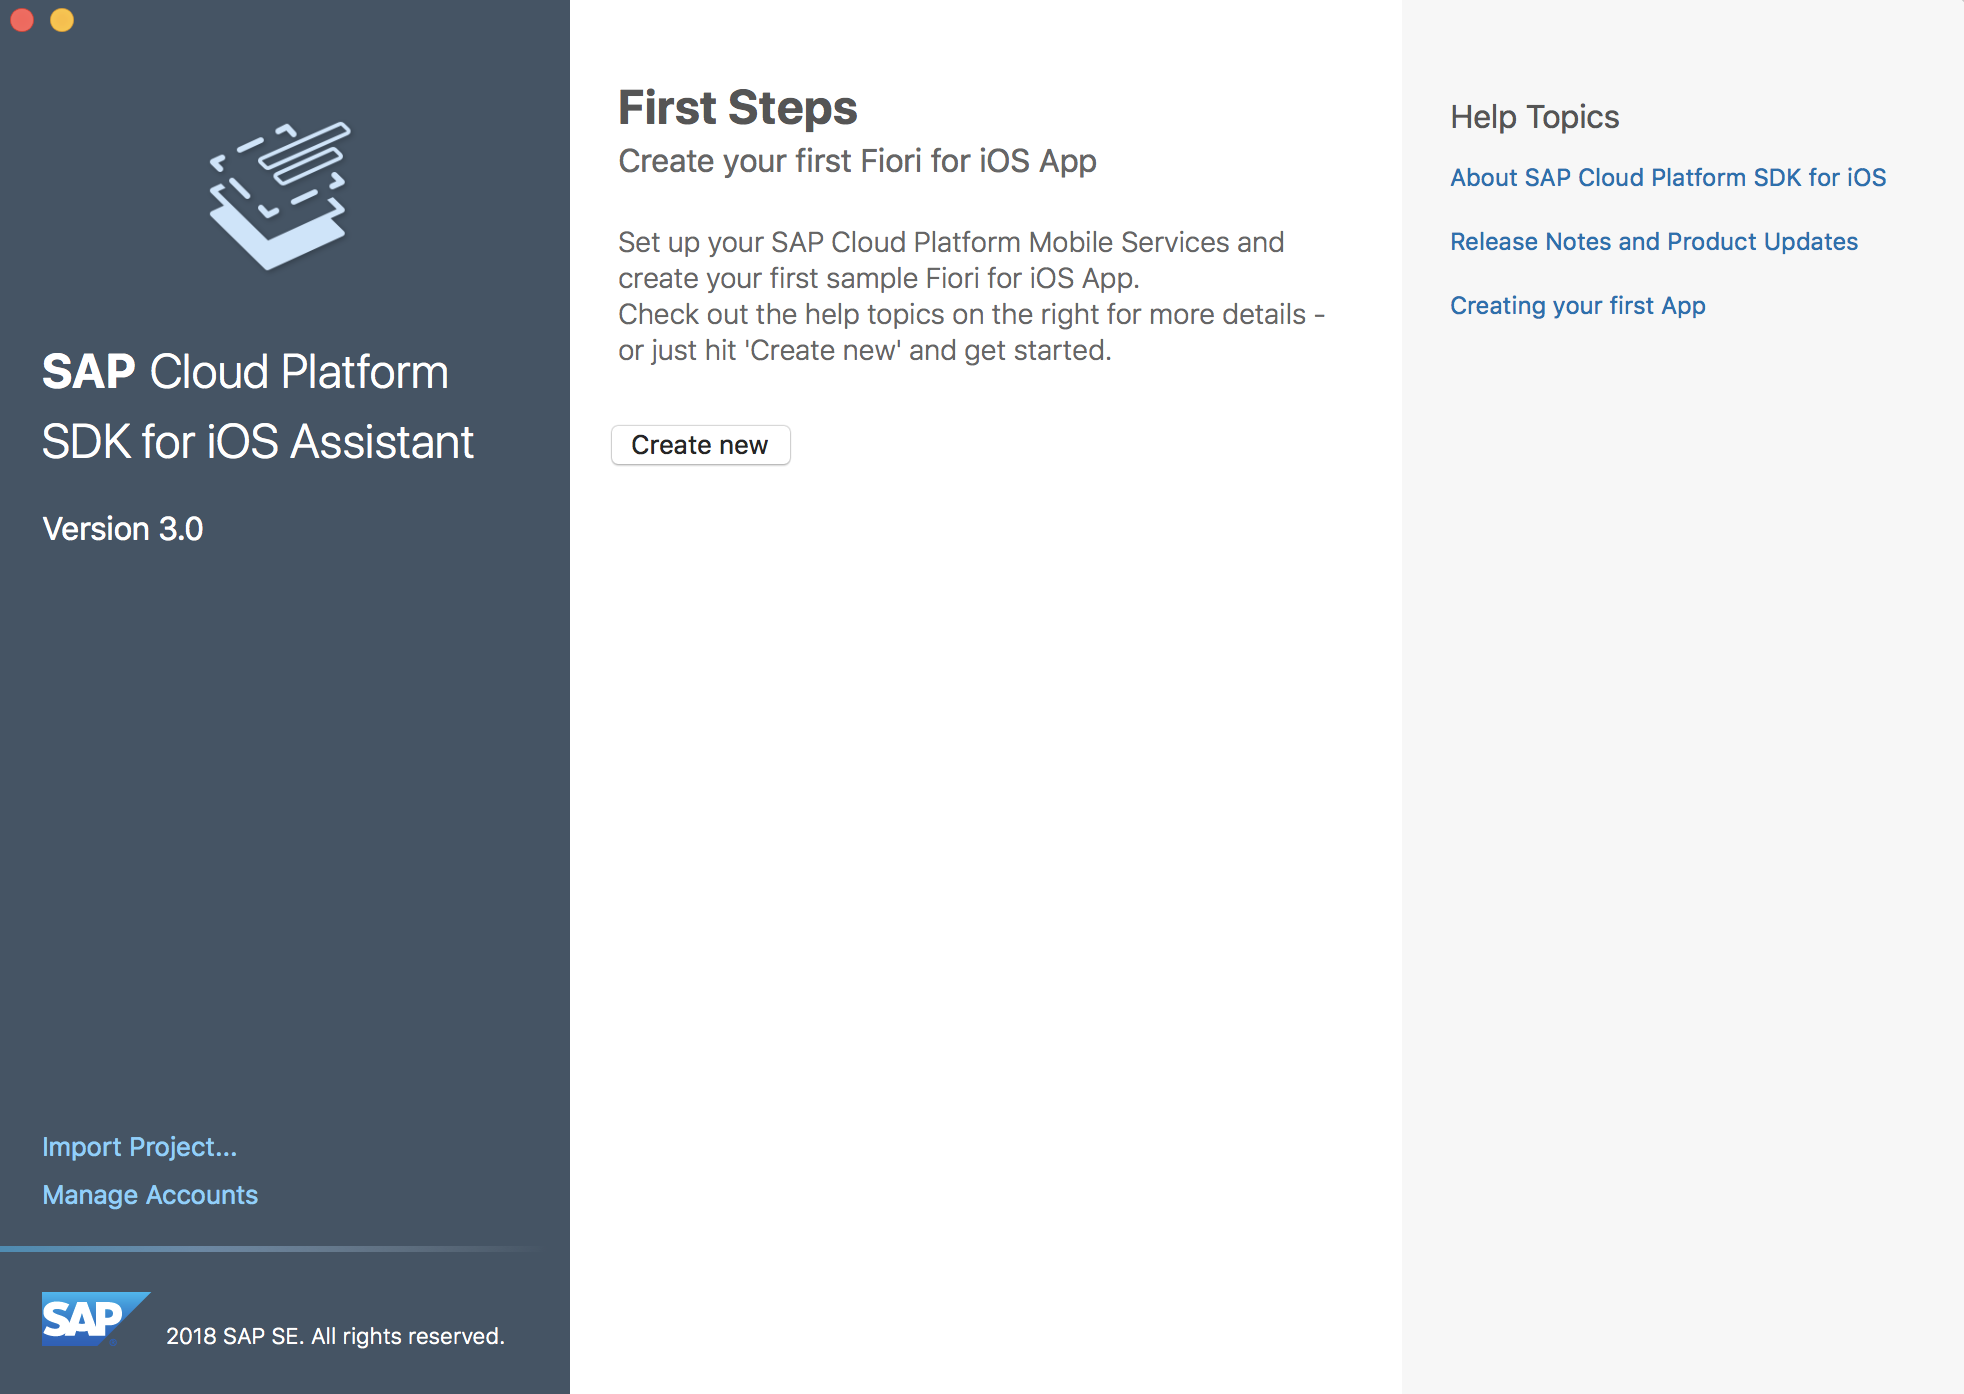
Click the Create new button.
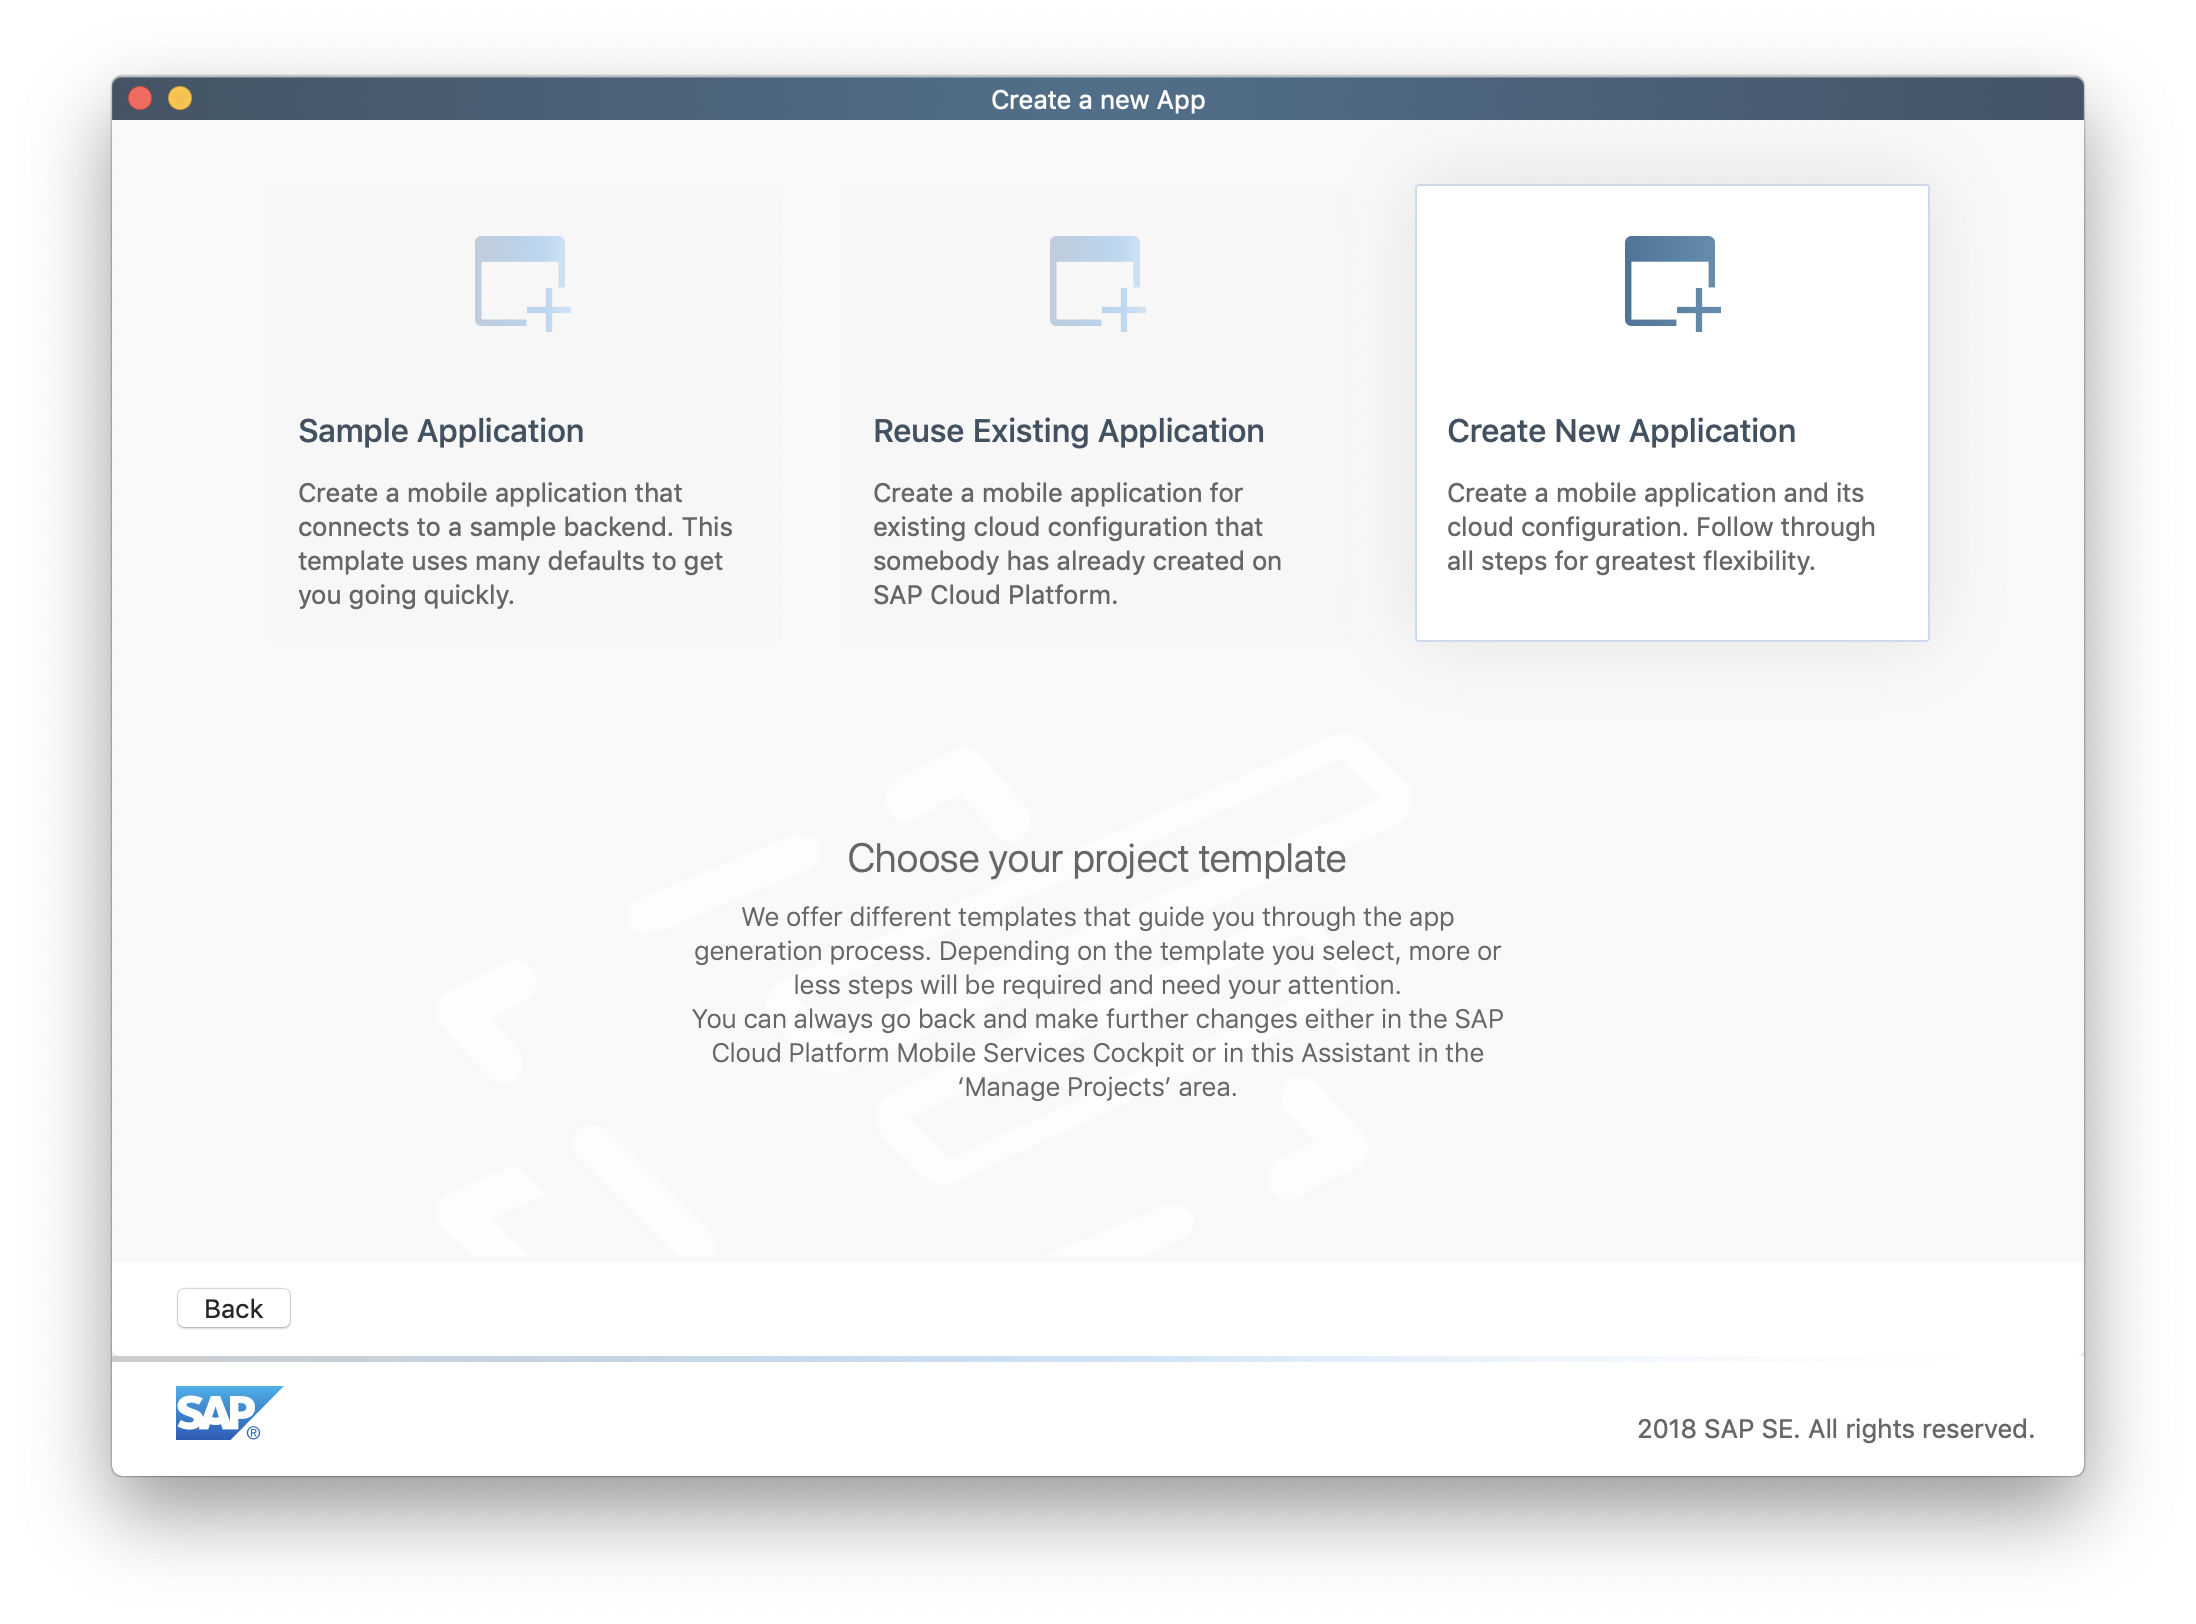
To create a new application, click Create New Application.
Select Mobile Services on Neo Trial for the Account and click Next.
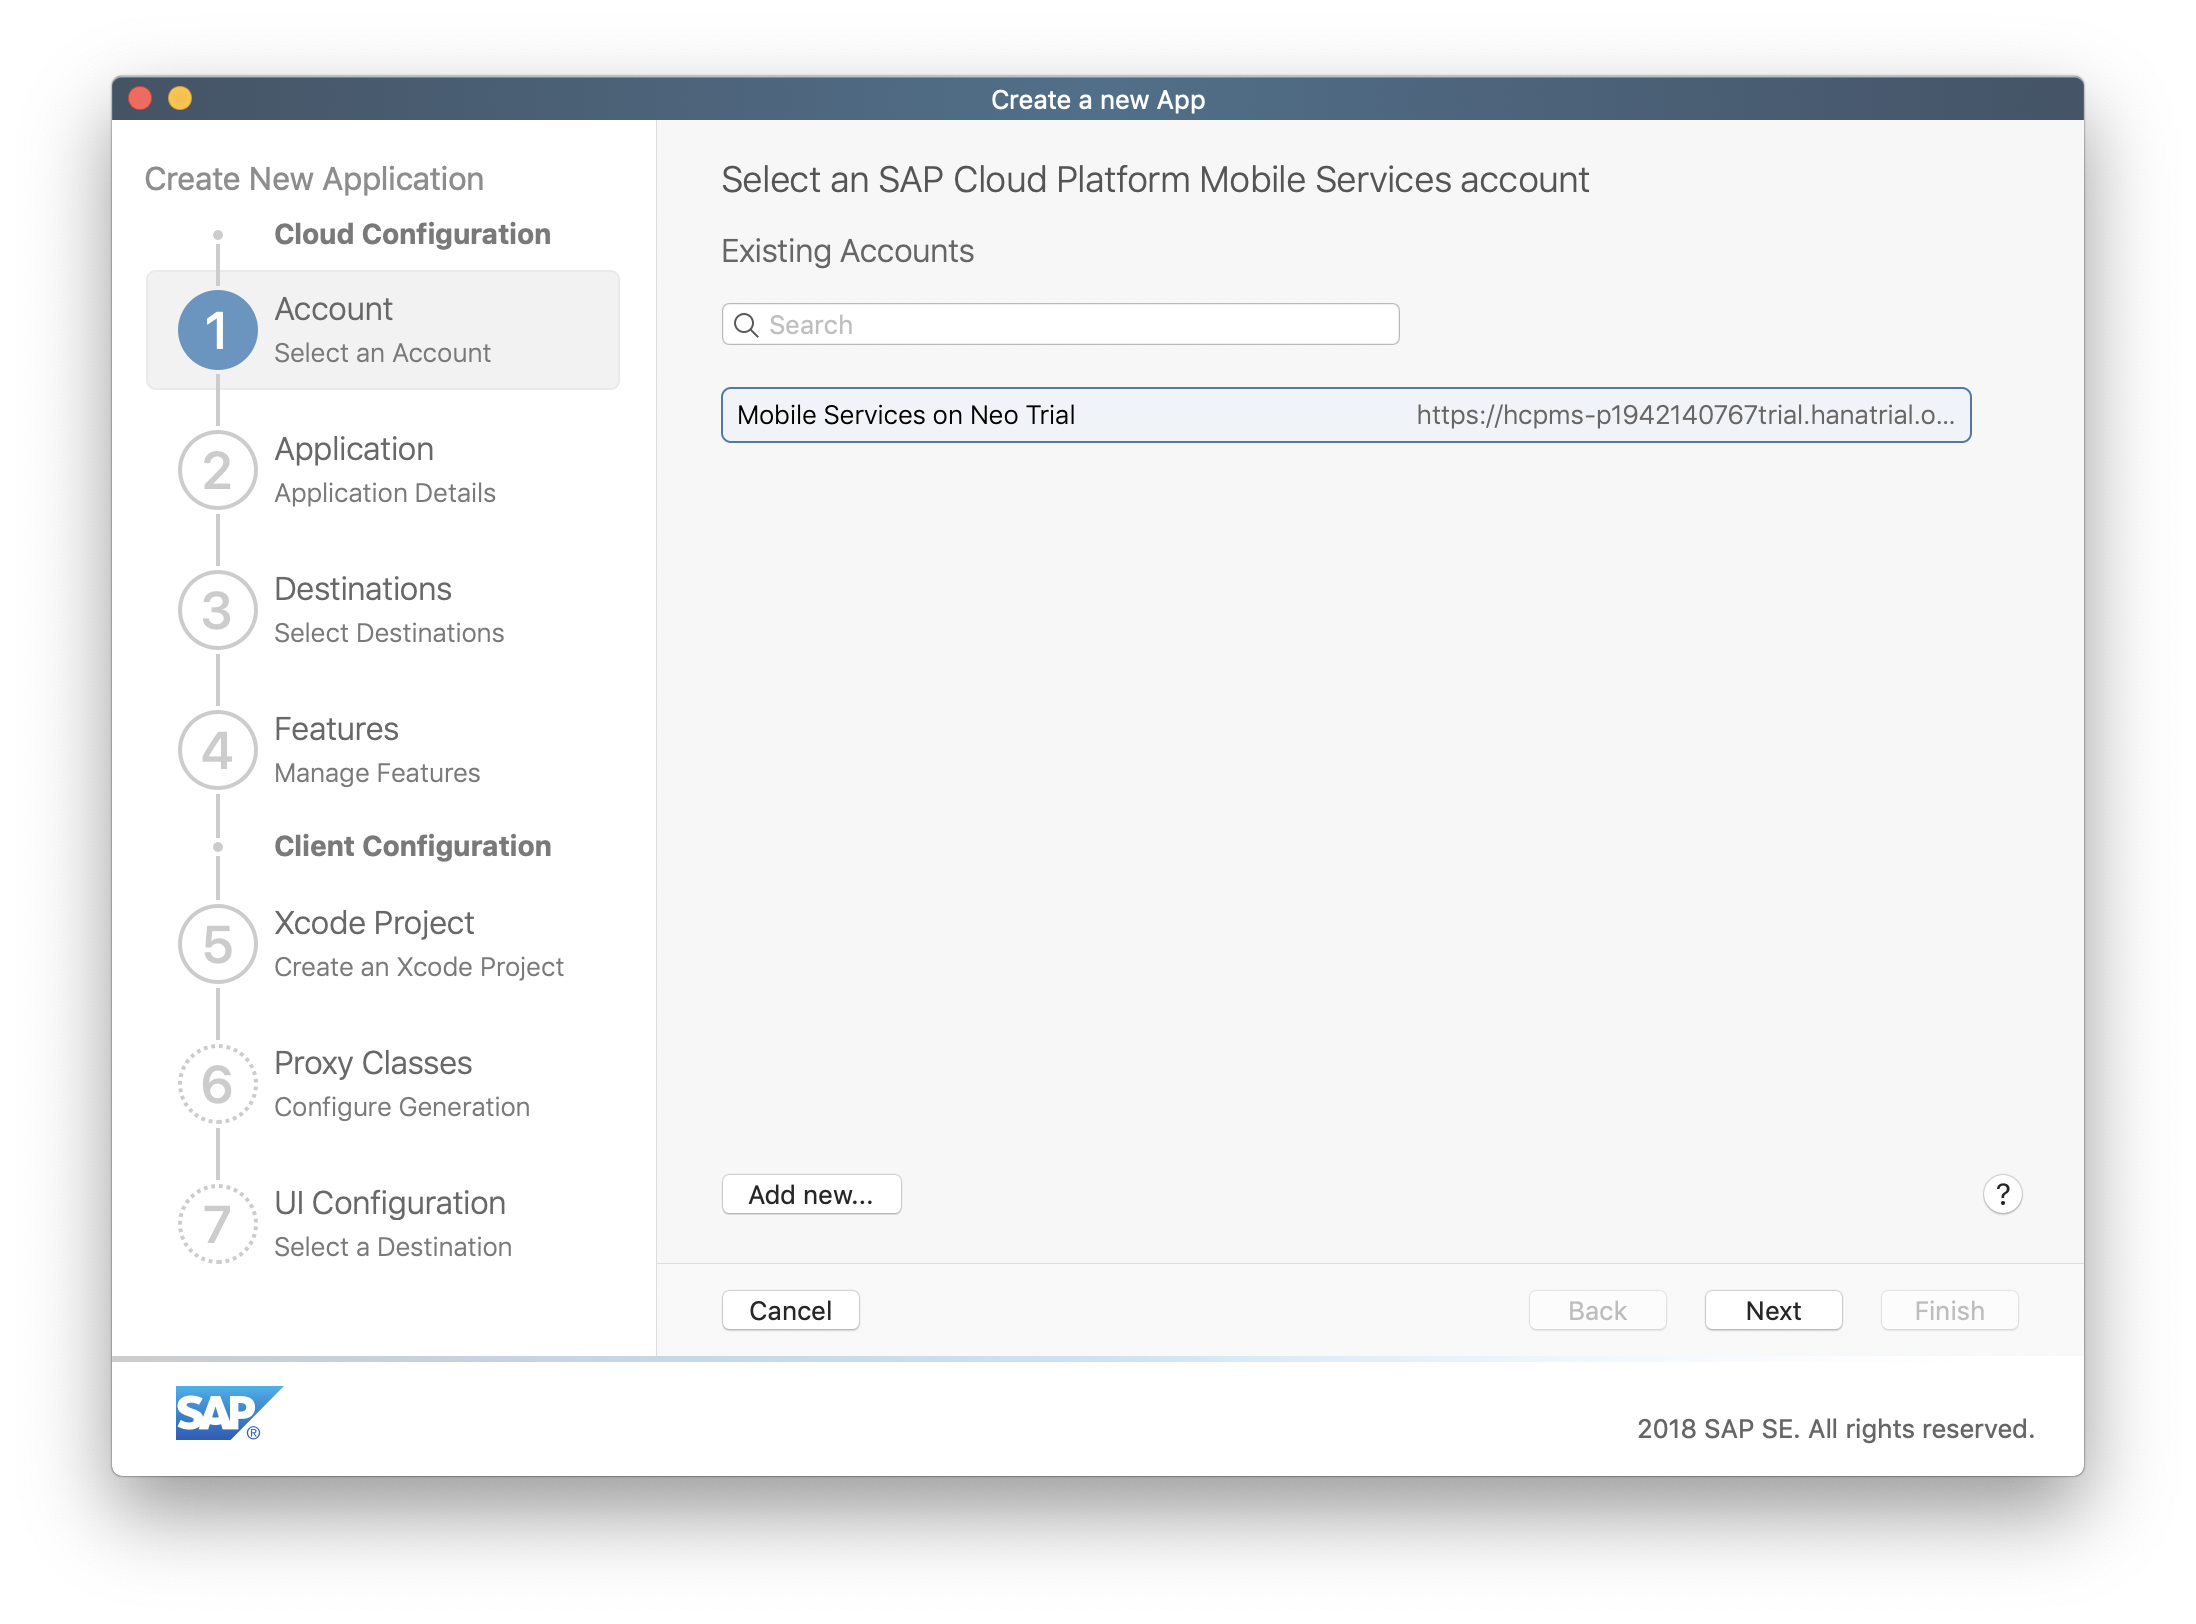
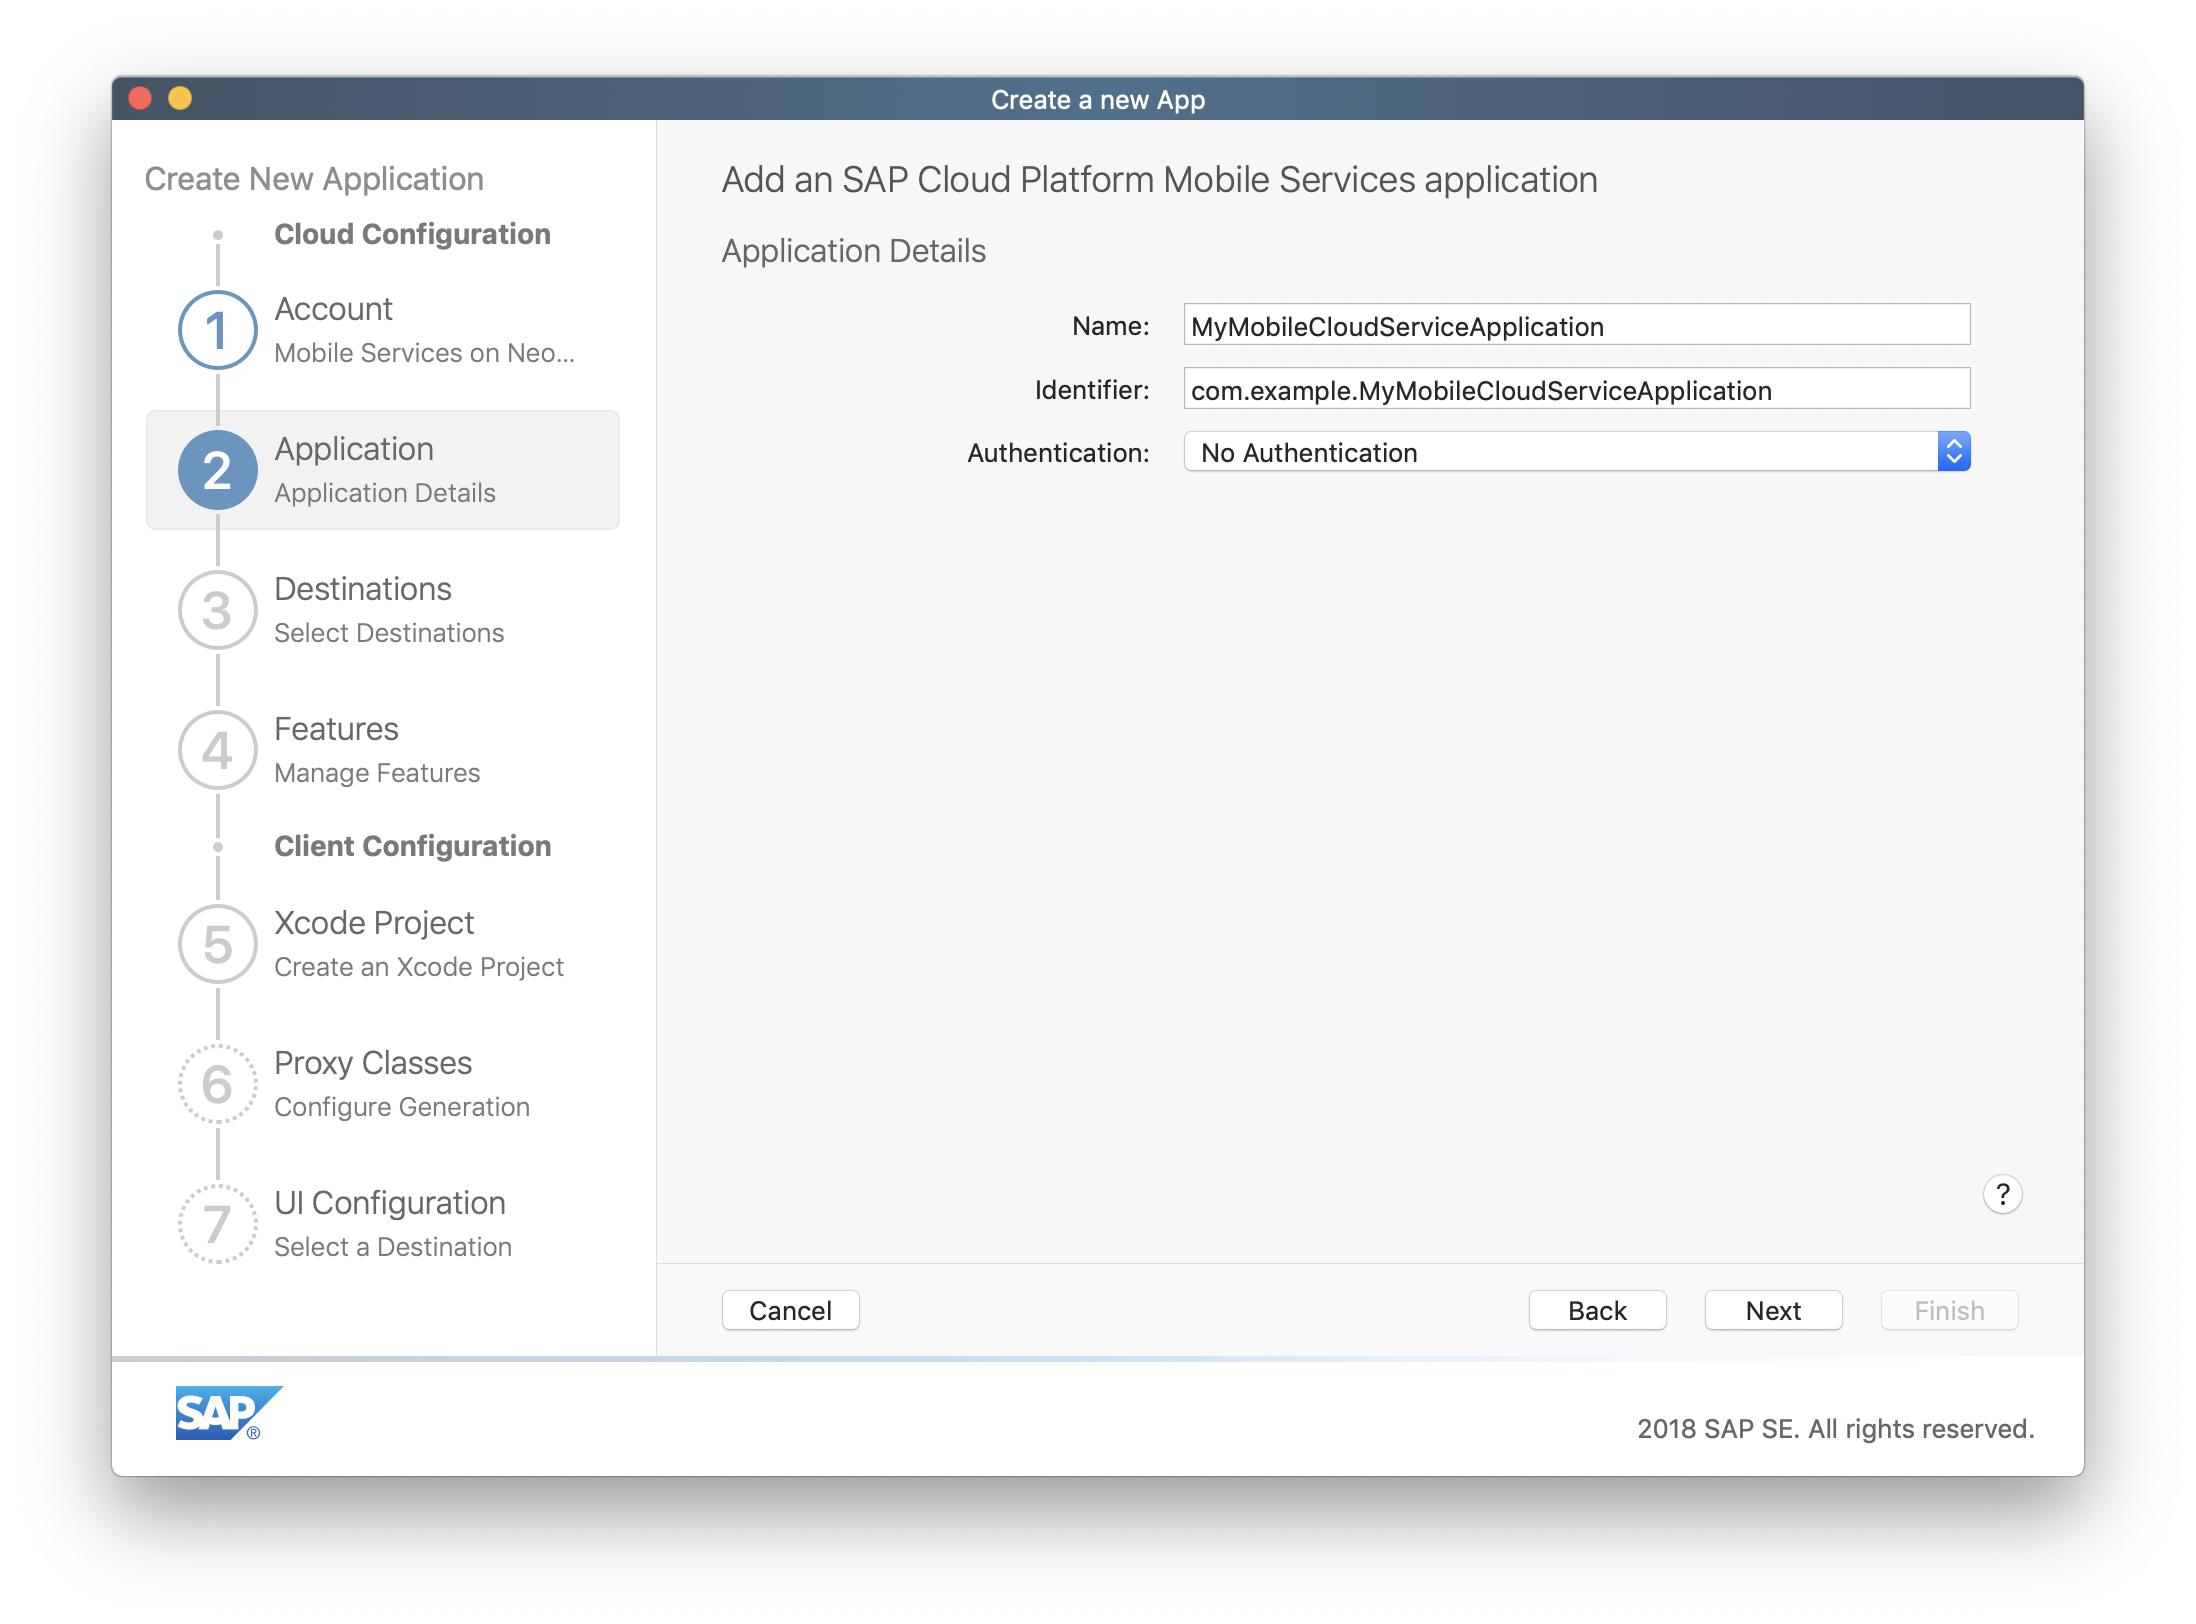
The next configuration step will create a SAP Cloud Platform Mobile Services application for you.
Enter the following information:
| Field | Information |
|---|---|
| Name | MyMobileCloudServiceApplication |
| Identifier | com.example.MyMobileCloudServiceApplication |
Select No Authentication from the Authentication dropdown menu and click Next. The identifier is important to get the Travel Expense app in this repository working later.
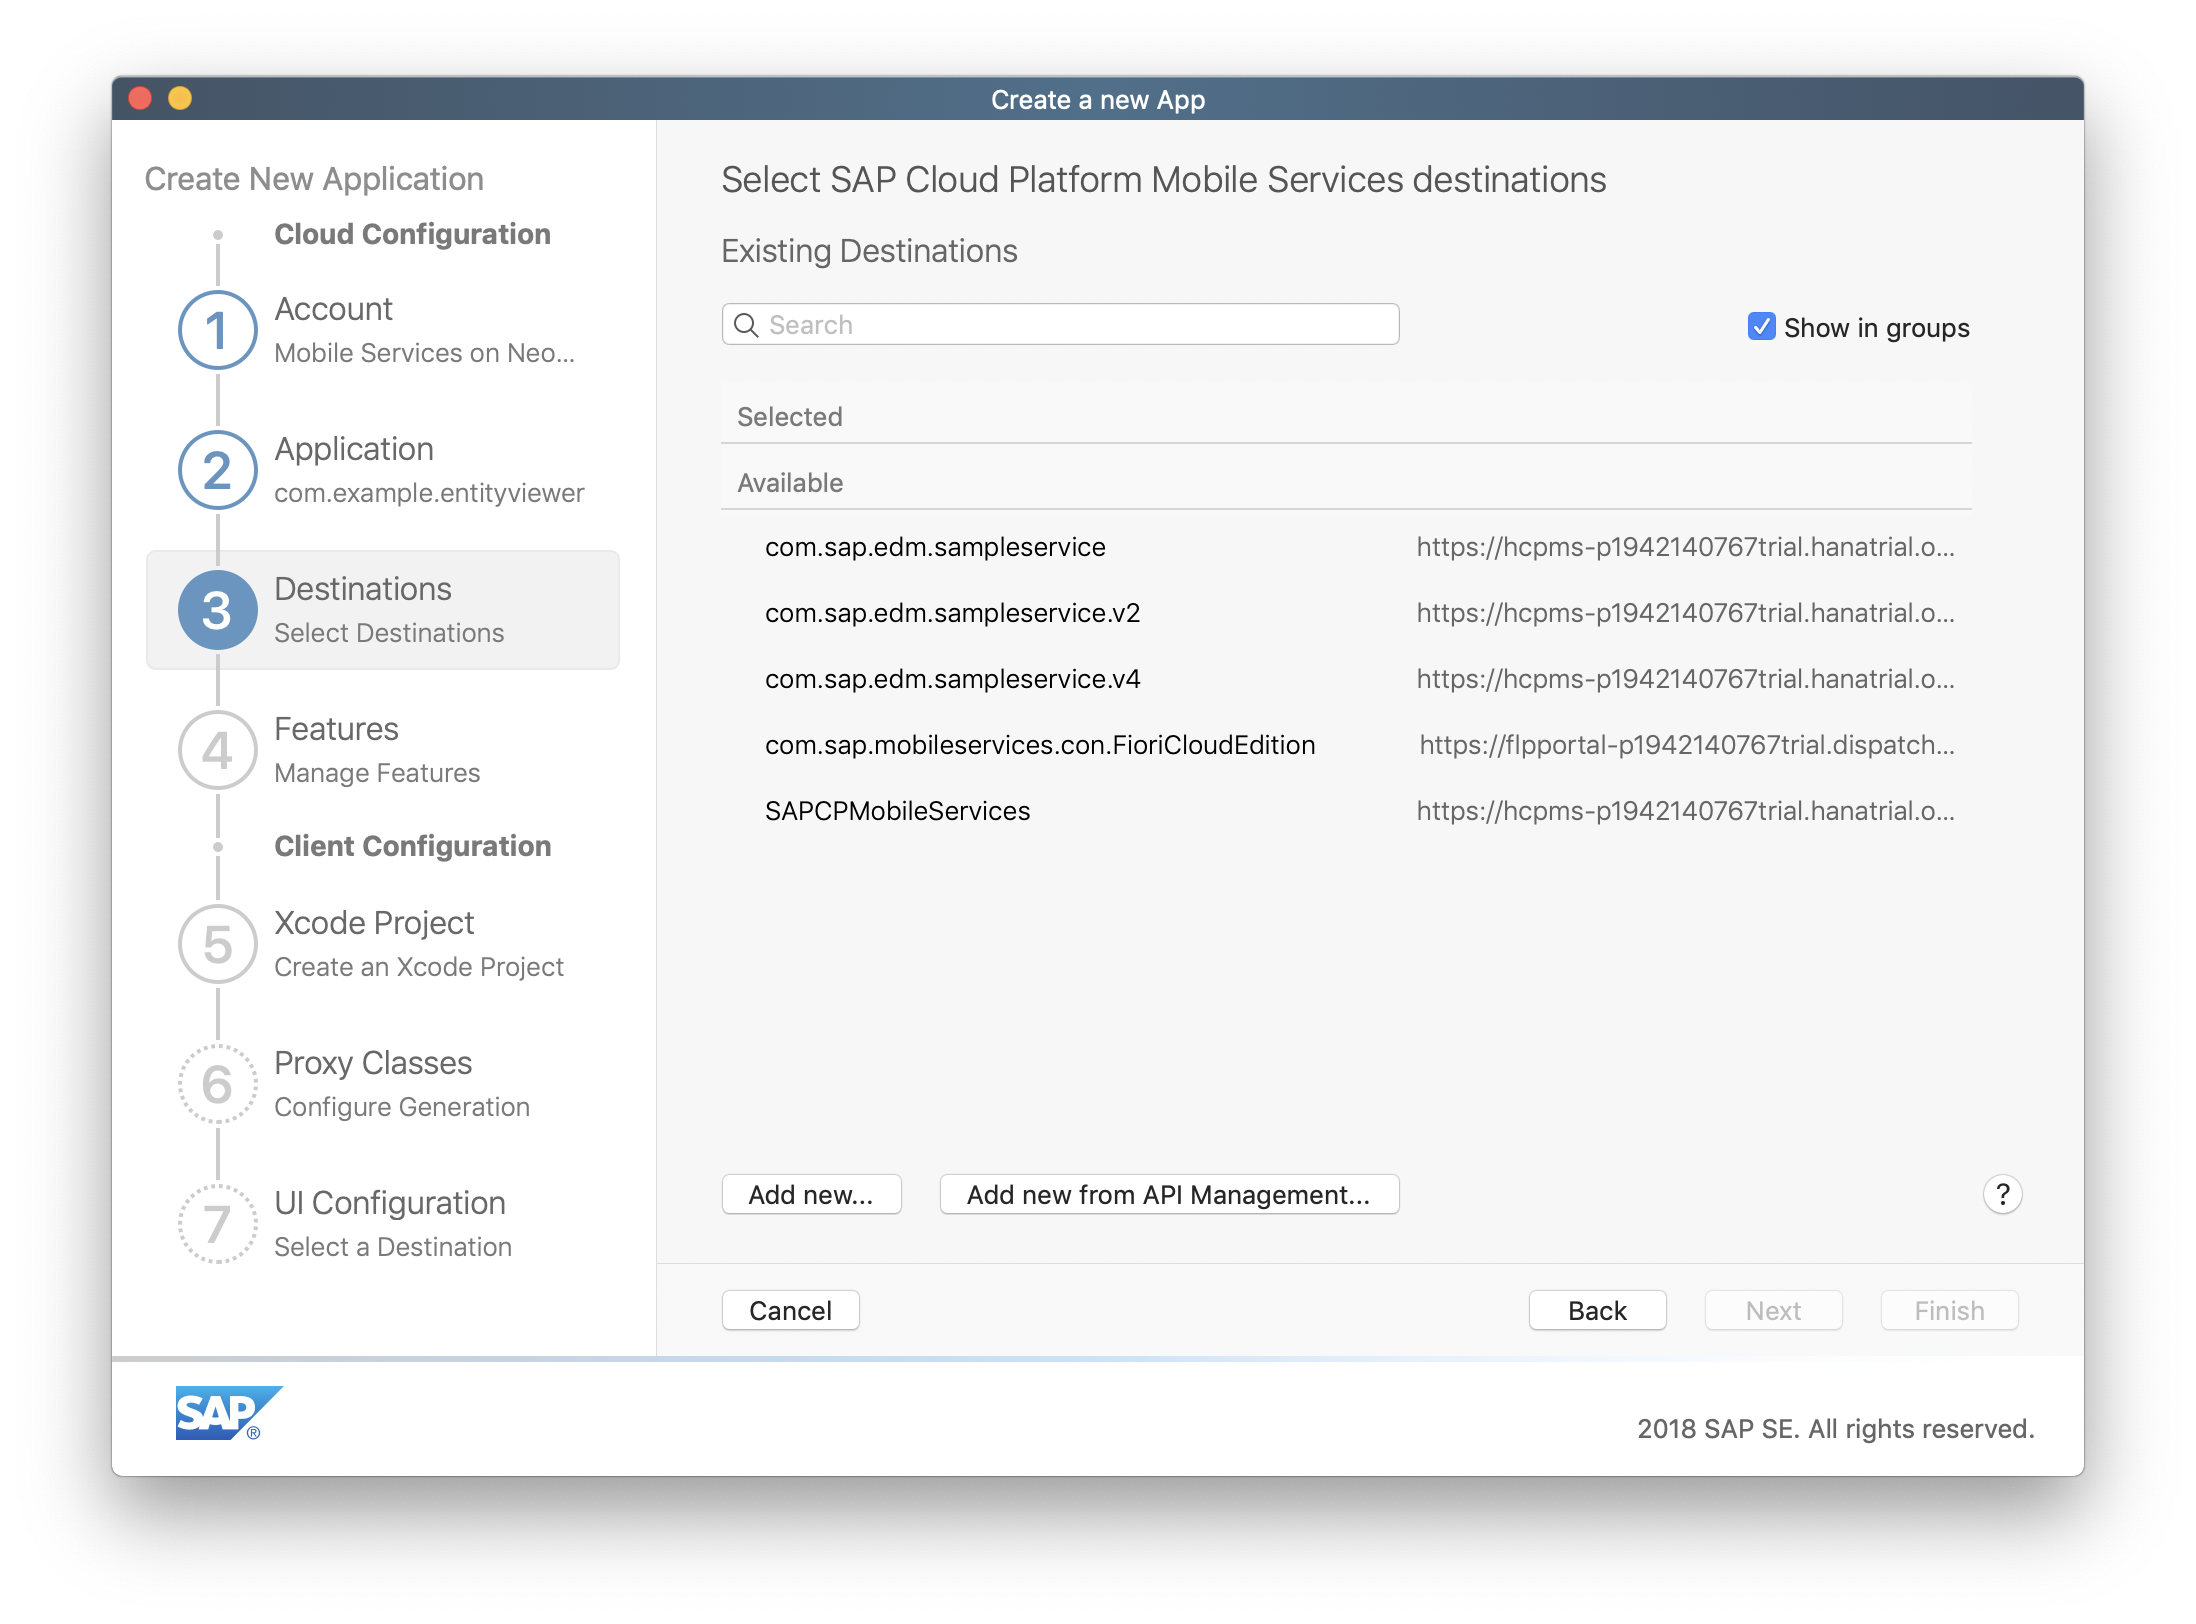
In the next step you need to define a Destination to your backend. As we just started our backend in the previous section we have to create a new destination to the backend here.
Click Add new
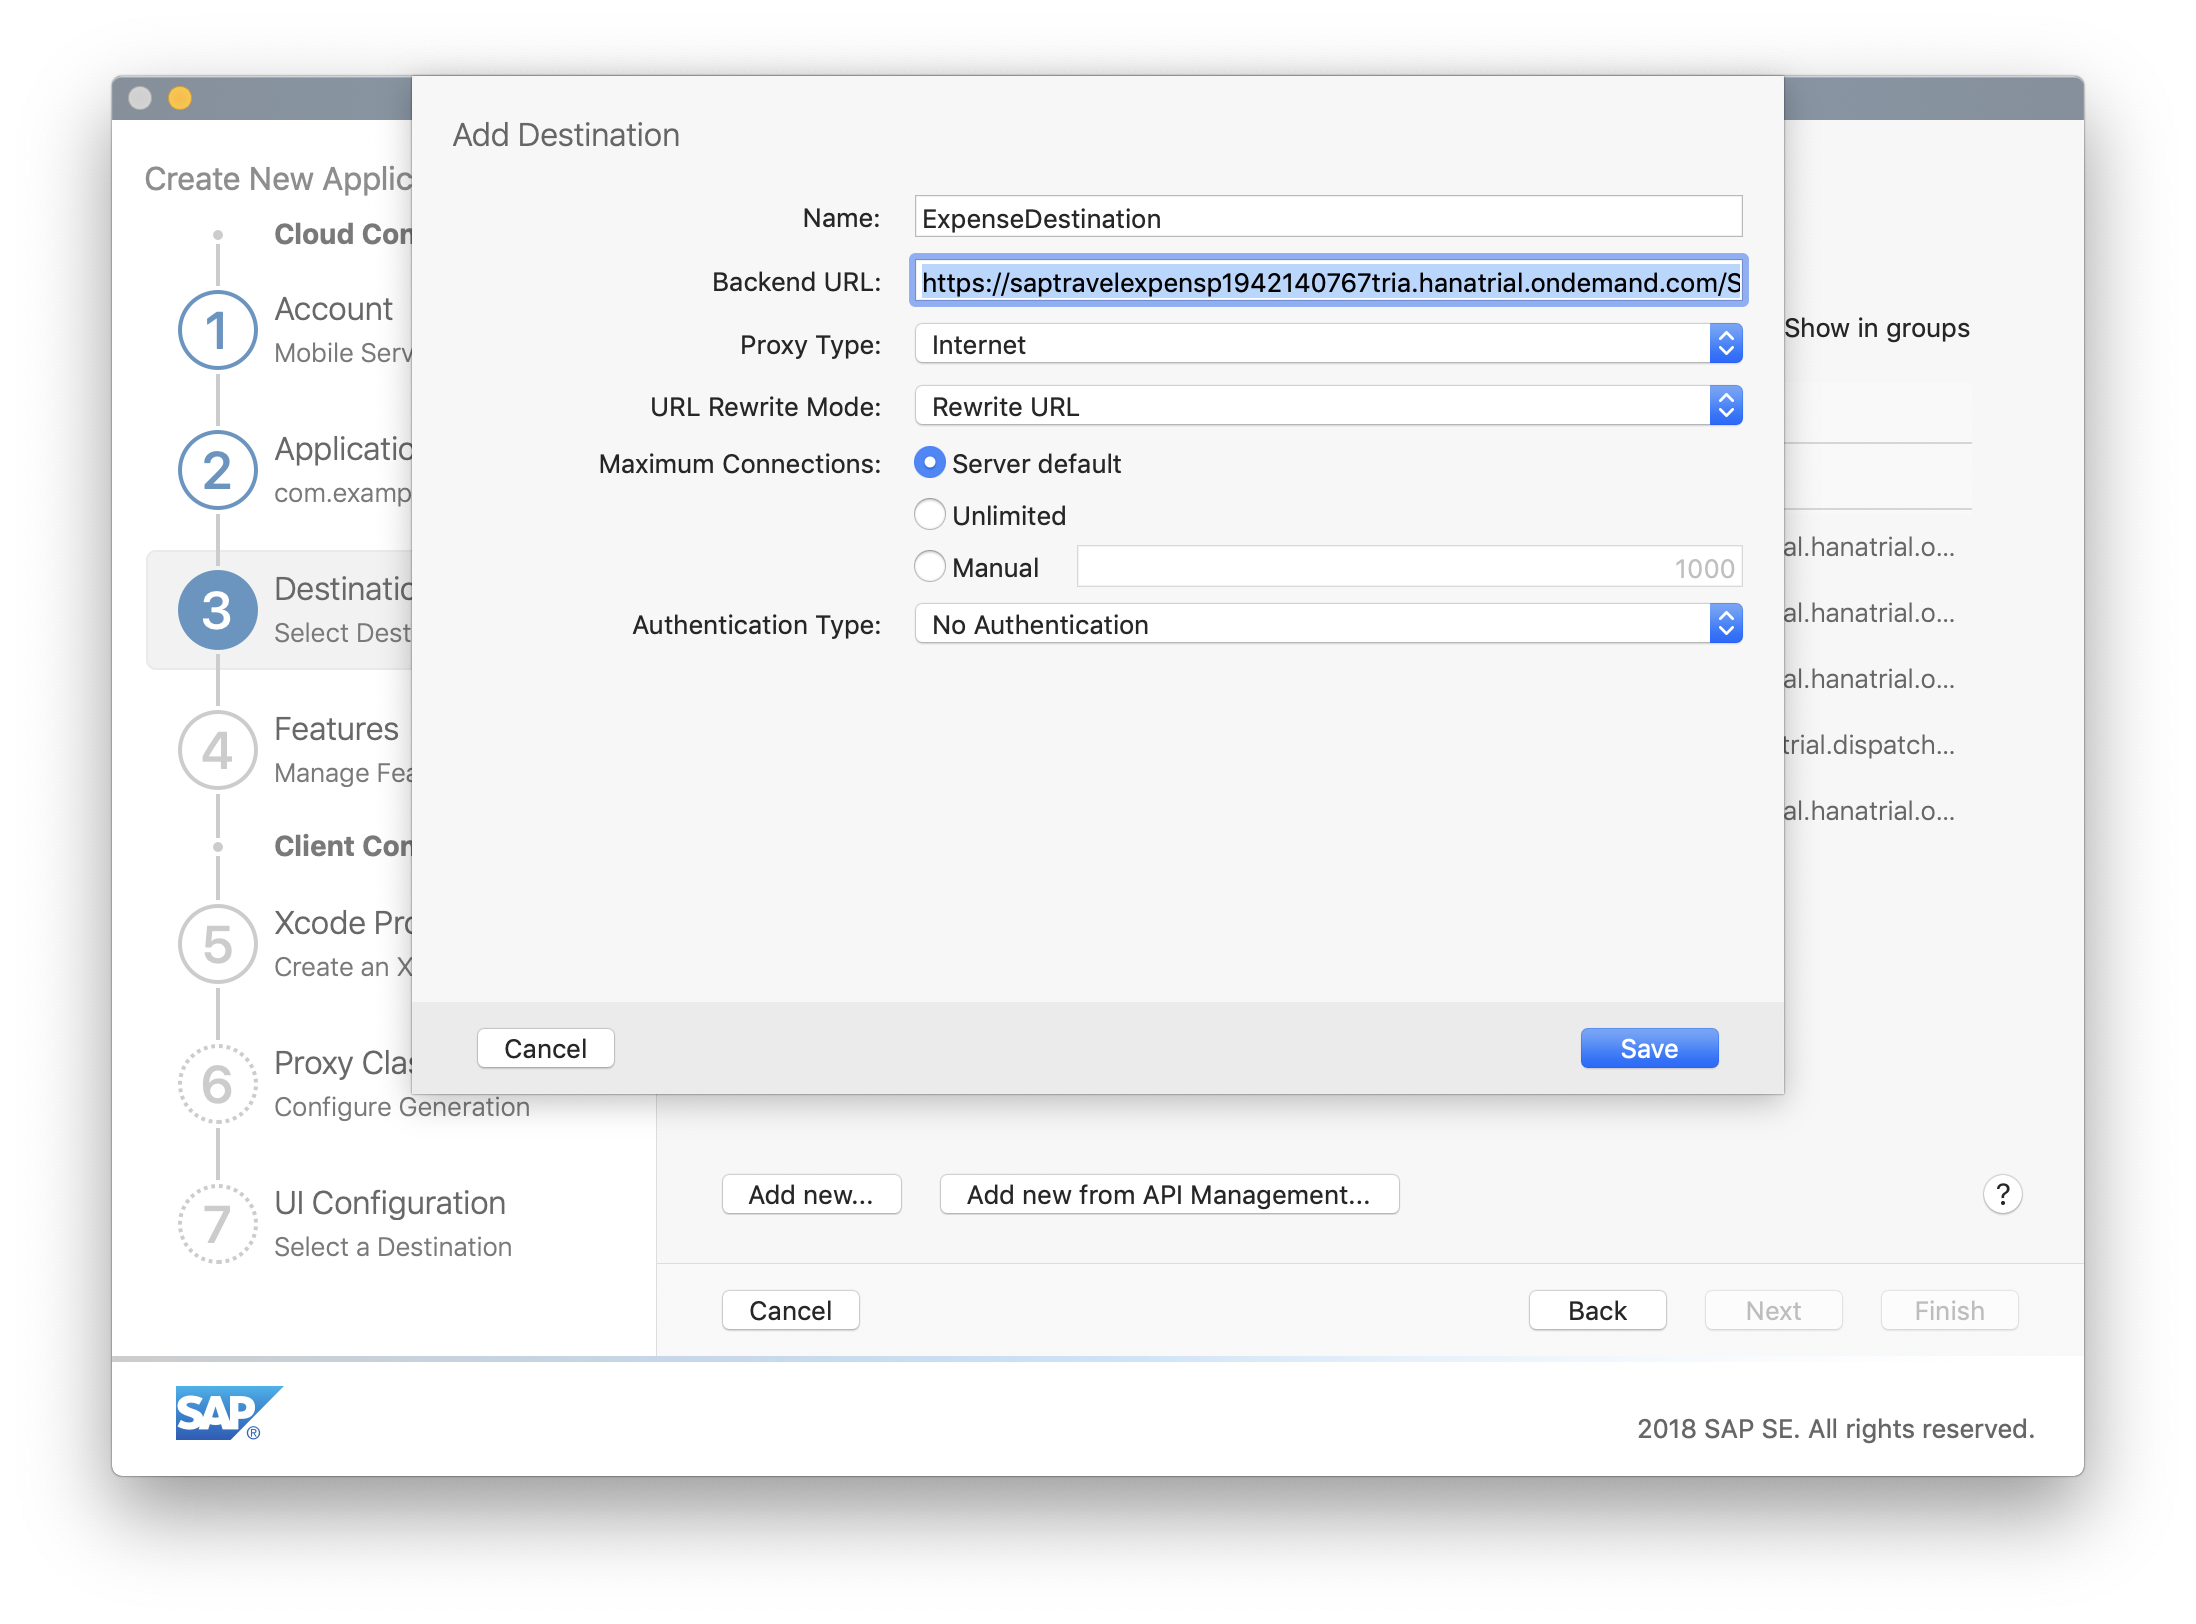
Enter the following information in the corresponding fields:
| Field | Information |
|---|---|
| Name | ExpenseDestination |
| Backend URL | Paste in the URL from the previous section |
Choose No Authentication from the Authentication Type dropdown and click Save.
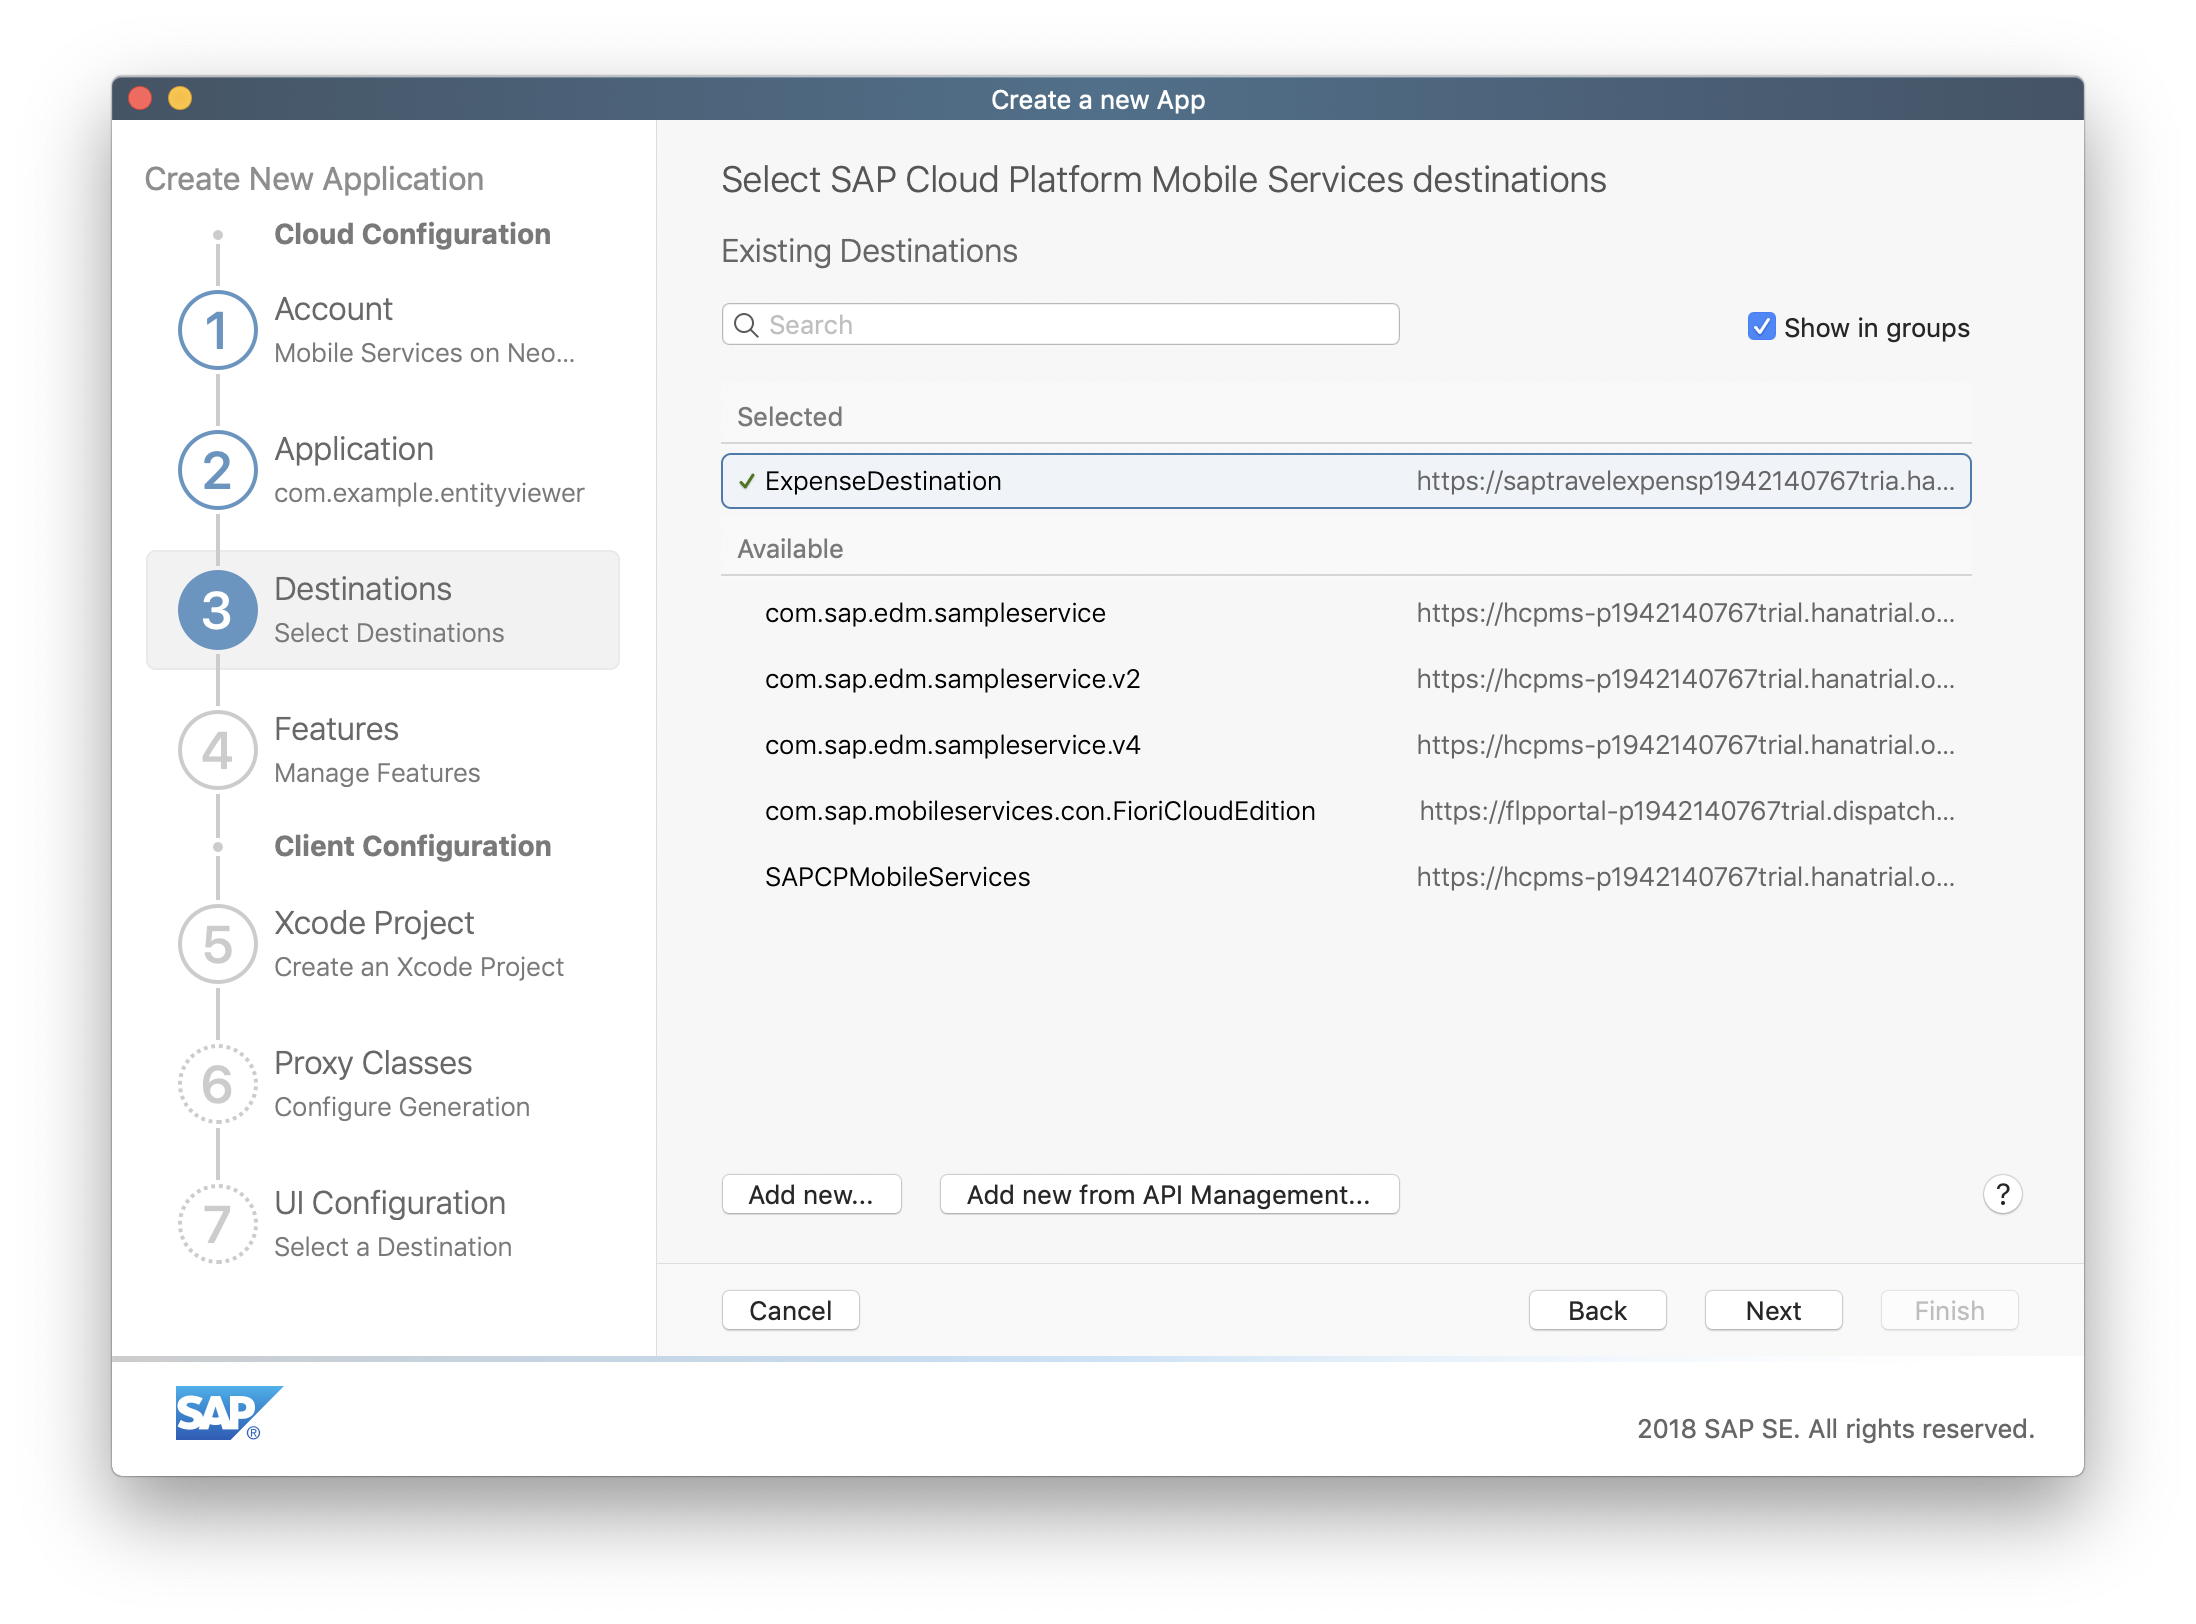
To continue with the project creation click Next.
For this step select Enable Offline Data, keep all the defaults, and click Next.

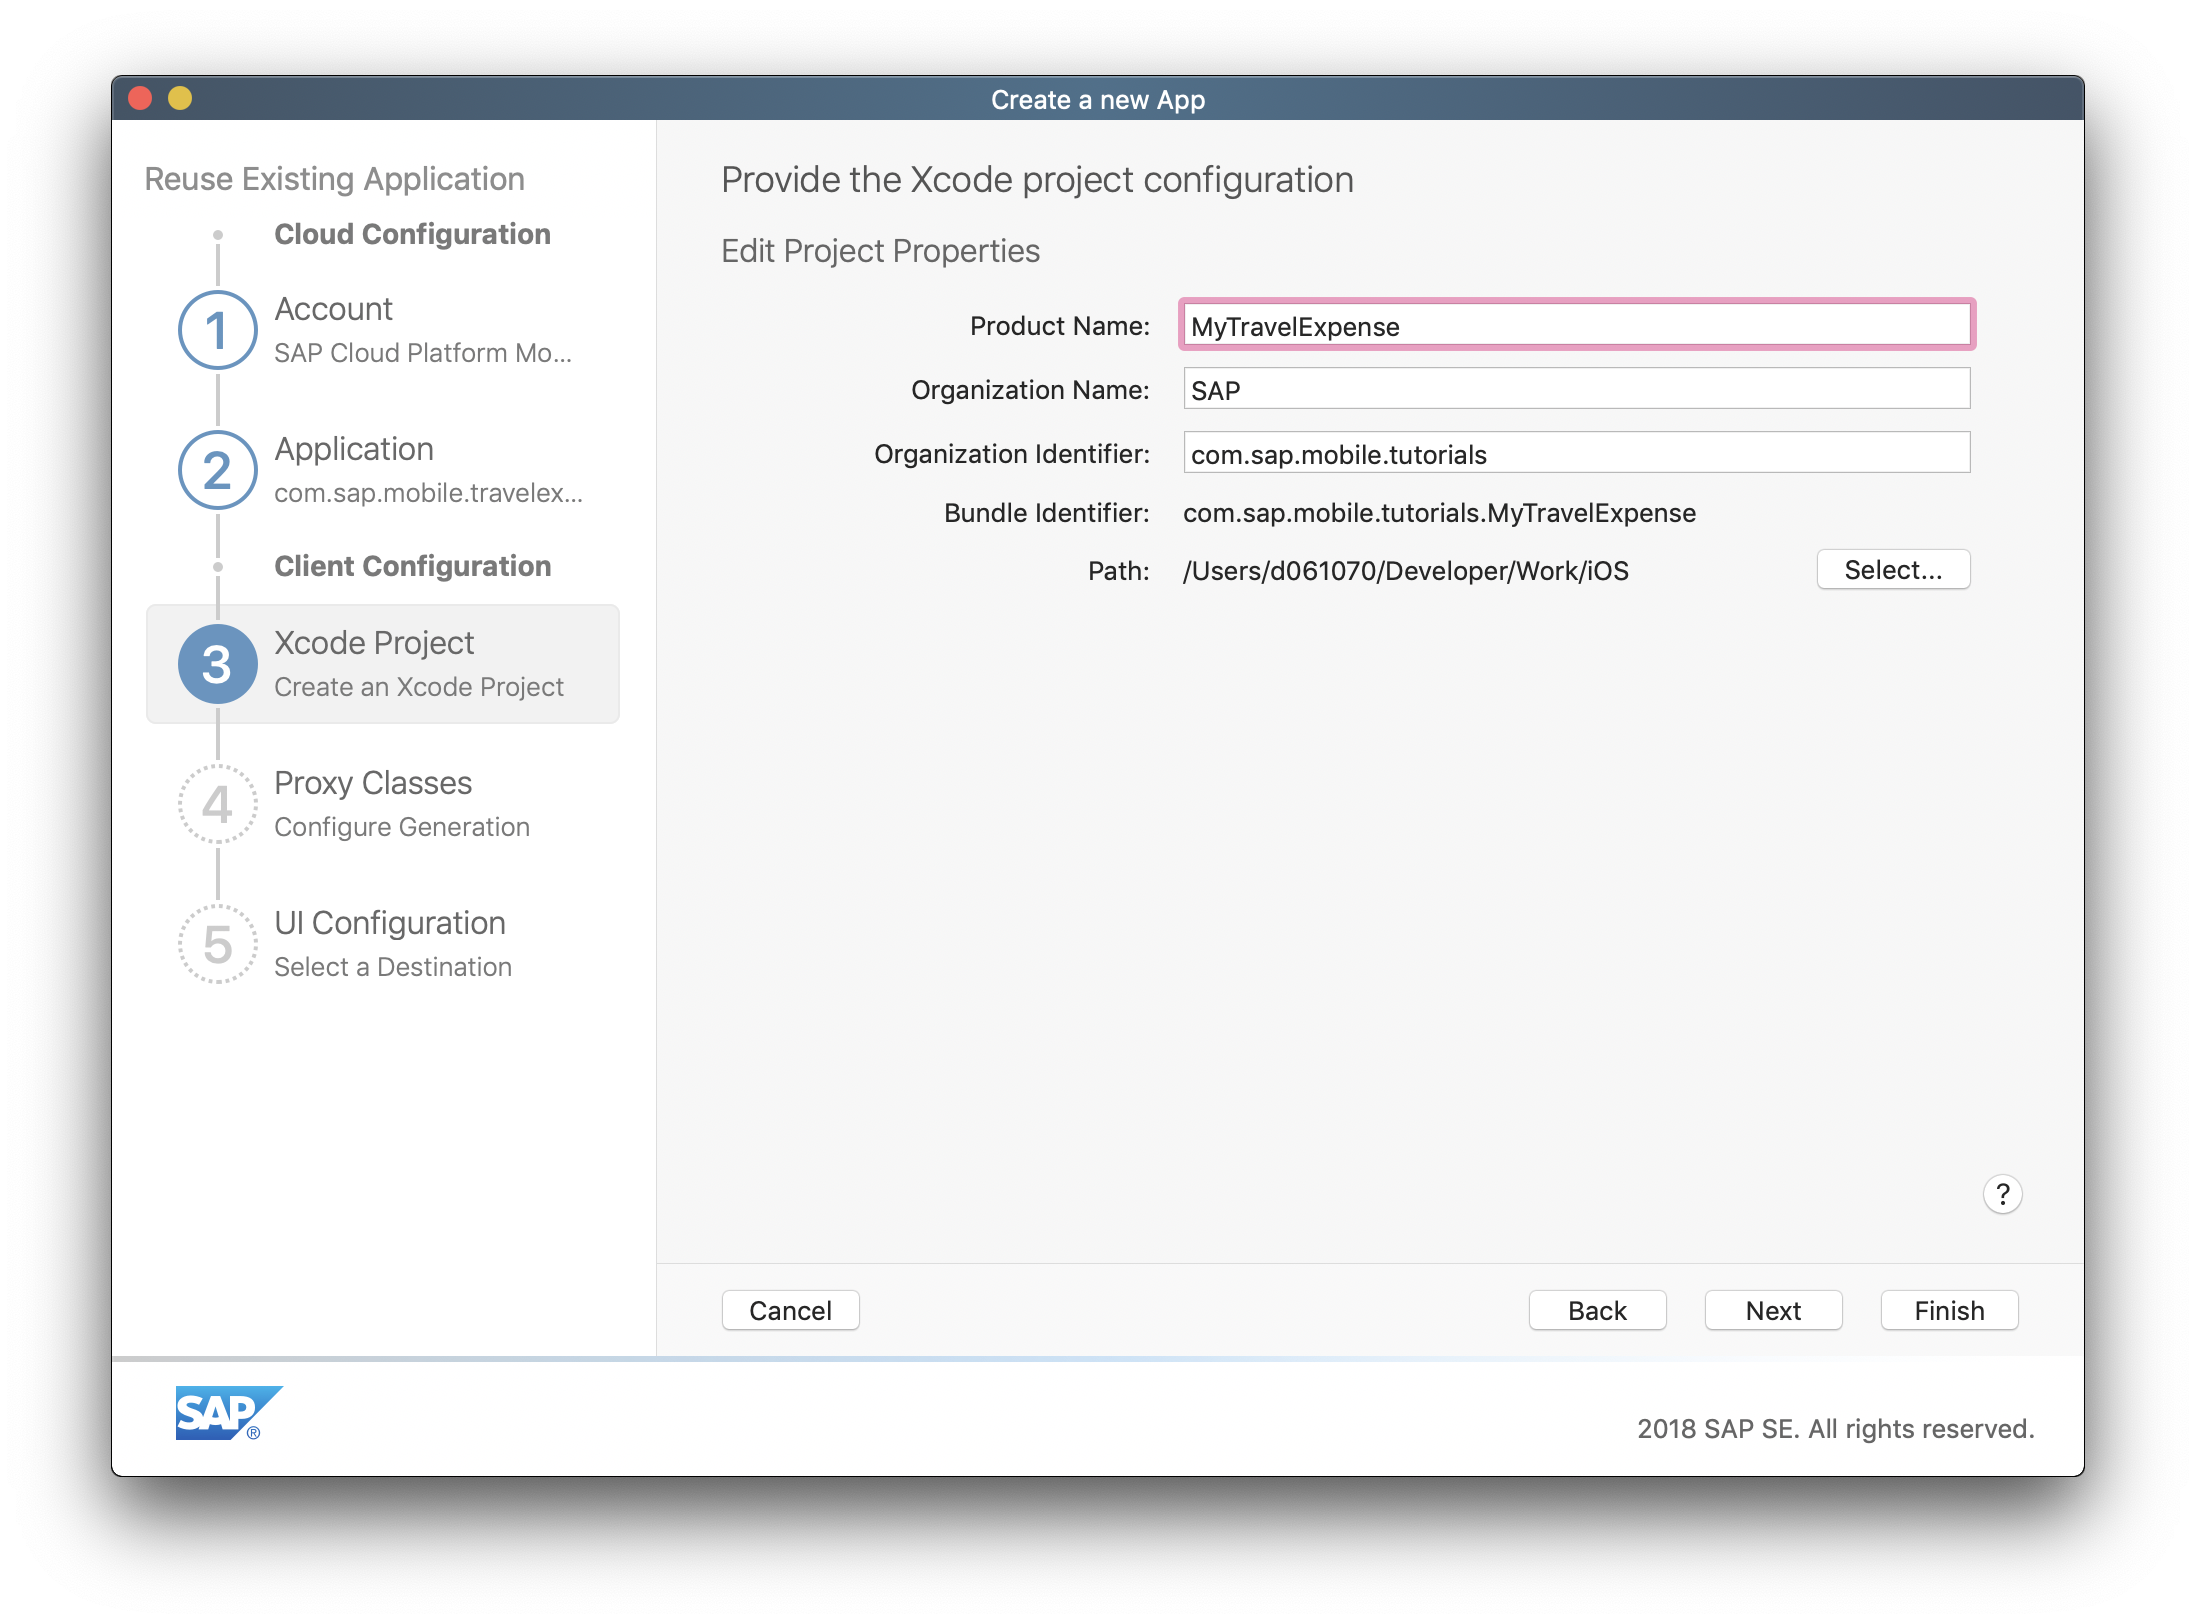
This step populate the information in your Xcode Project later on, so please enter the following information:
| Field | Information |
|---|---|
| Product Name | MyTravelExpense |
| Organization Name | Your Company |
| Organization Identifier | Your Company |
Select a path where you want to create your Xcode project and click Finish.
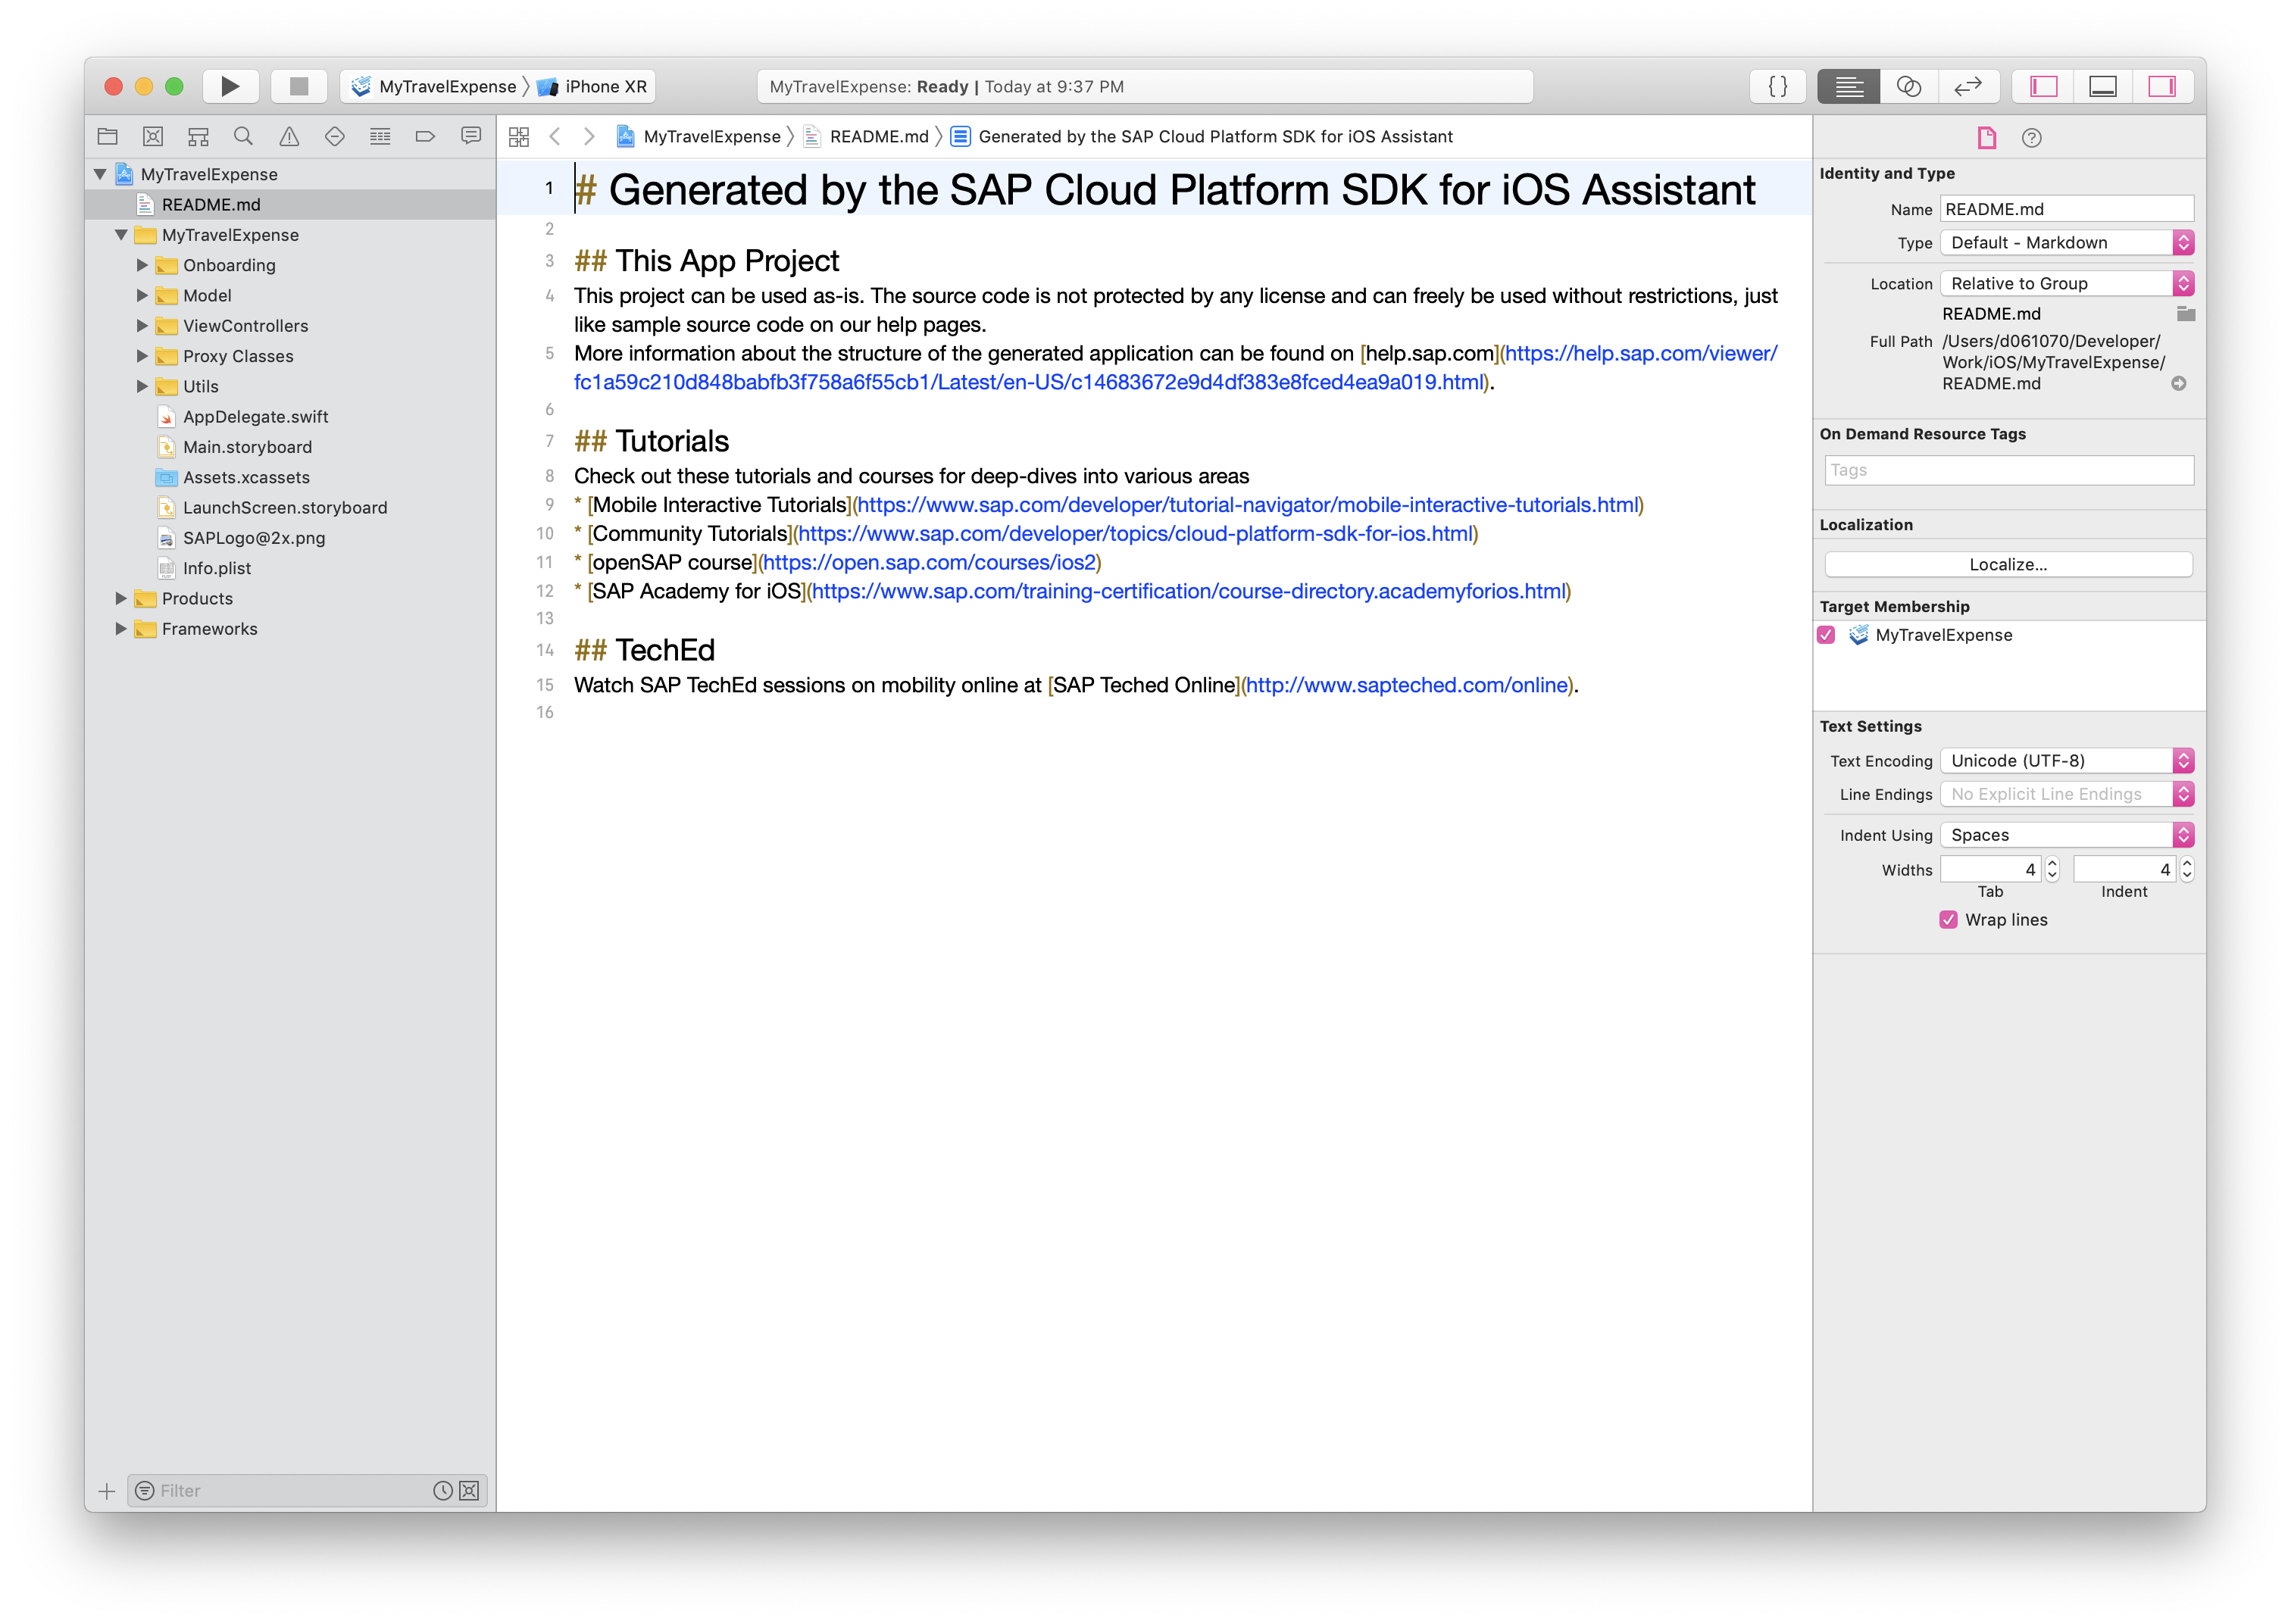
Xcode should automatically open your just created project.
To run your application in the iOS simulator, choose the iPhone X scheme and click the Run button.
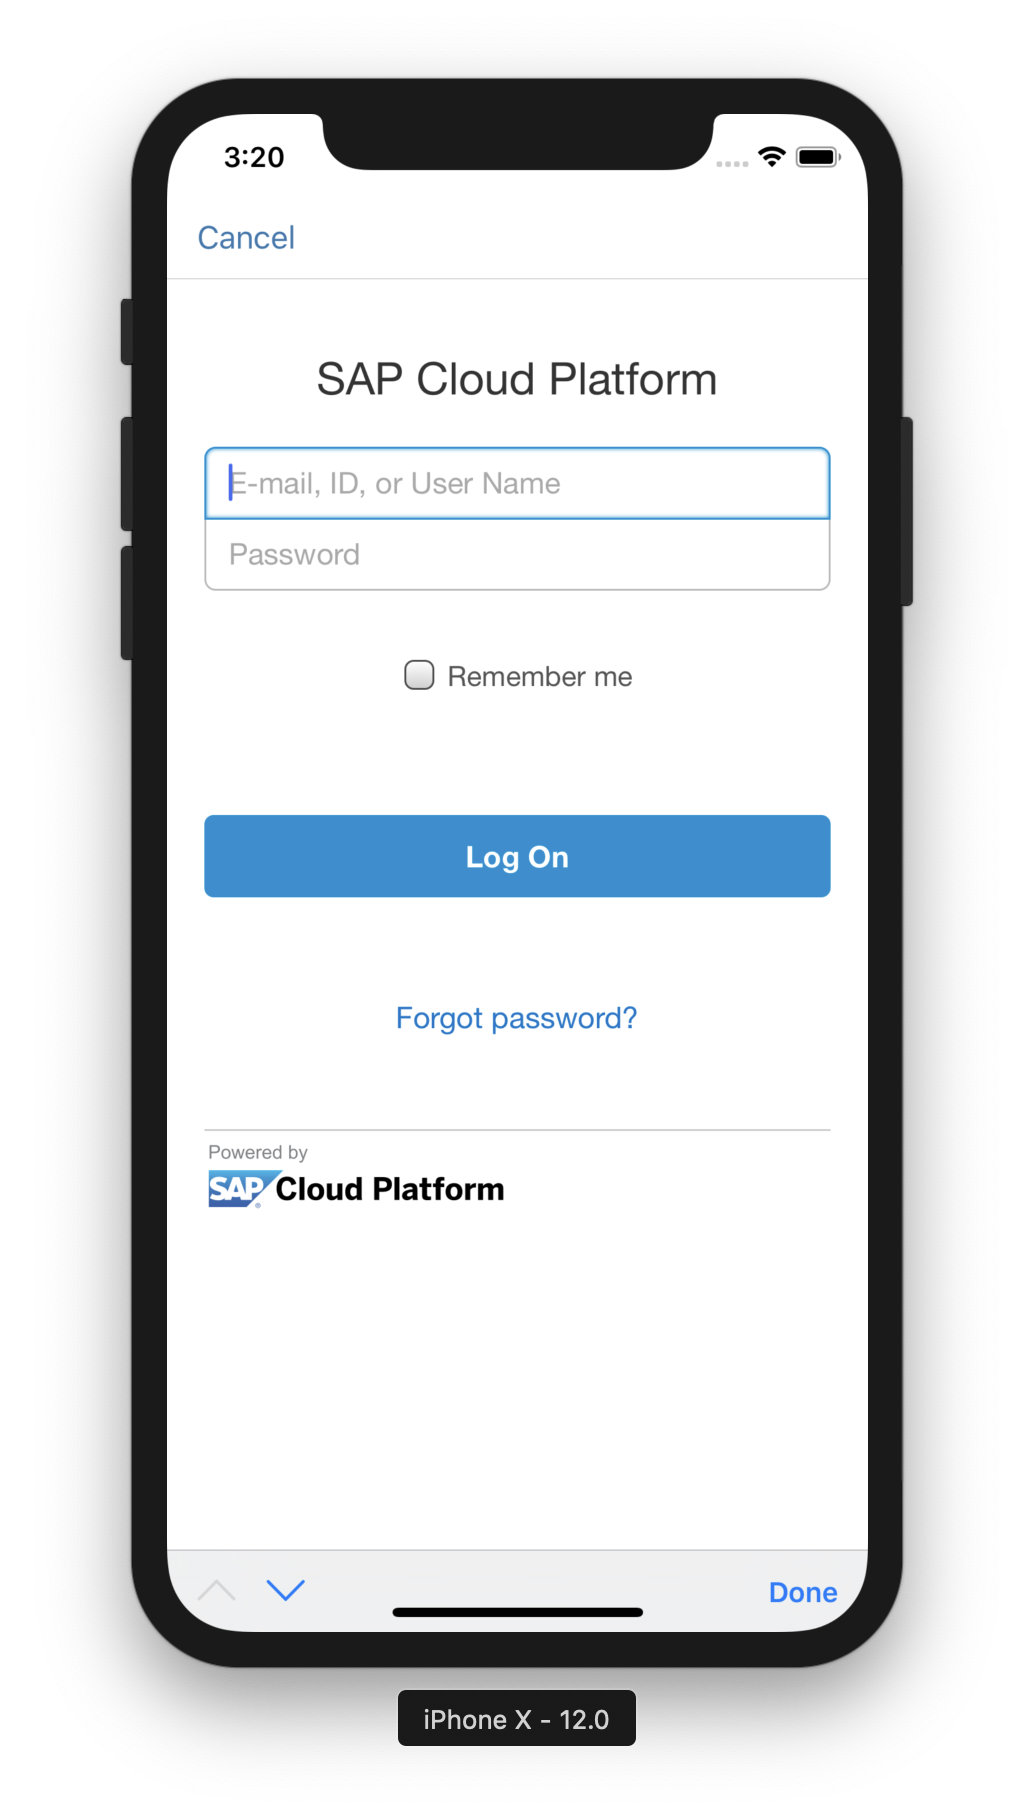
To log-on enter your SAP Cloud Platfrom account username and password.
The on-boarding screens will be presented, enter a pass code, then you’ll land on the main app screen where you can explore the data on your deployed backend.

Because this minimal iOS app has all the sample code required to query, create, and modify expense entities, you can use it as the base for implementing your own views leveraging Fiori for iOS controls.
To bypass requests for your passcode with every launch, turn on biometric authentication by selecting Face ID > Enrolled from the Hardware menu in the Simulator app.
You can leverage the backend data and cloud application created in the previous steps to configure the Travel Expense sample in this repository.
In the Finder, navigate to the local directory where you placed the cloned version of the Travel Expense repository.
Open the Xcode project file titled TravelExpenses.xcodeproj.
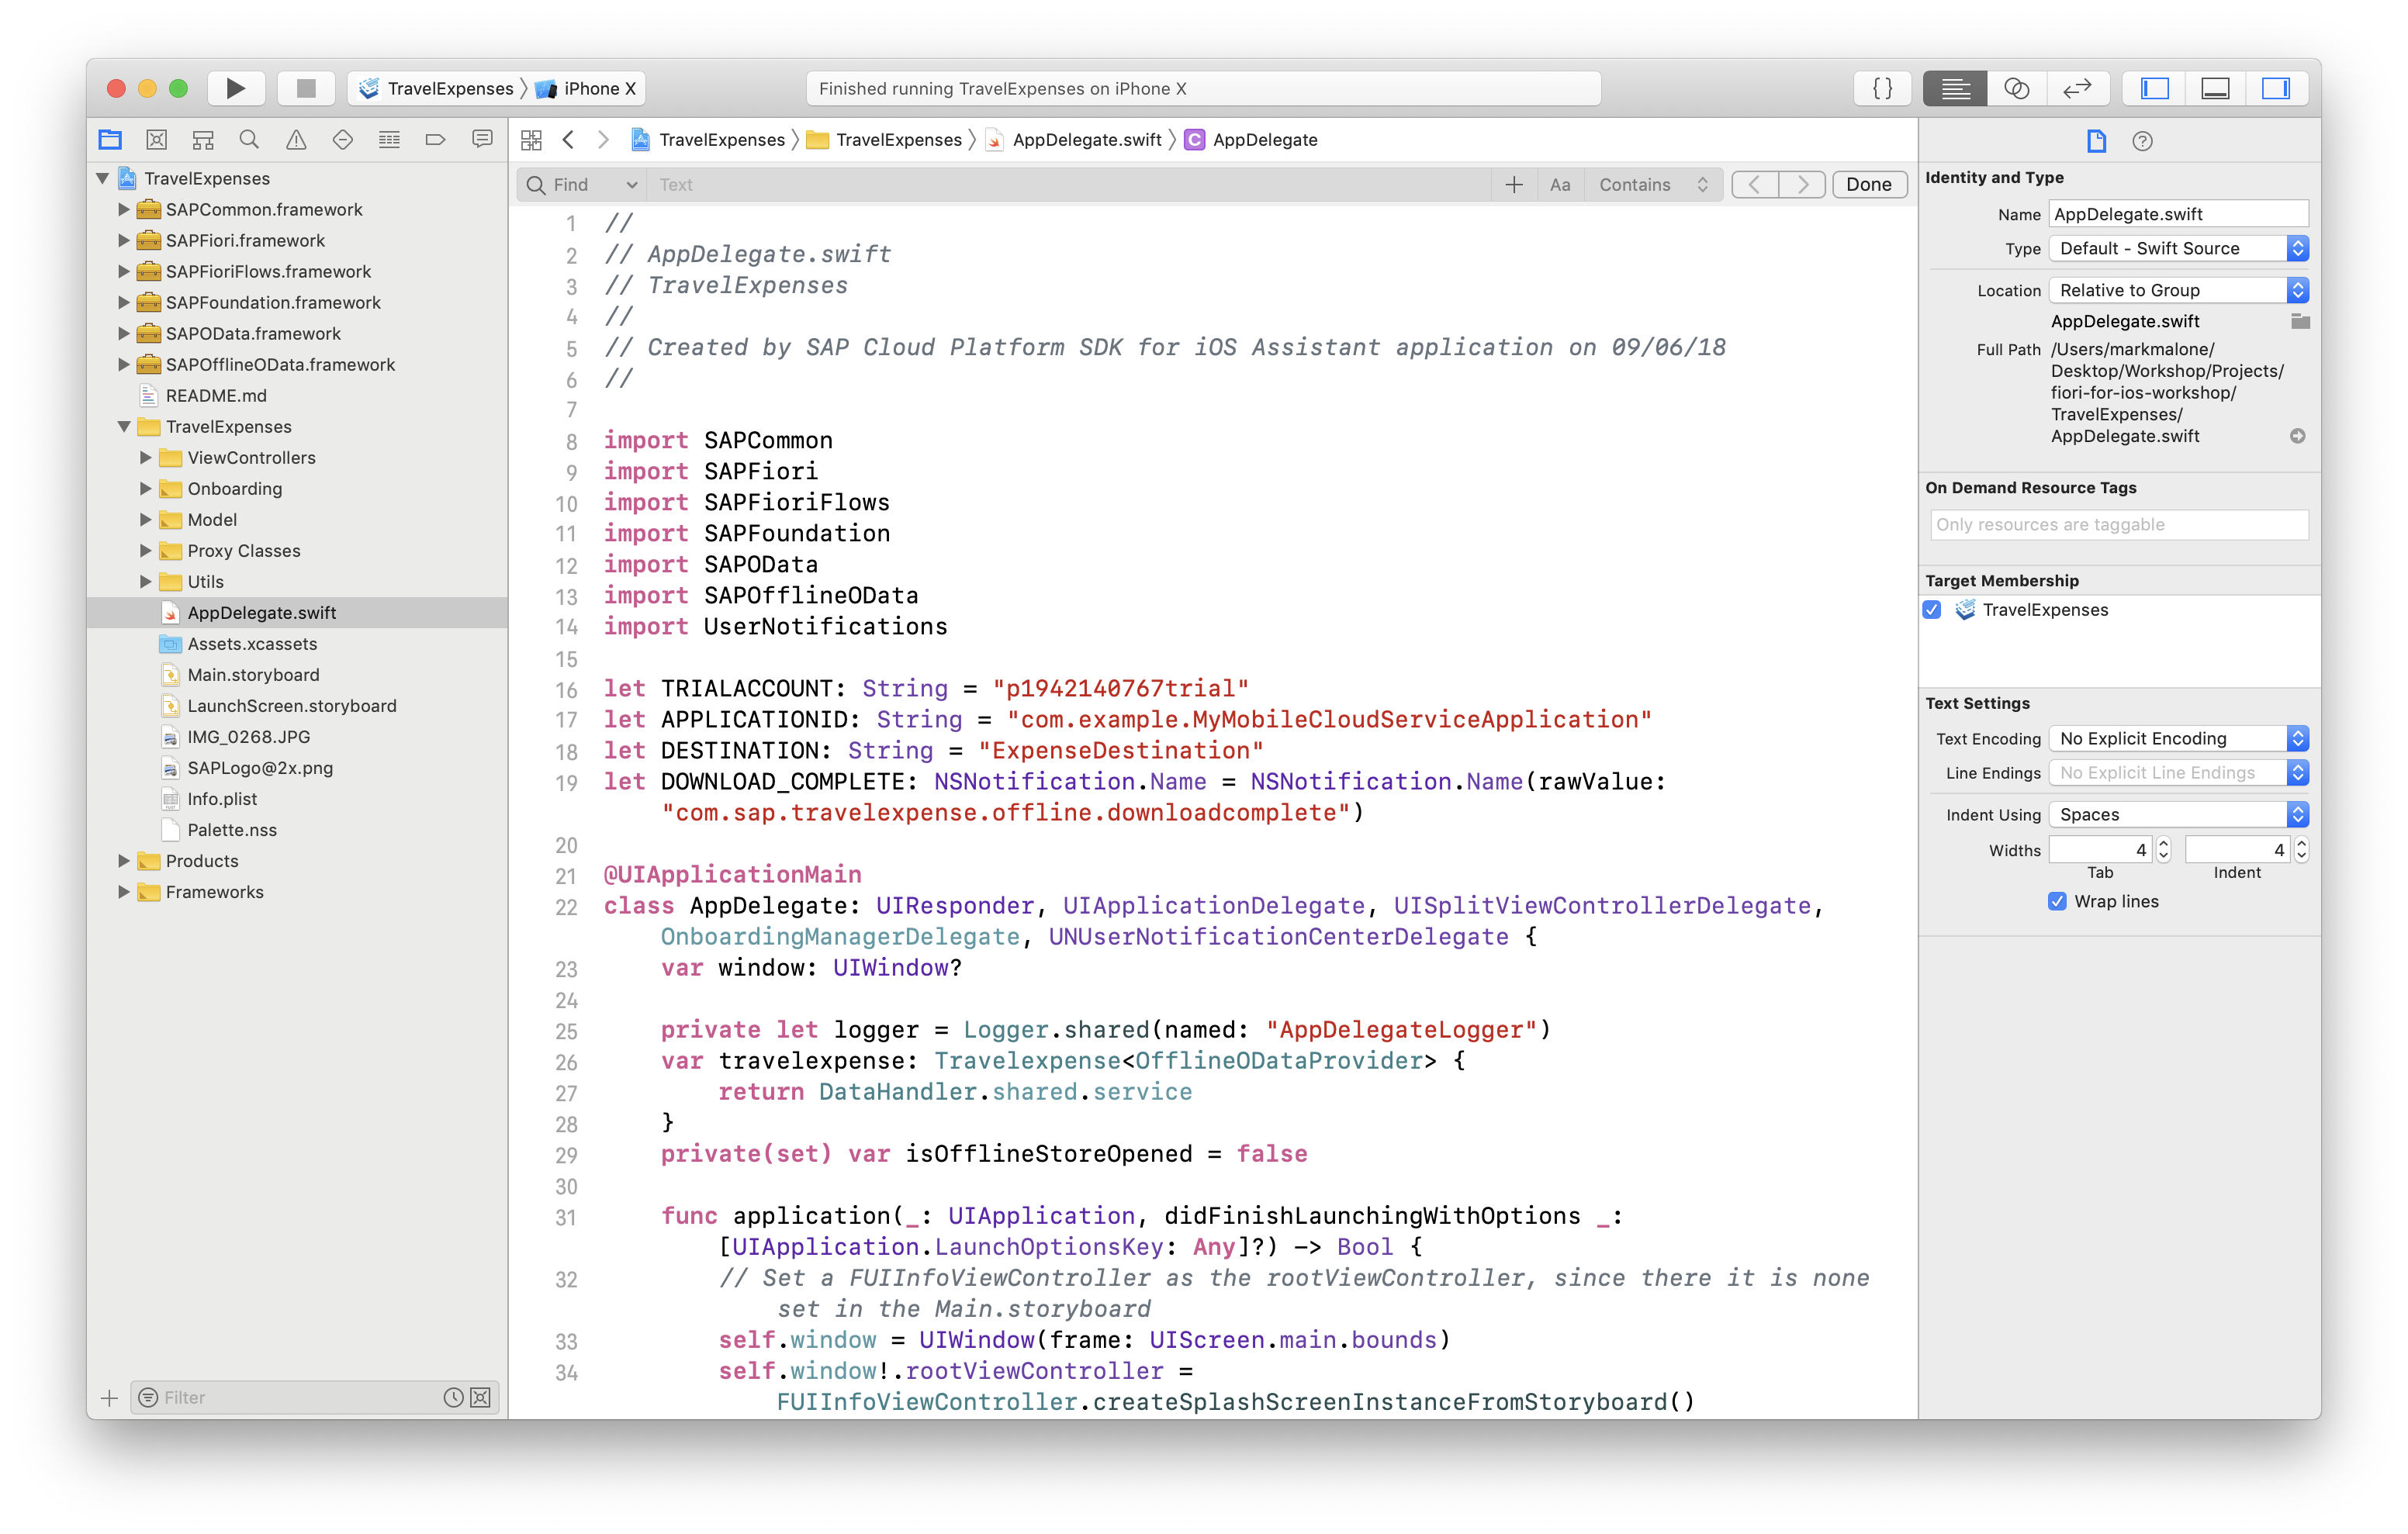
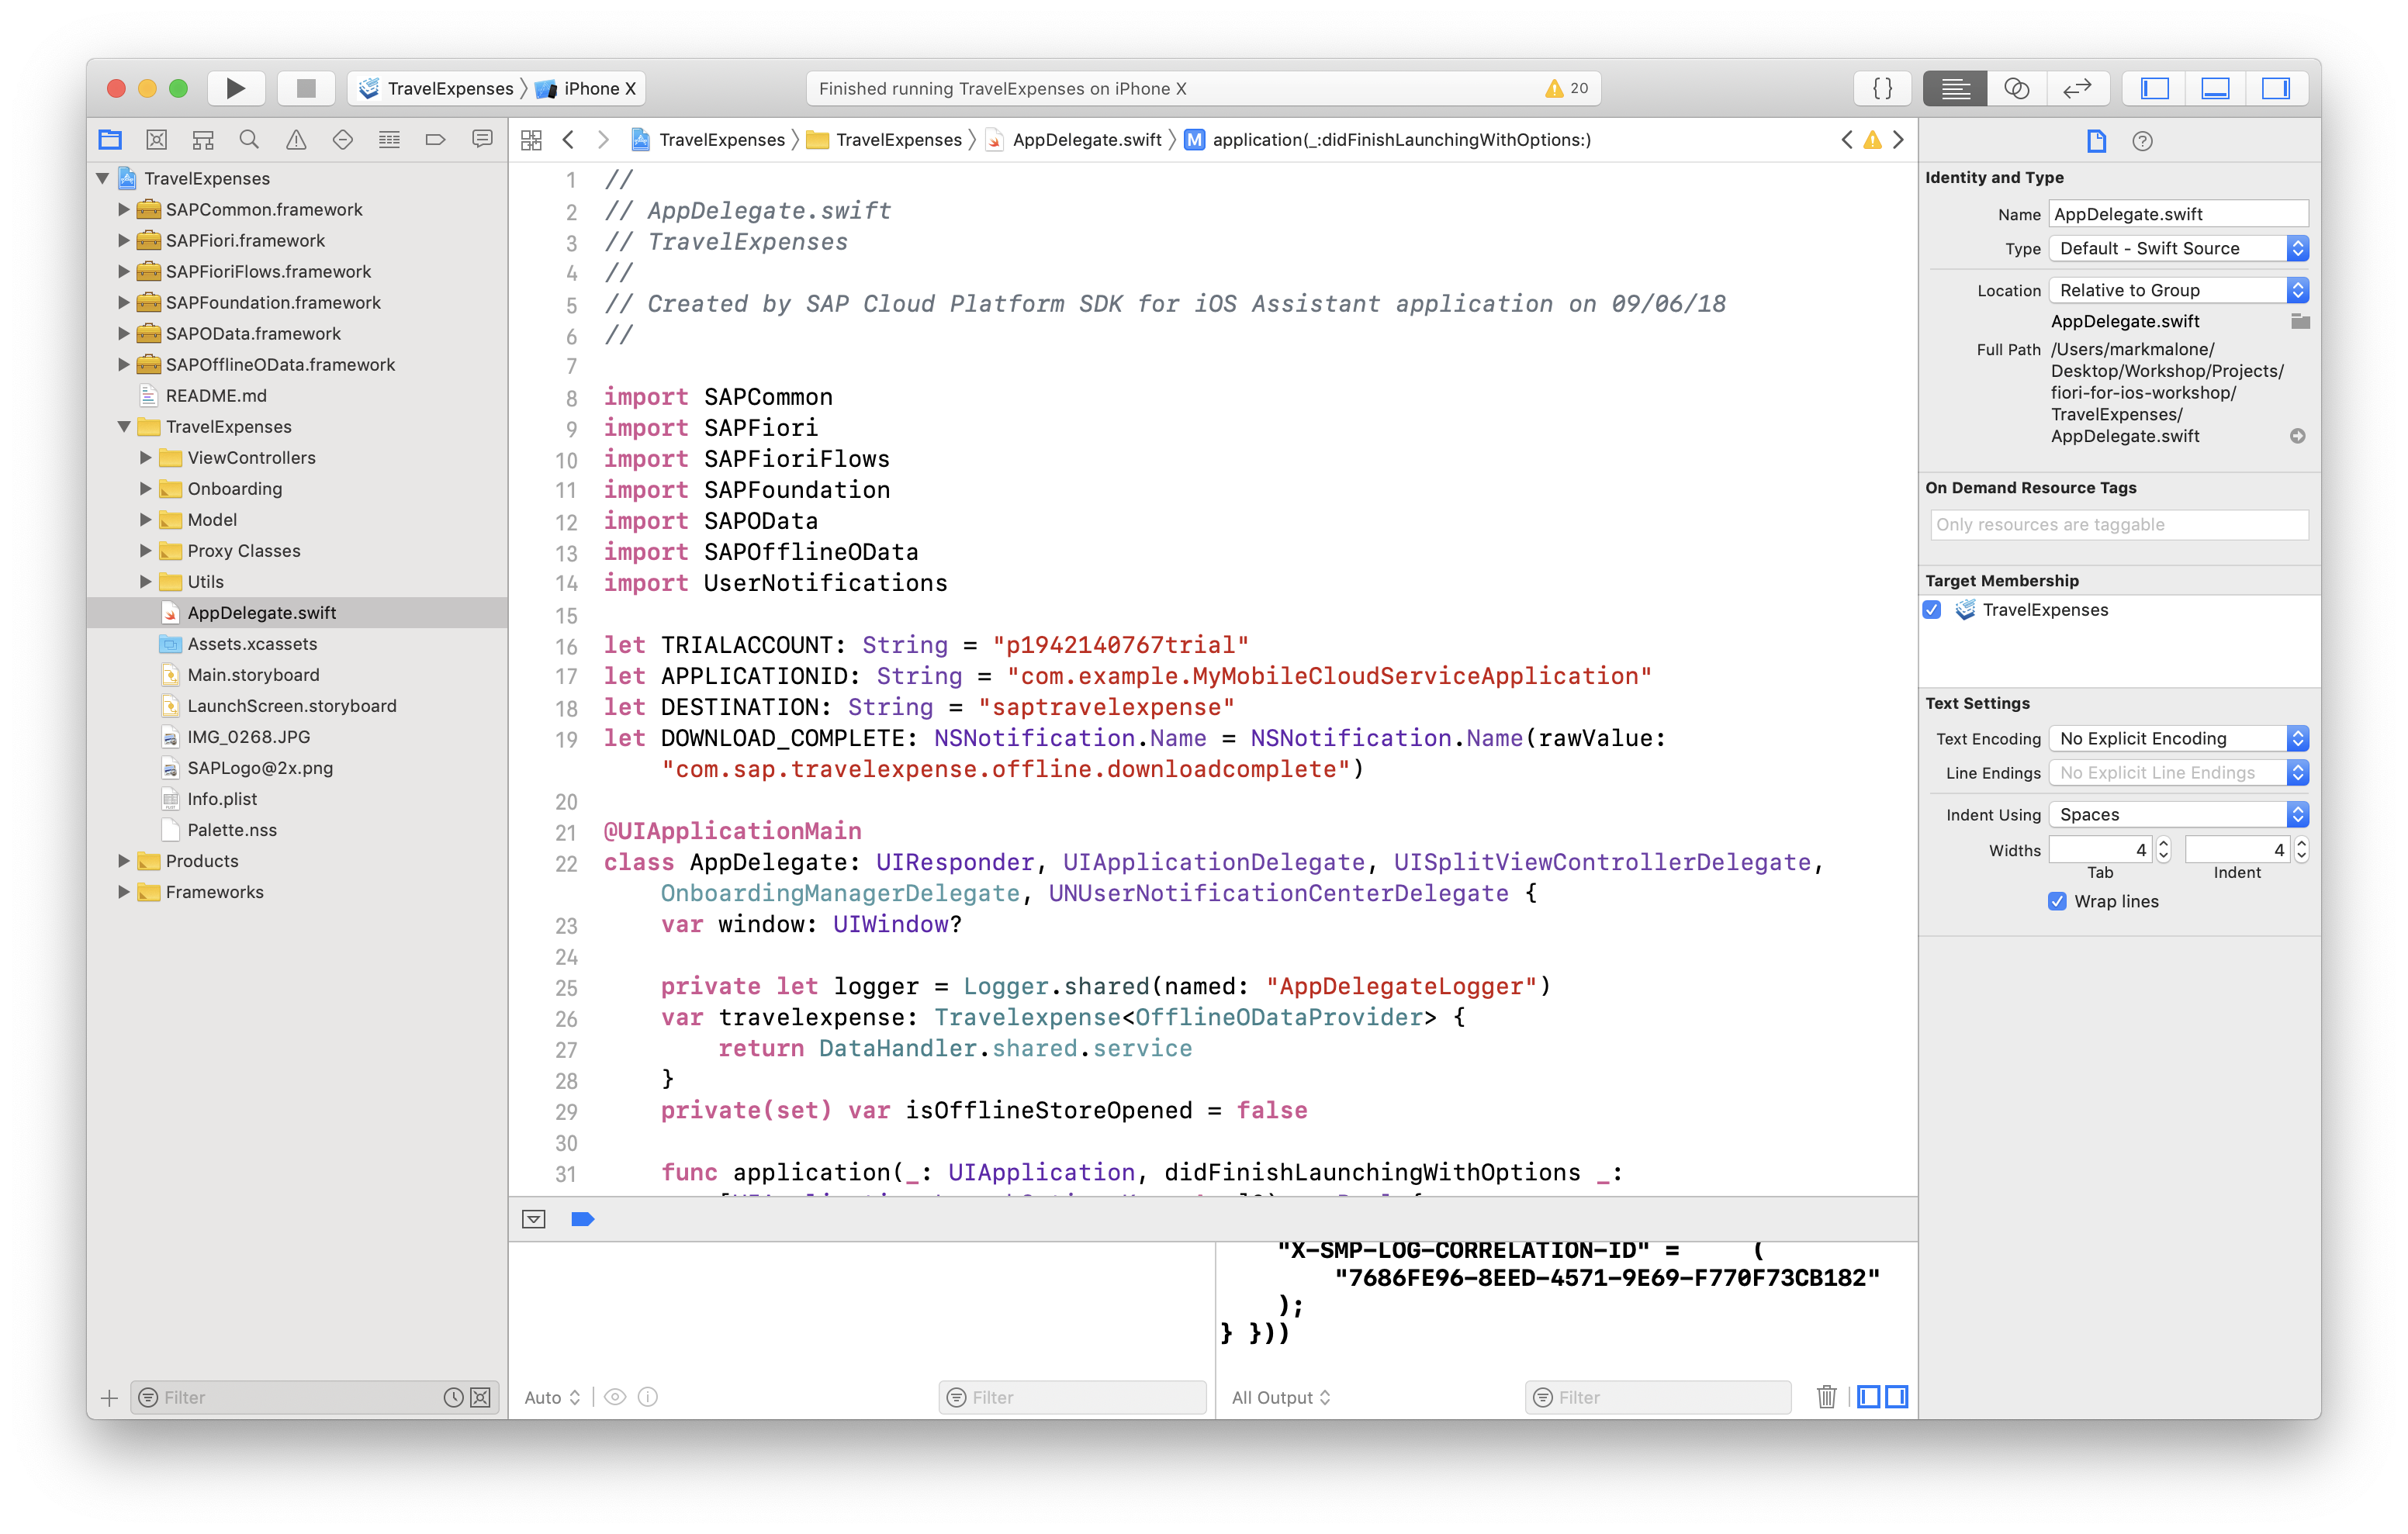
Click on the AppDelegate.swift file in the Xcode project navigator.
Scroll to the configuration value placeholders.
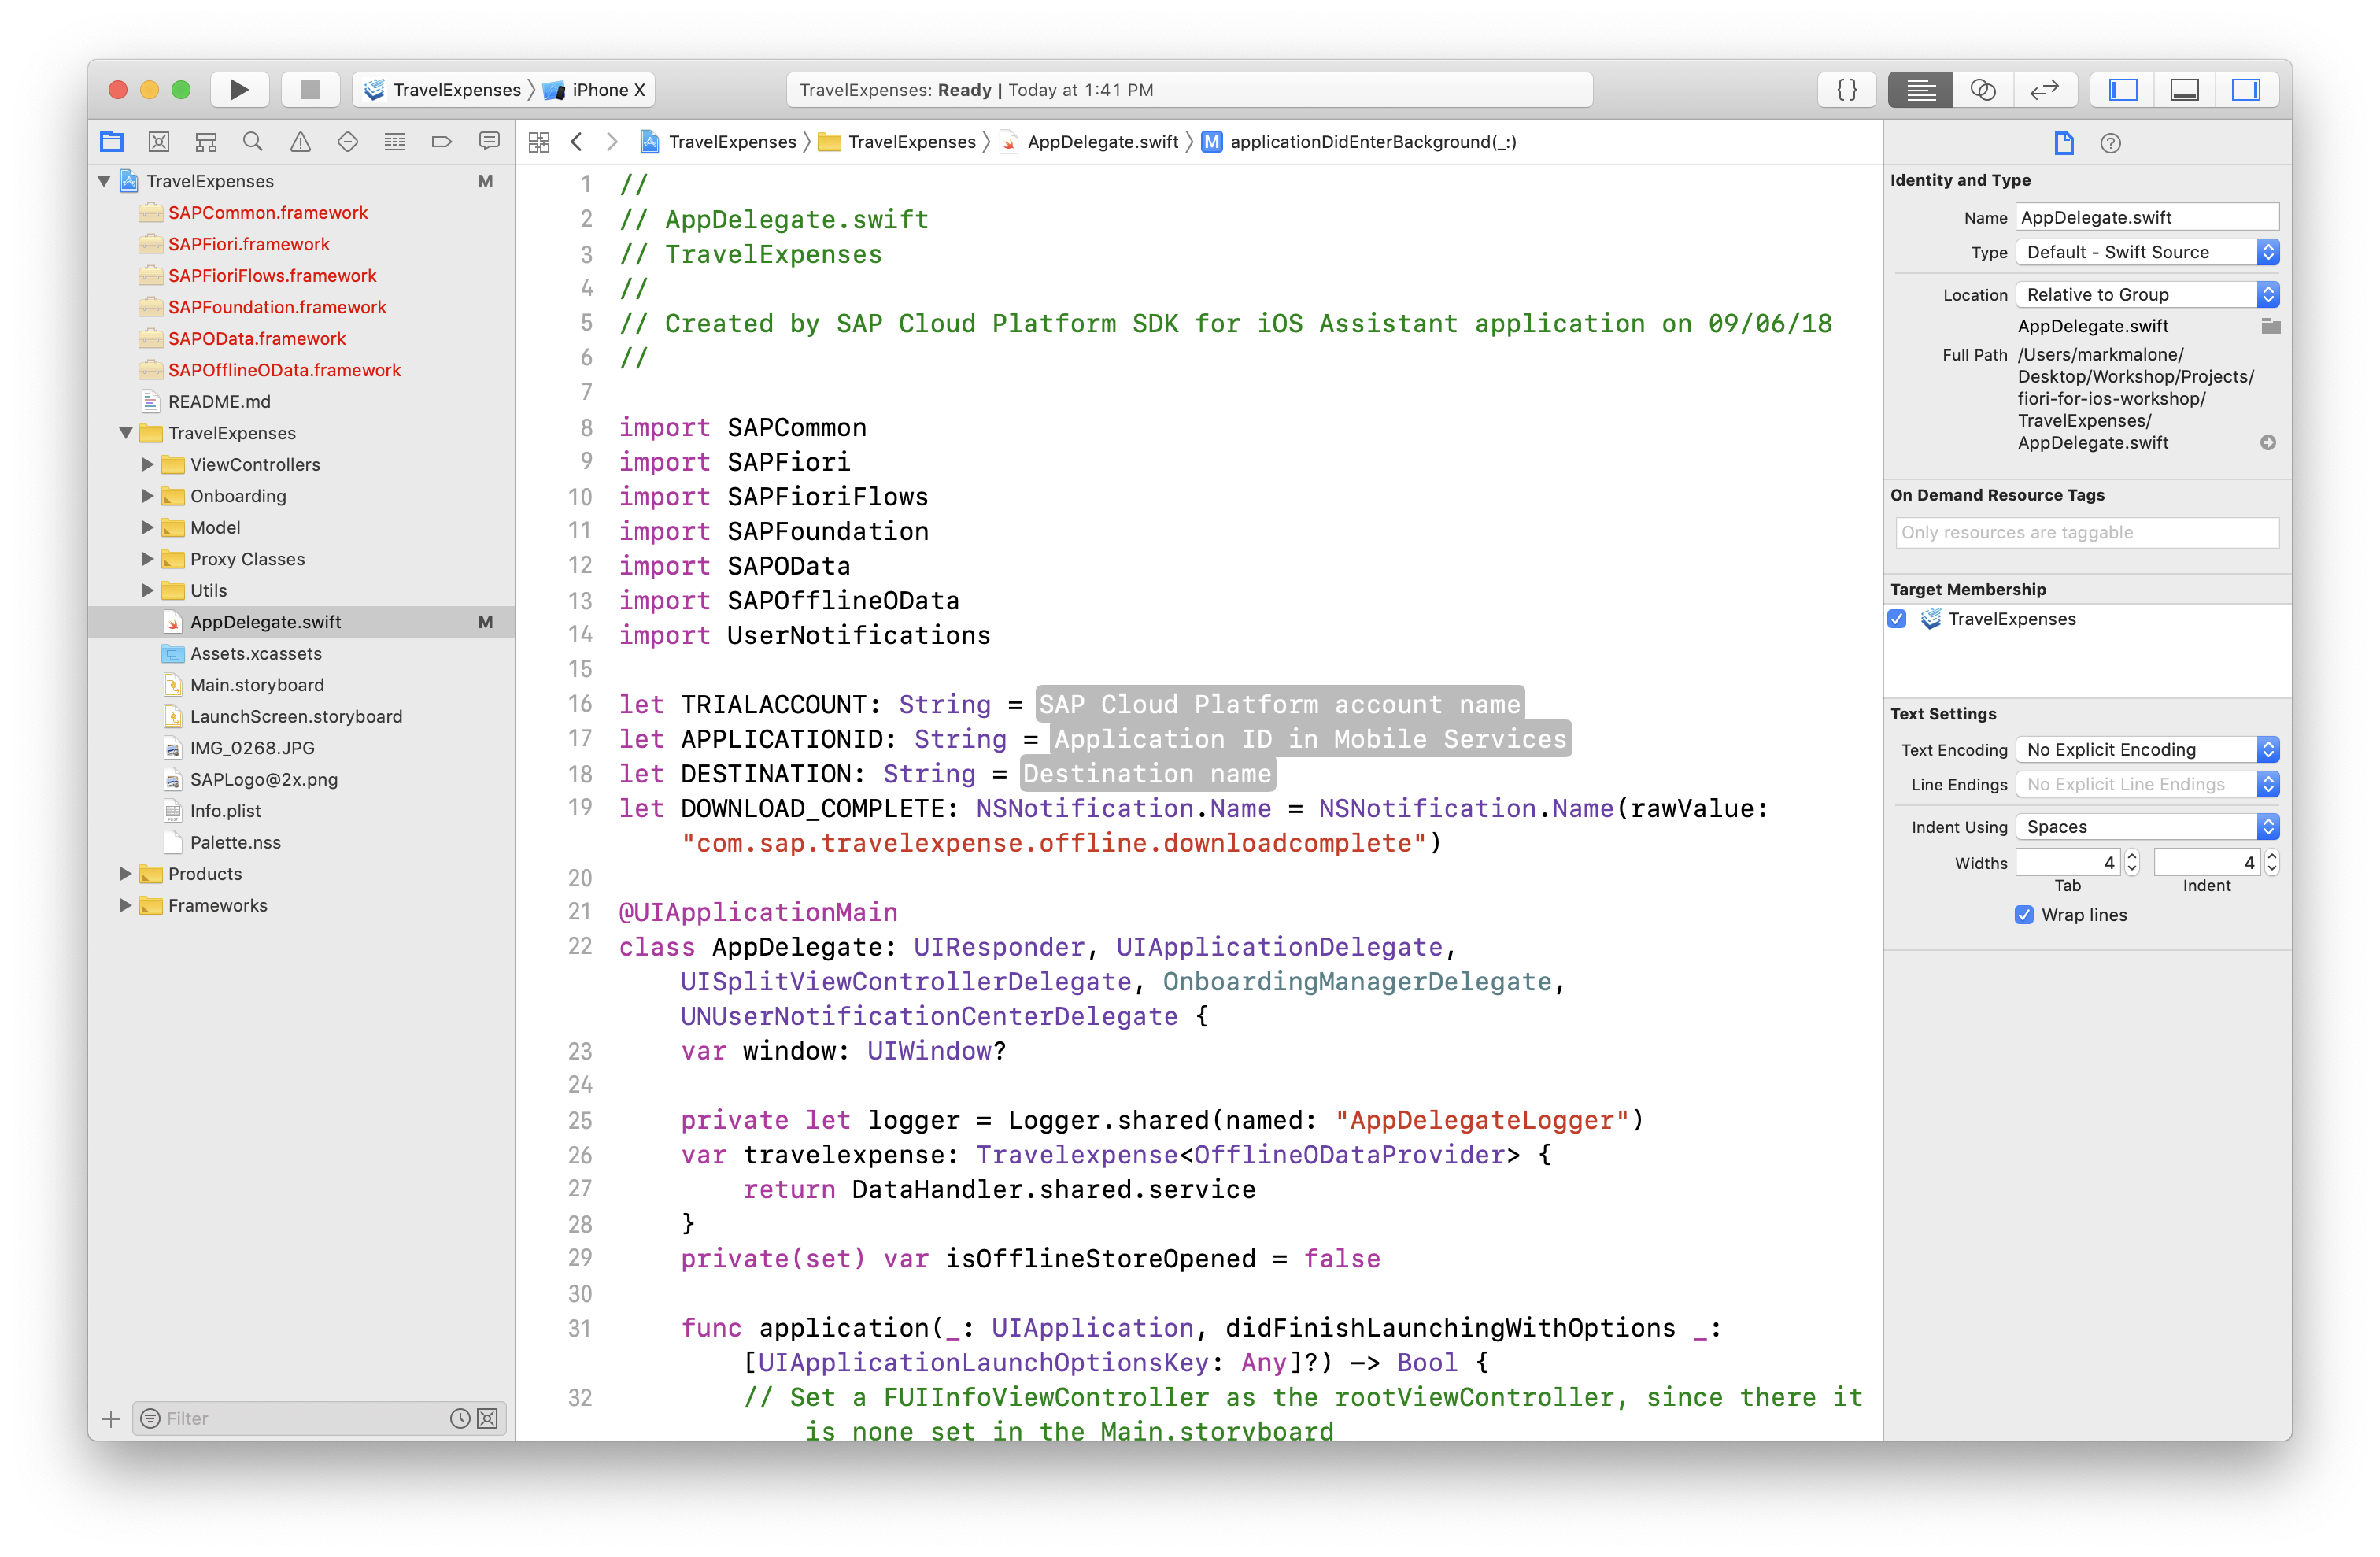
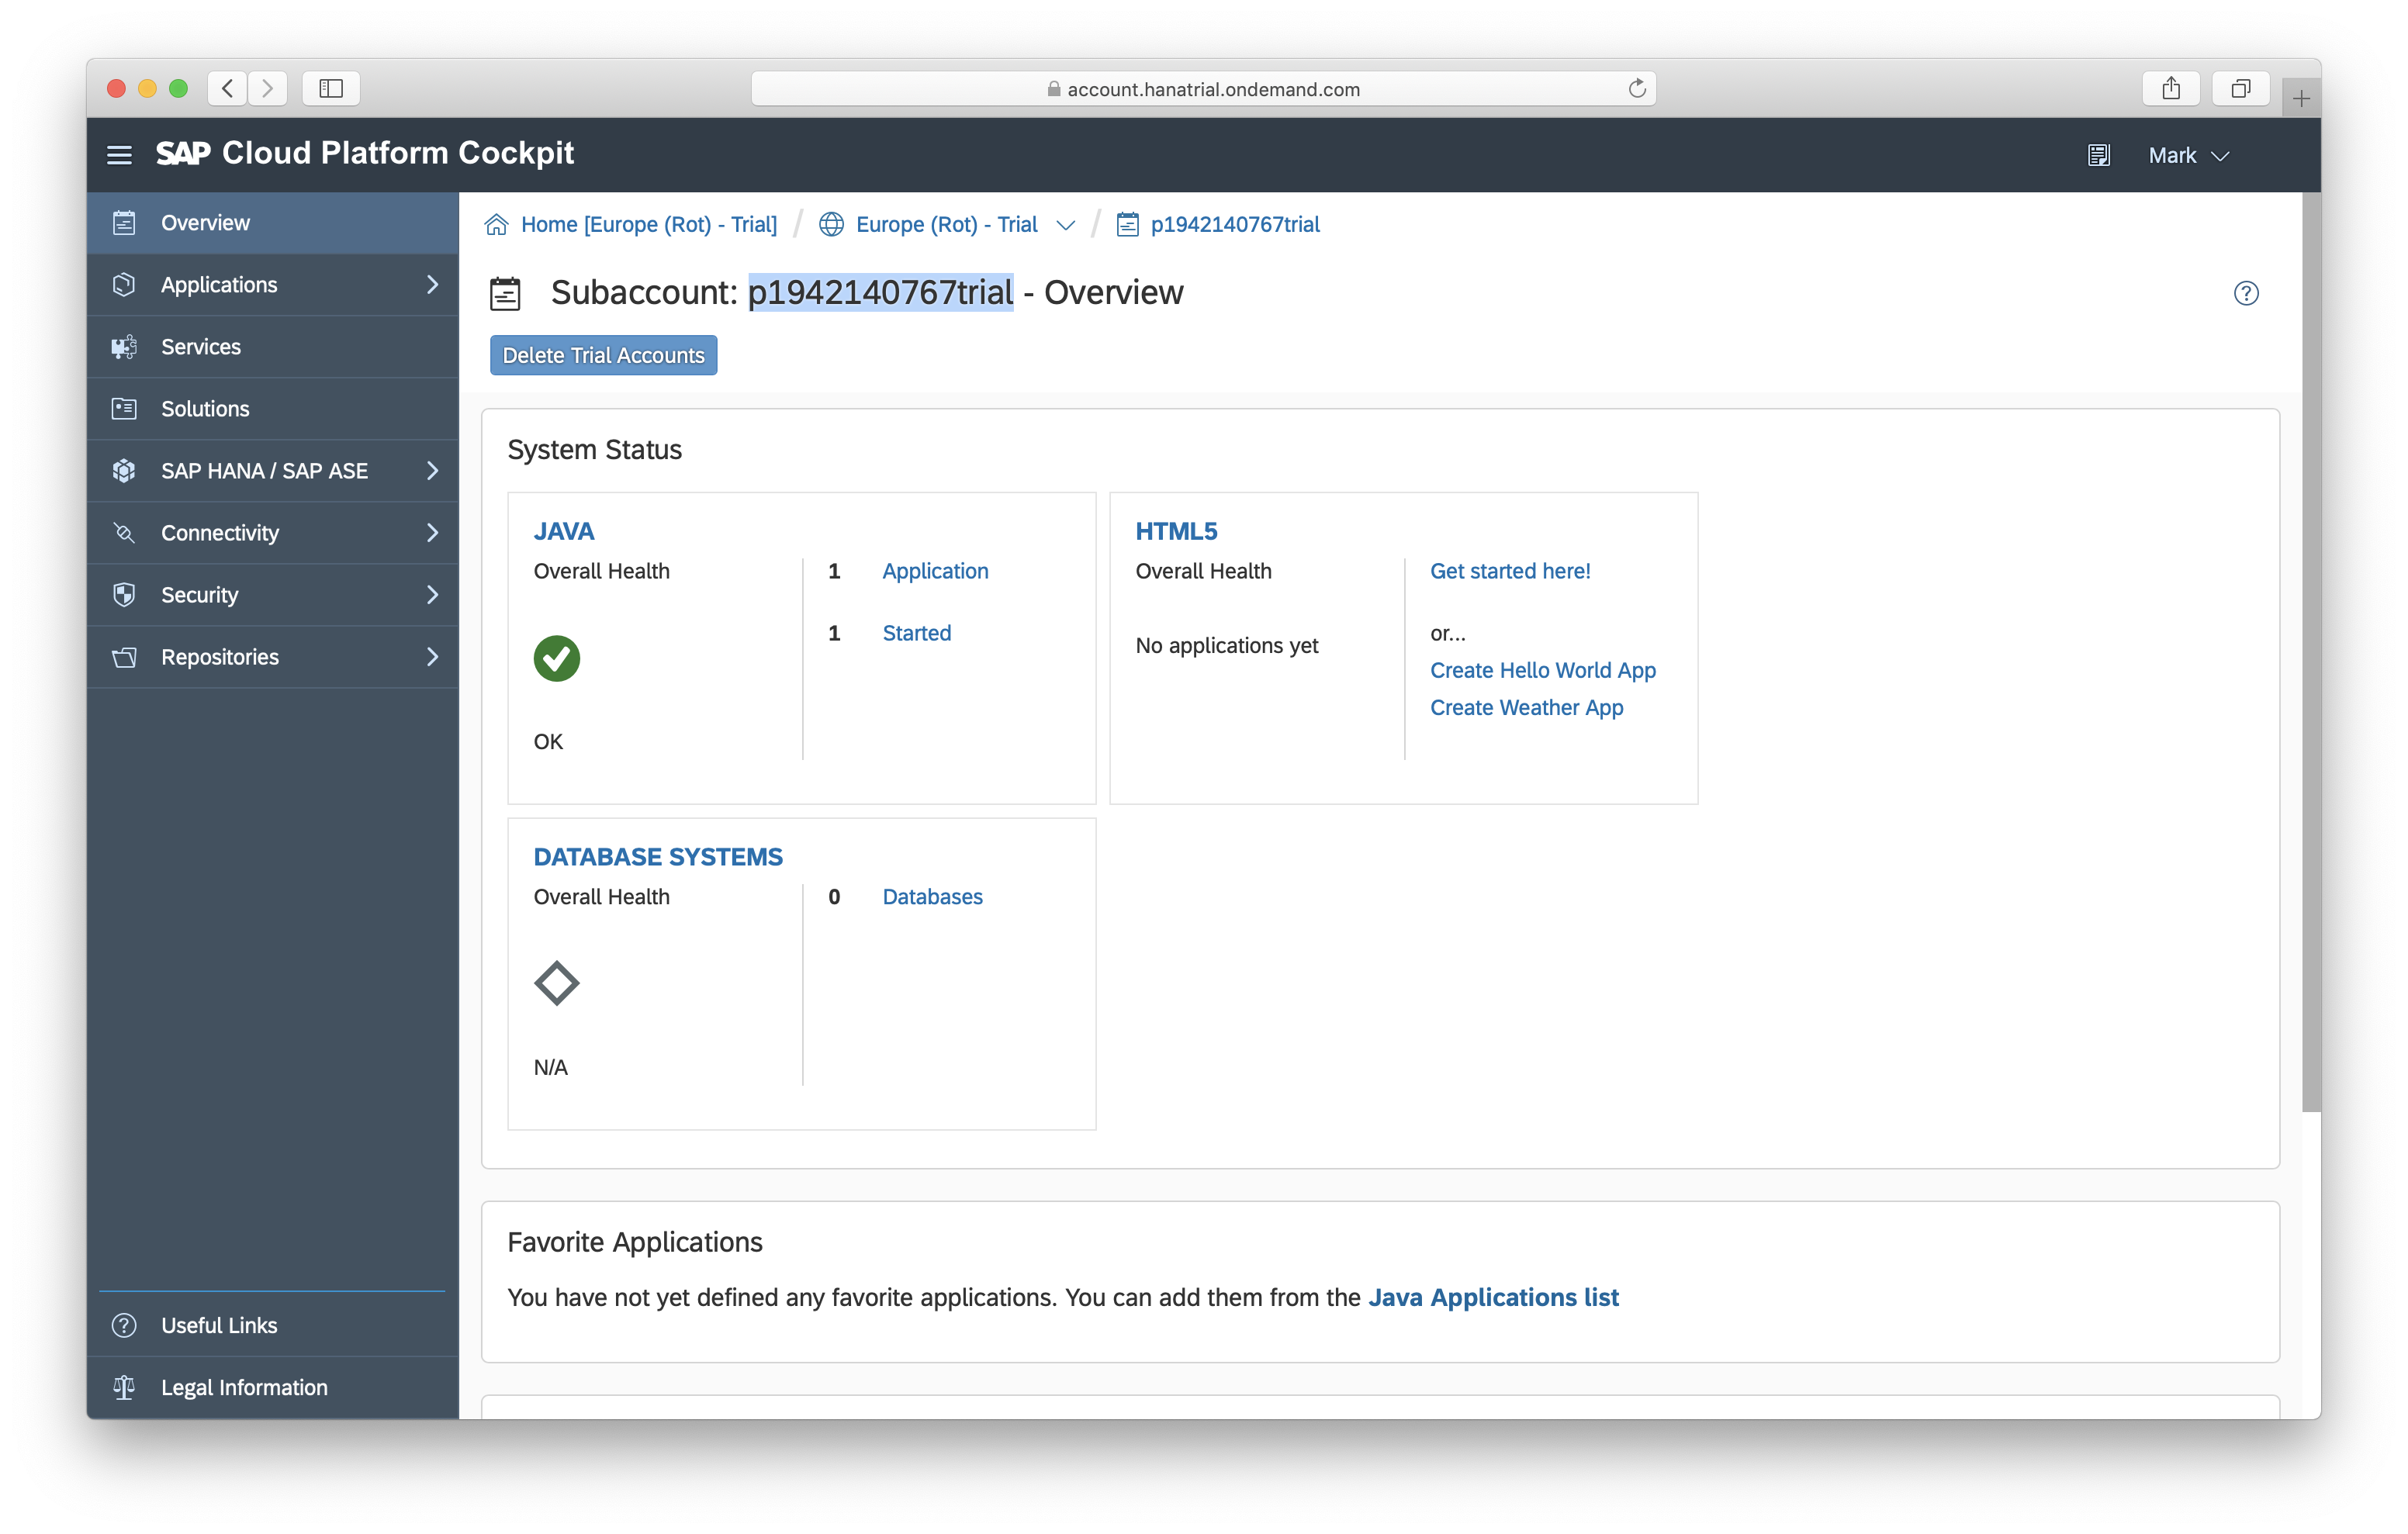
Set the value of the TRIALACCOUNT string to your account name.
This value is displayed after navigating to https://account.hanatrial.ondemand.com/cockpit#/home/trialhome and clicking on Neo Trial. The name should look something like p1942140767trial
Set the value of the APPLICATIONID string to "com.example.MyMobileCloudServiceApplication".
Set the value of the DESTINATION string to "ExpenseDestination".
Note: If you have chosen your own names in the previous sections you have to make sure to set the correct values here.
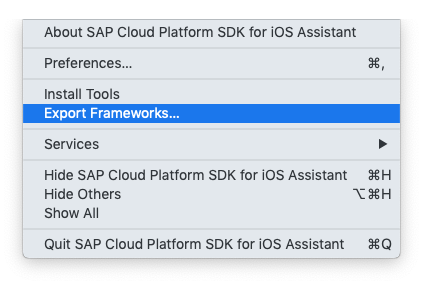
Open the SAP Cloud Platform SDK for iOS Assistant.
From the SAP Cloud Platform SDK for iOS Assistant menu, select the Export Frameworks... menu item.
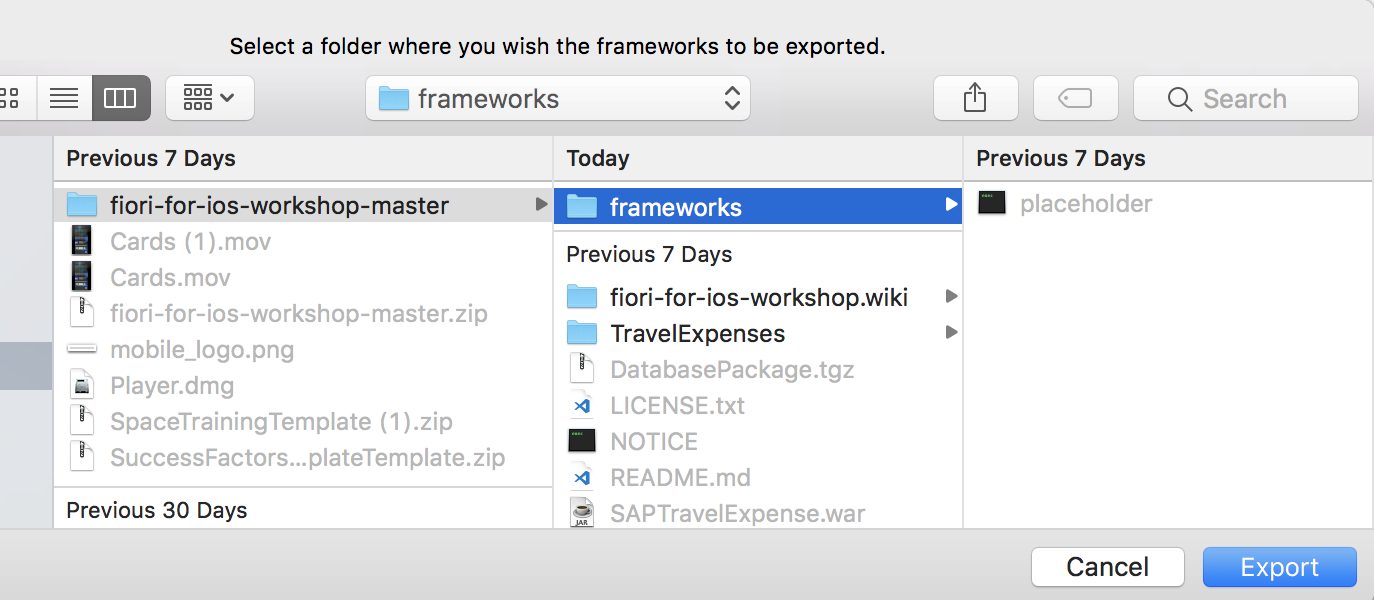
Select the frameworks directory inside the Travel Expense folder and click Export.
Click the Run button in Xcode to run your copy of the TravelExpense app.
After the Simulator has started the TravelExpense app will launch. Click Start to begin.
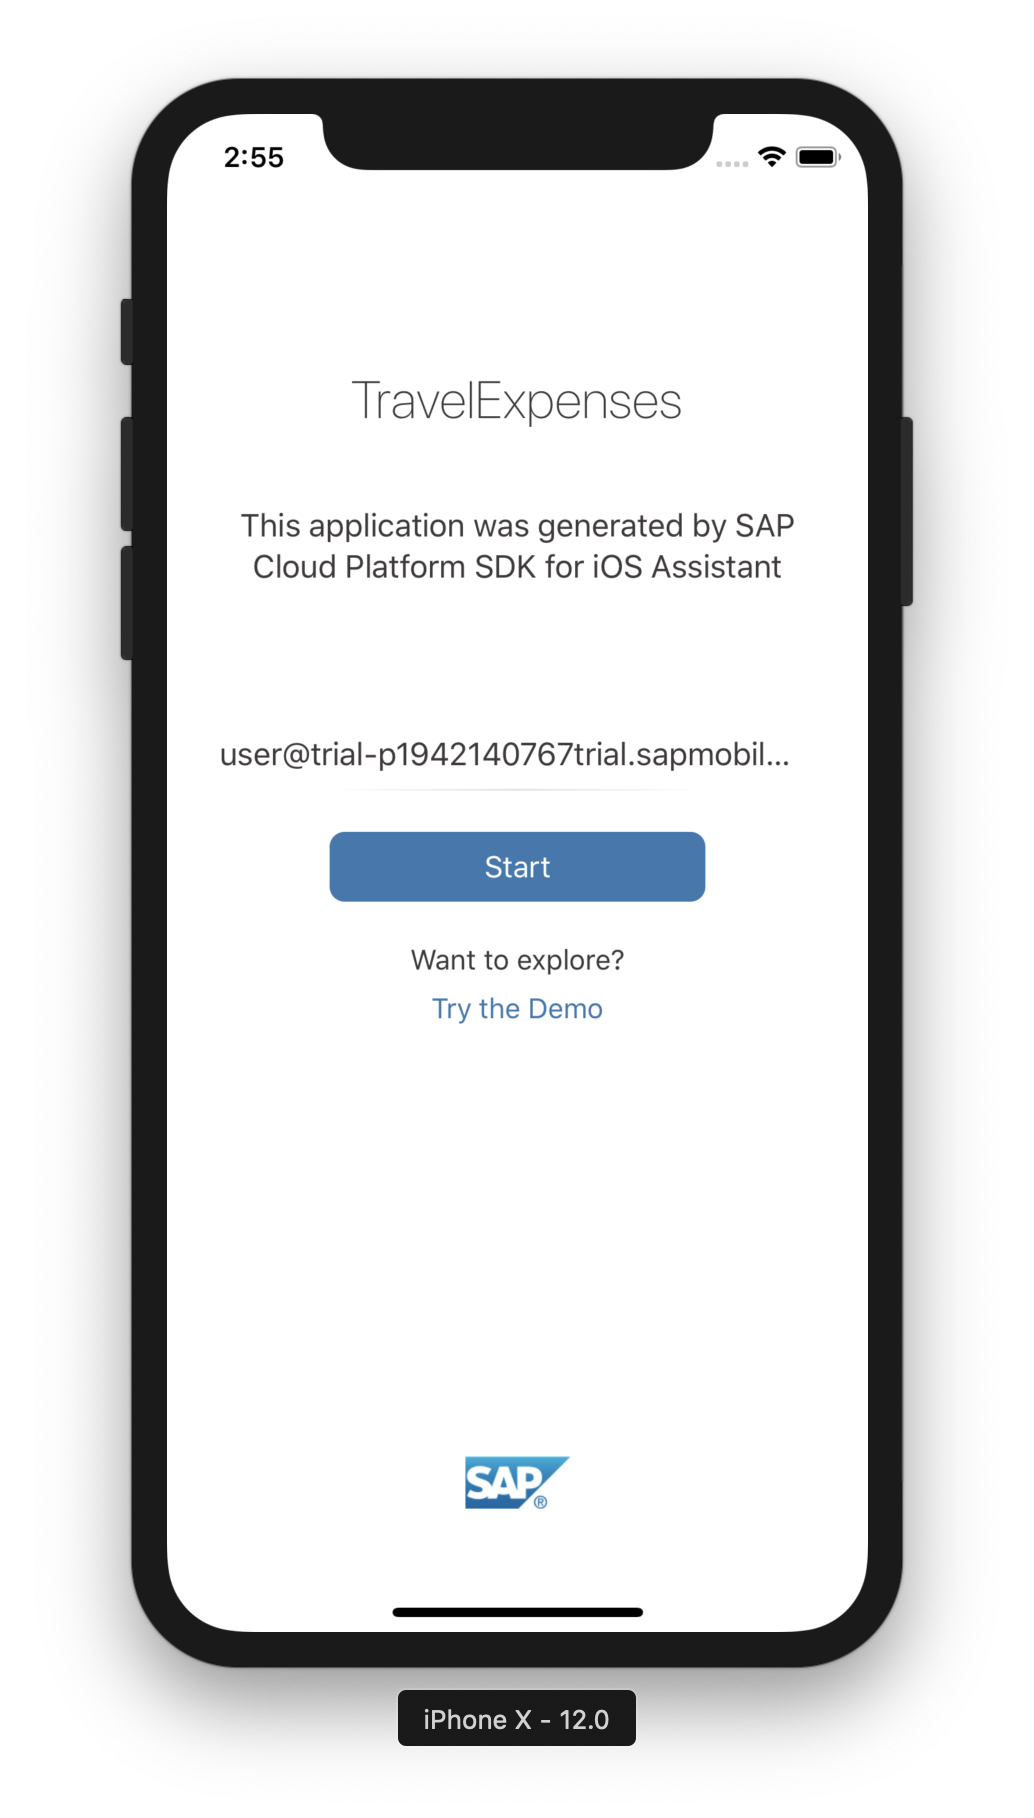
You’re done! Tap through the on-boarding screens, enter a passcode, and review the TravelExpense sample app. Like the minimal app we created in the previous section, this app demonstrates query and expense creation and modification techniques however this sample includes additional code examples demonstrating how to implement Fiori controls and connect them to the back end expense data.