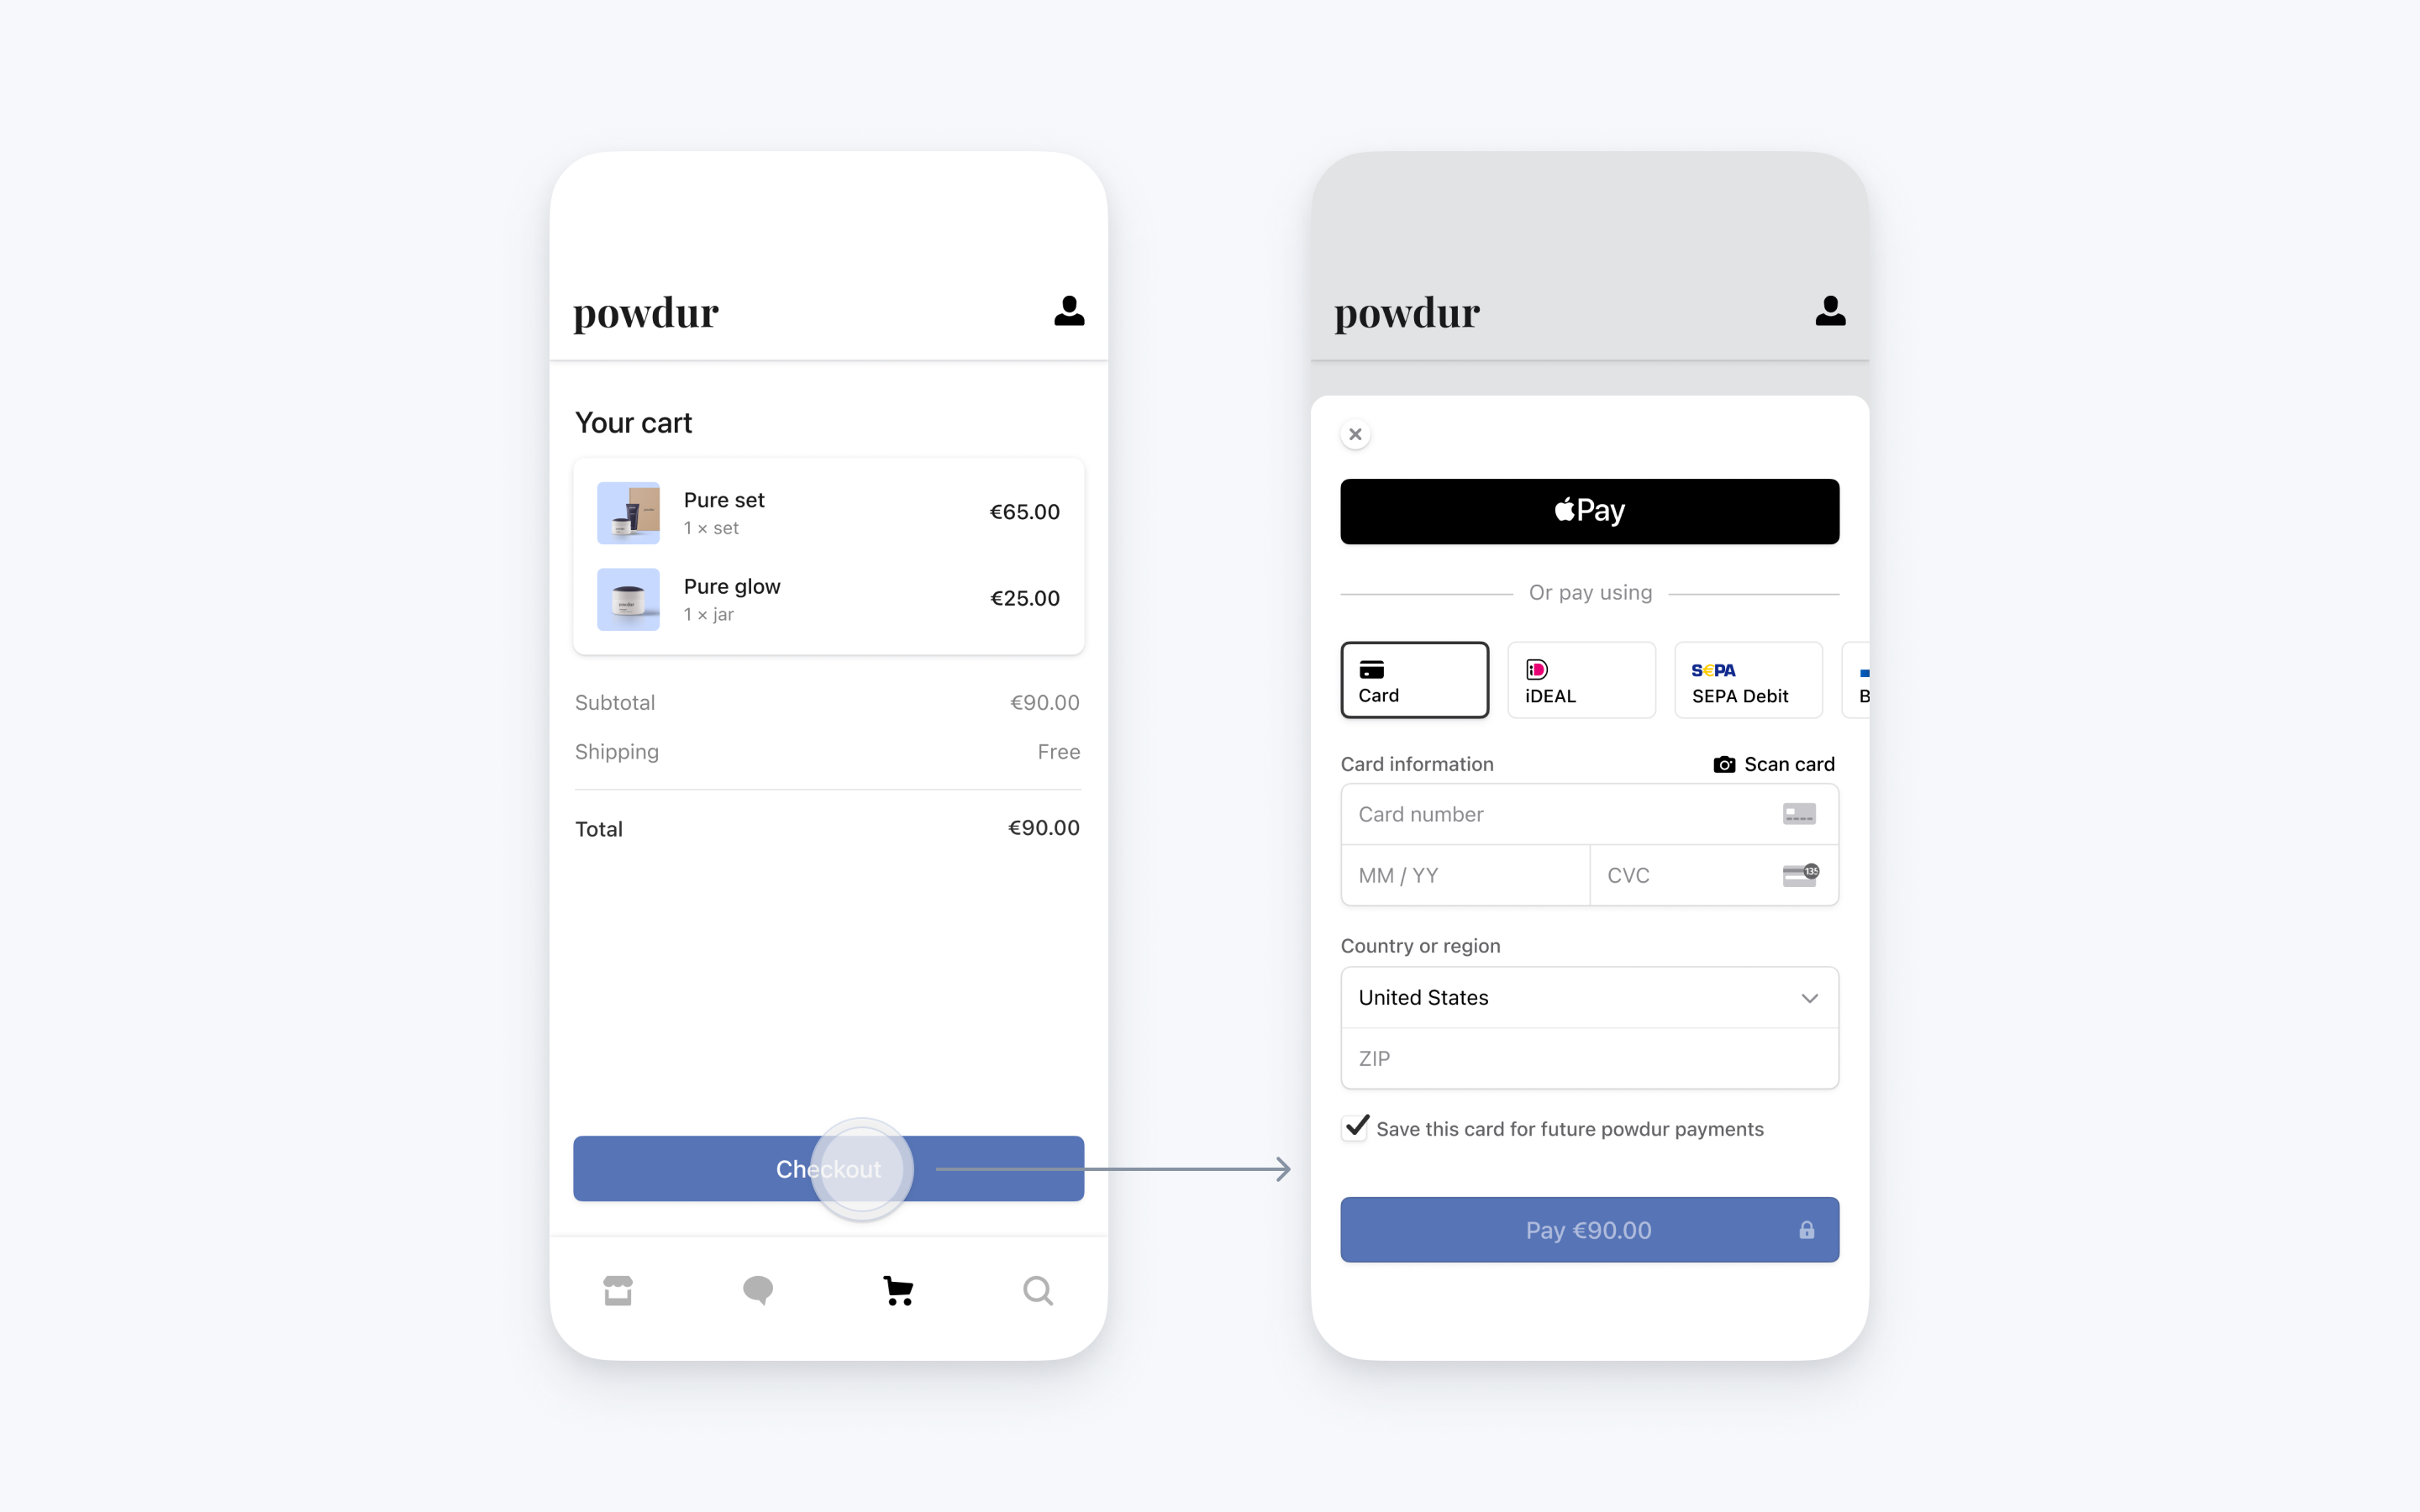
PaymentSheet is a pre-built UI that combines all the steps required to accept payment - collecting payment information, billing details, and confirming the payment - into a single sheet that displays on top of your app.
- Supports 10+ payment methods
- Card scanning
- Light and dark mode
- Helps you stay PCI compliant
- Open
Stripe.xcworkspacein Xcode - Choose the PaymentSheet Example target in the top left
- Choose any simulator and click Run
The example app will appear with buttons that show different view controllers in this project.
The view controllers correspond to different ways to integrate PaymentSheet into your app.
Use the PaymentSheet Example scheme for the default (Liquid Glass enabled) app design. Use PaymentSheet Example No Glass to build the app with UIDesignRequiresCompatibility set to YES, disabling Liquid Glass.
This is independent of the Liquid Glass appearance setting in the Payment Sheet Playground (which calls the setting on the MPE appearance config).
The compatibility key is ignored if the app is both built with Xcode 27+ and running on an iOS 27+ device.
The No Glass scheme builds a separate app target that shares the default target's source files and resources, using the existing Debug and Release configurations. Both targets use the same bundle identifier, so switching schemes preserves playground settings. Automated tests use the default example scheme.
ExampleCheckoutViewController.swift: "one-step" integrationExampleCustomCheckoutViewController.swift: "multi-step" integration
ExampleSwiftUIPaymentSheet.swift: "one-step" integrationExampleSwiftUICustomPaymentFlow.swift: "multi-step" integration