Data warehouse setup
Given that you are in possession of a Oracle cloud account–in this example here, a Oracle Academy Cloud Program–access, log in to your account.
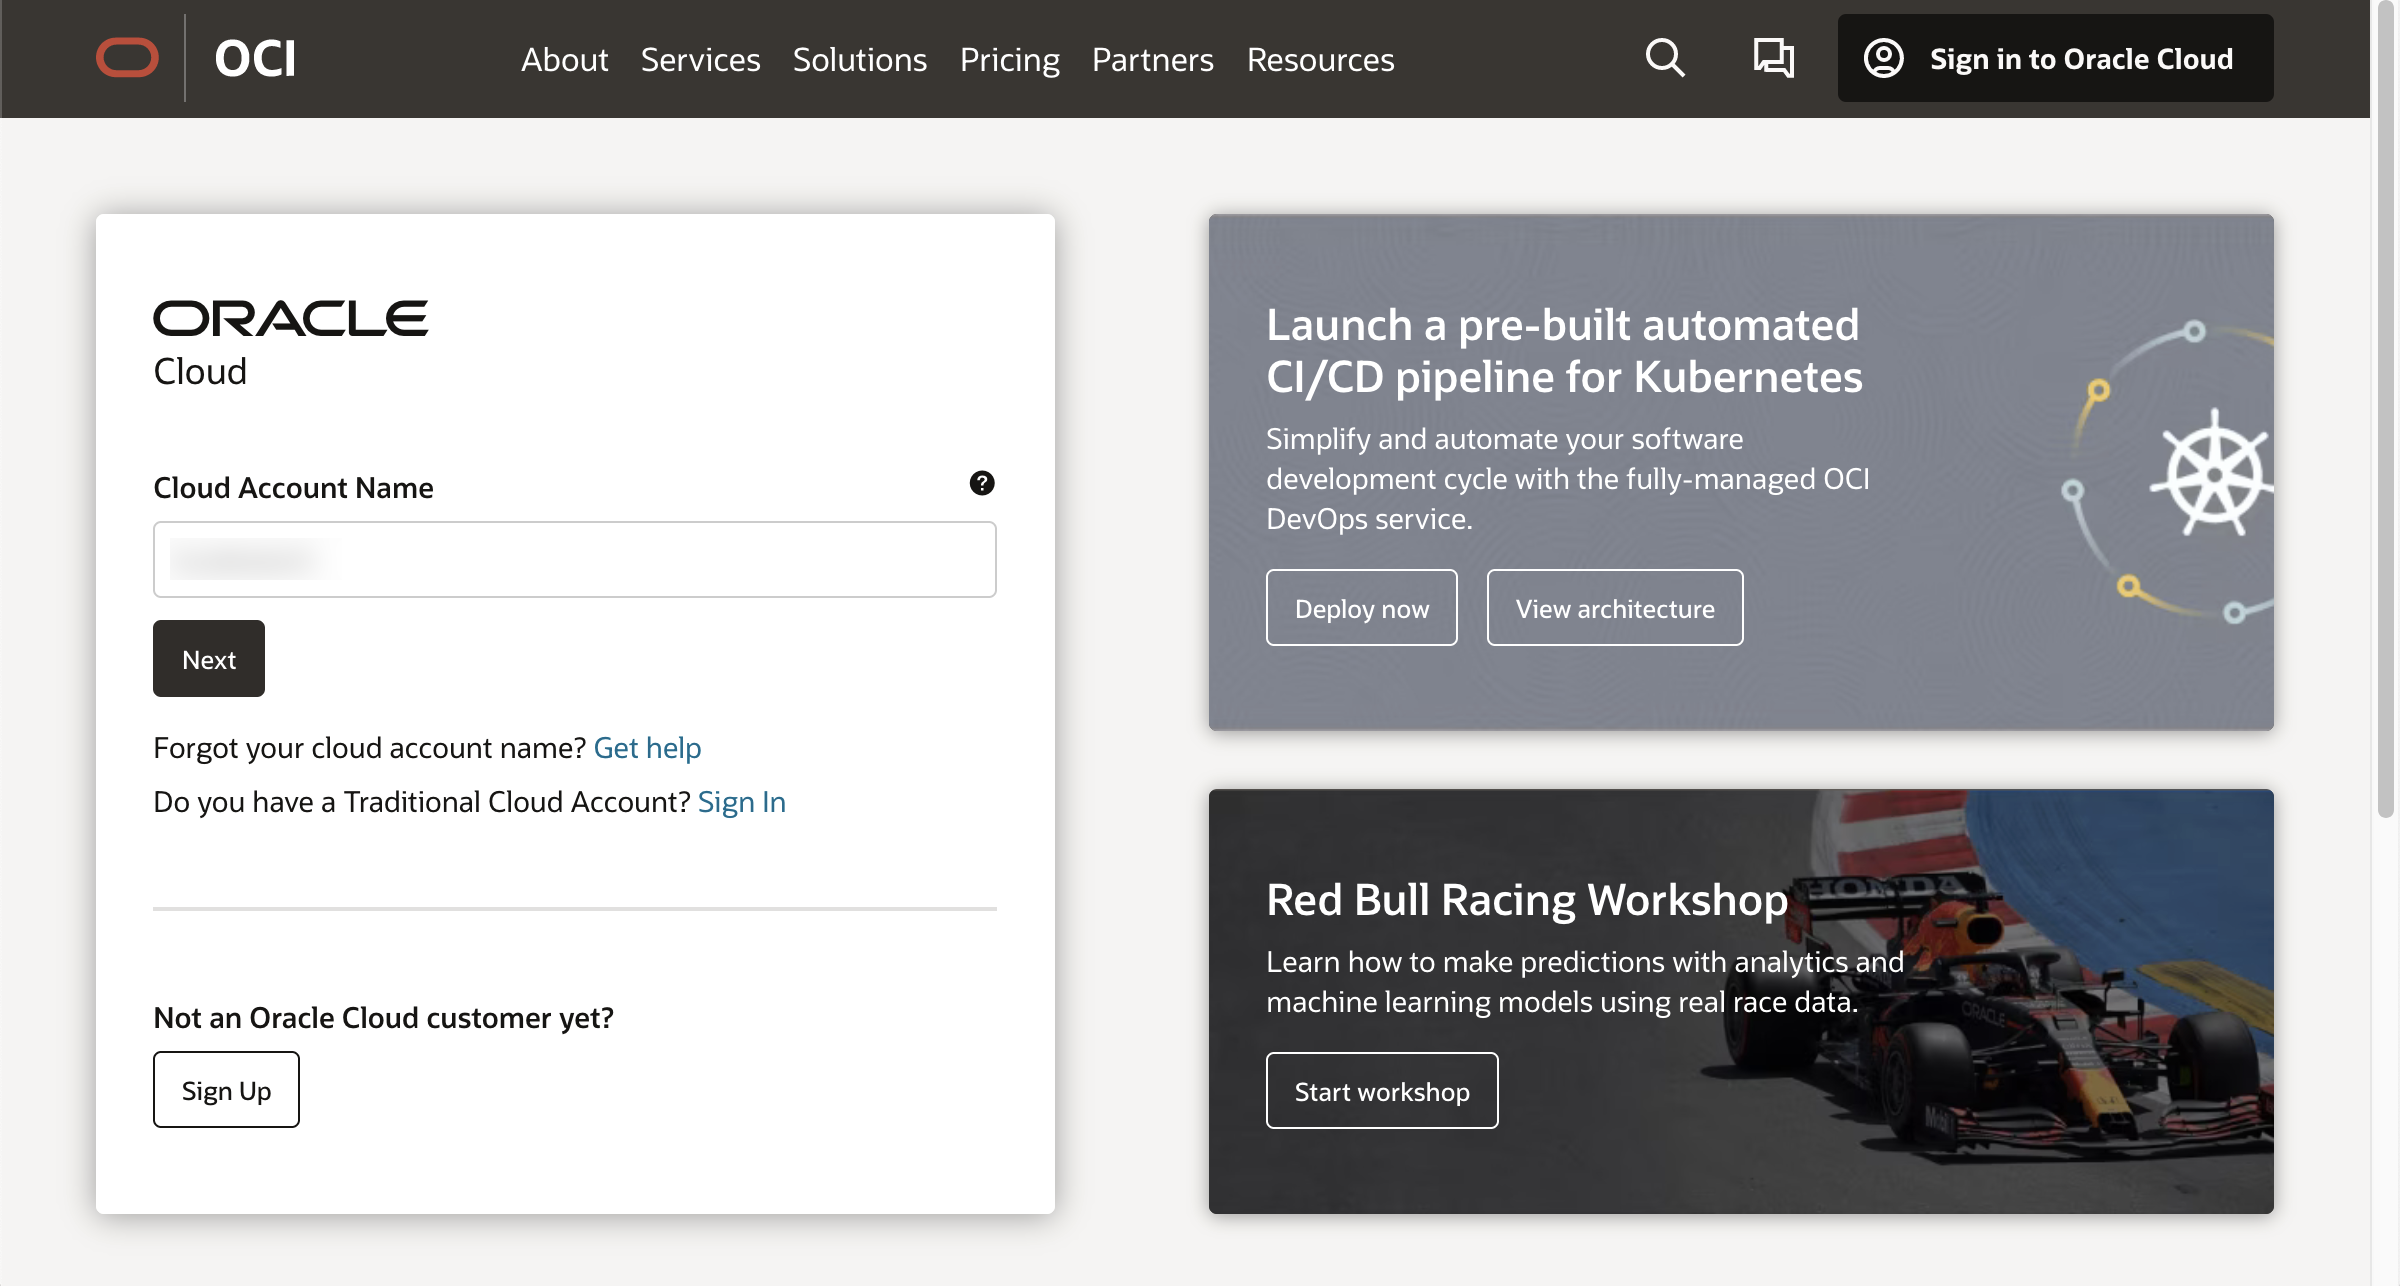
Using the left hand side navigation "Databases" entry, go to "Autonomous Data Warehouse".
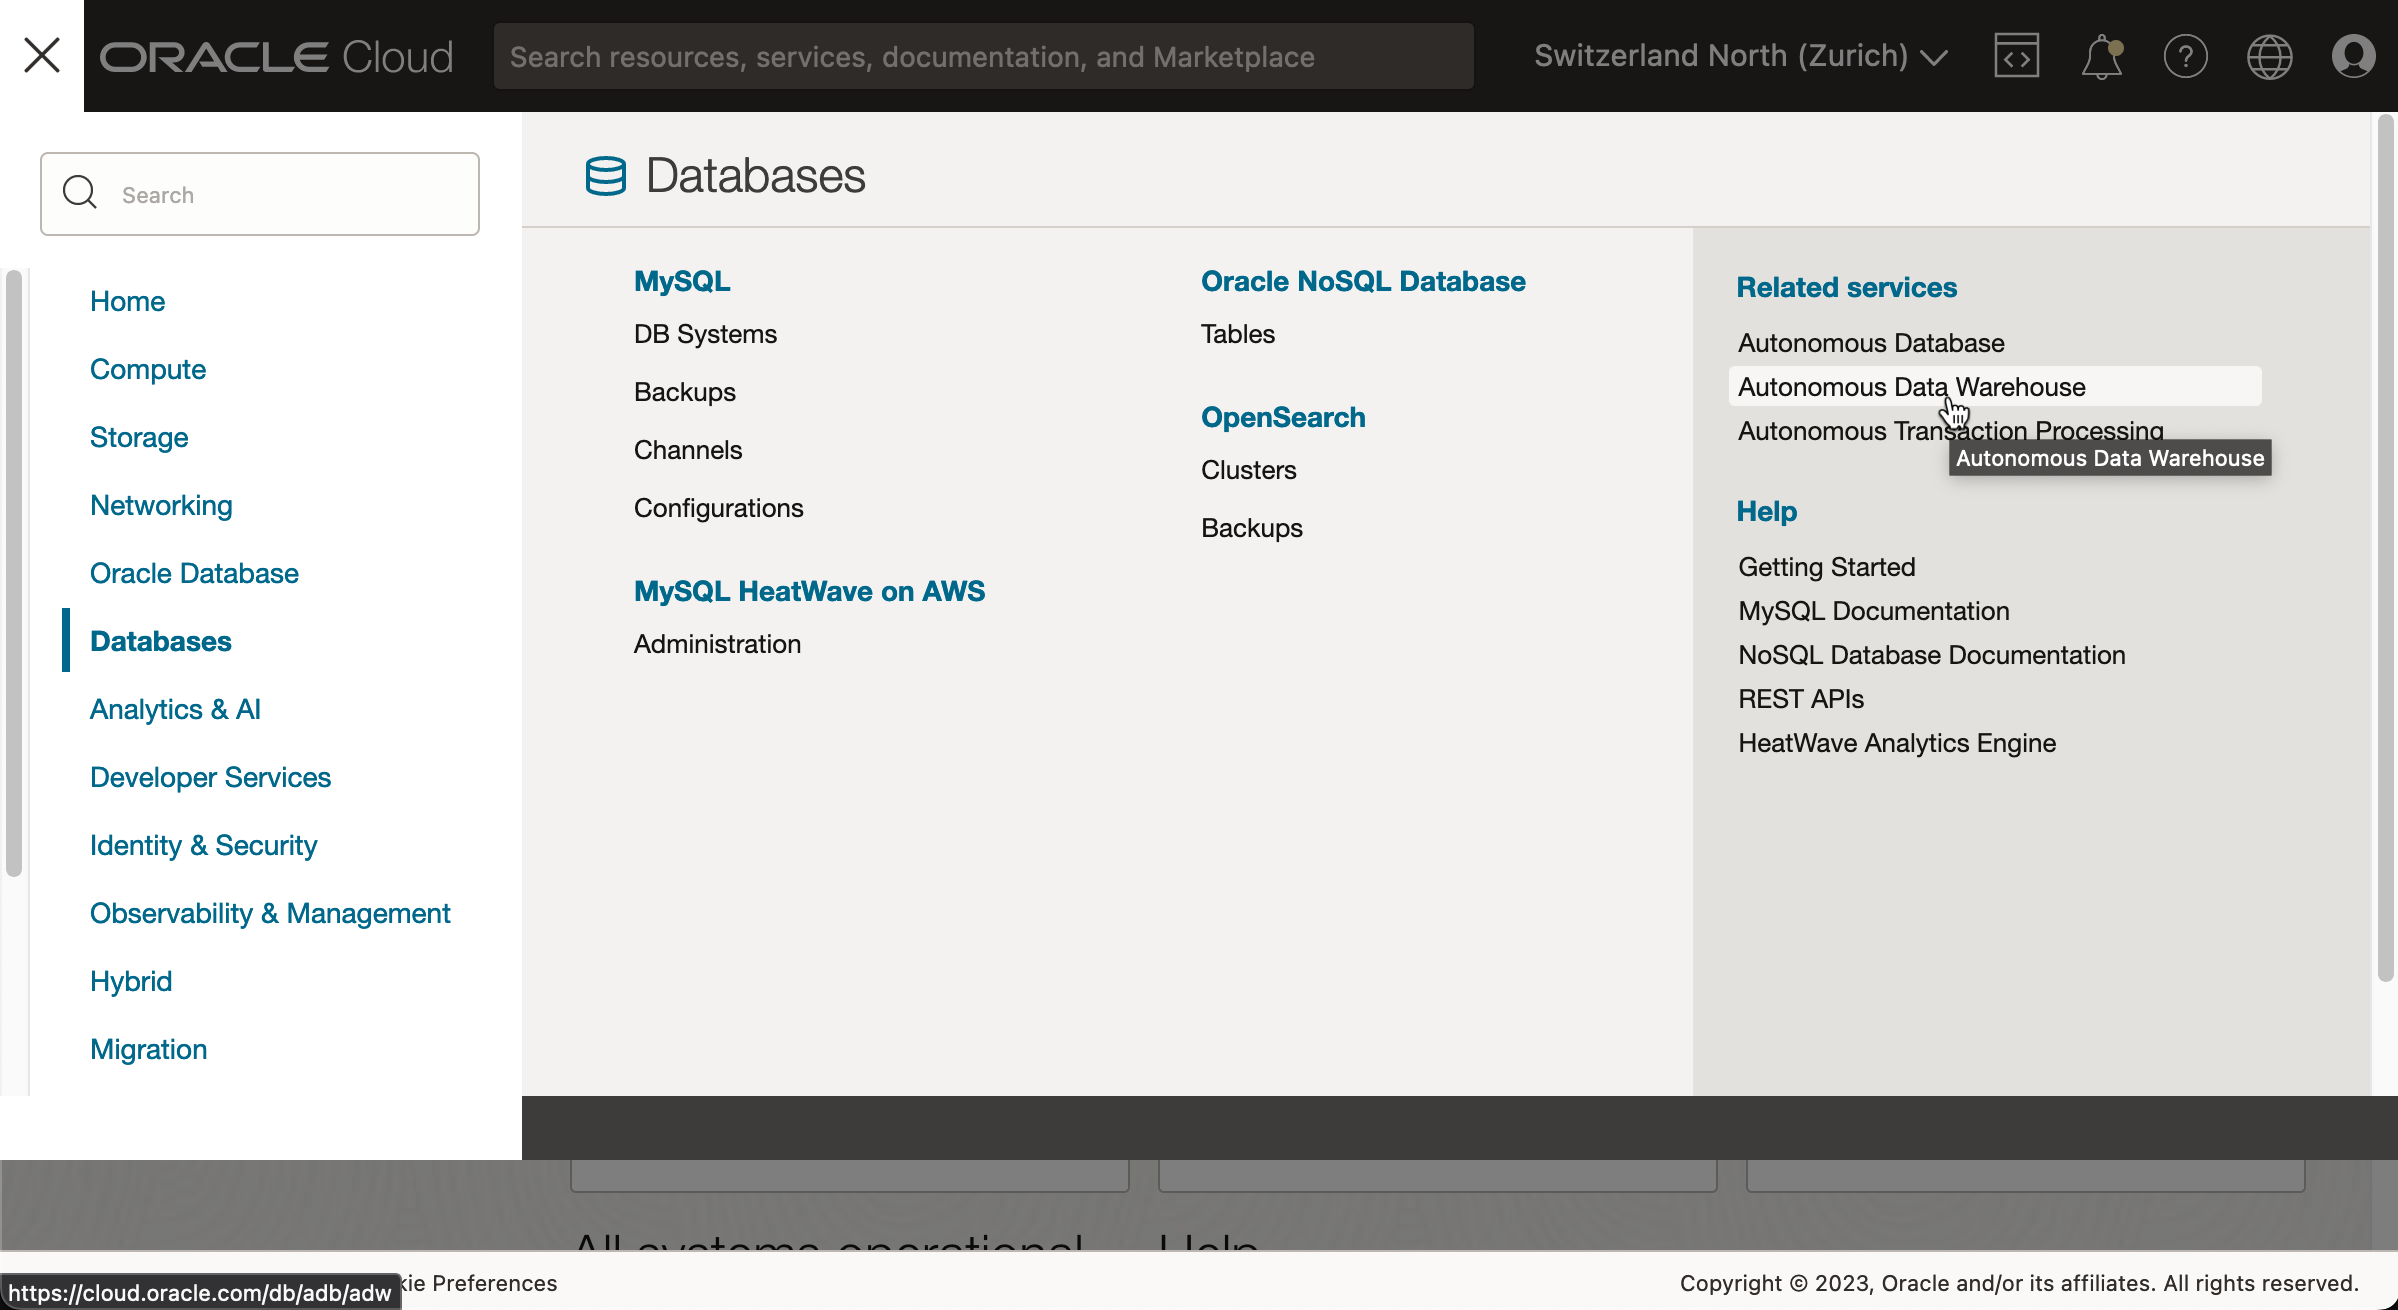
Click the "Create Autonomous Database" button (don't be confused if, even though you've chosen the 'Autonomous Data Warehouse' button, the title reads 'Autonomous Database.' The two terms seem to be often used interchangeably).
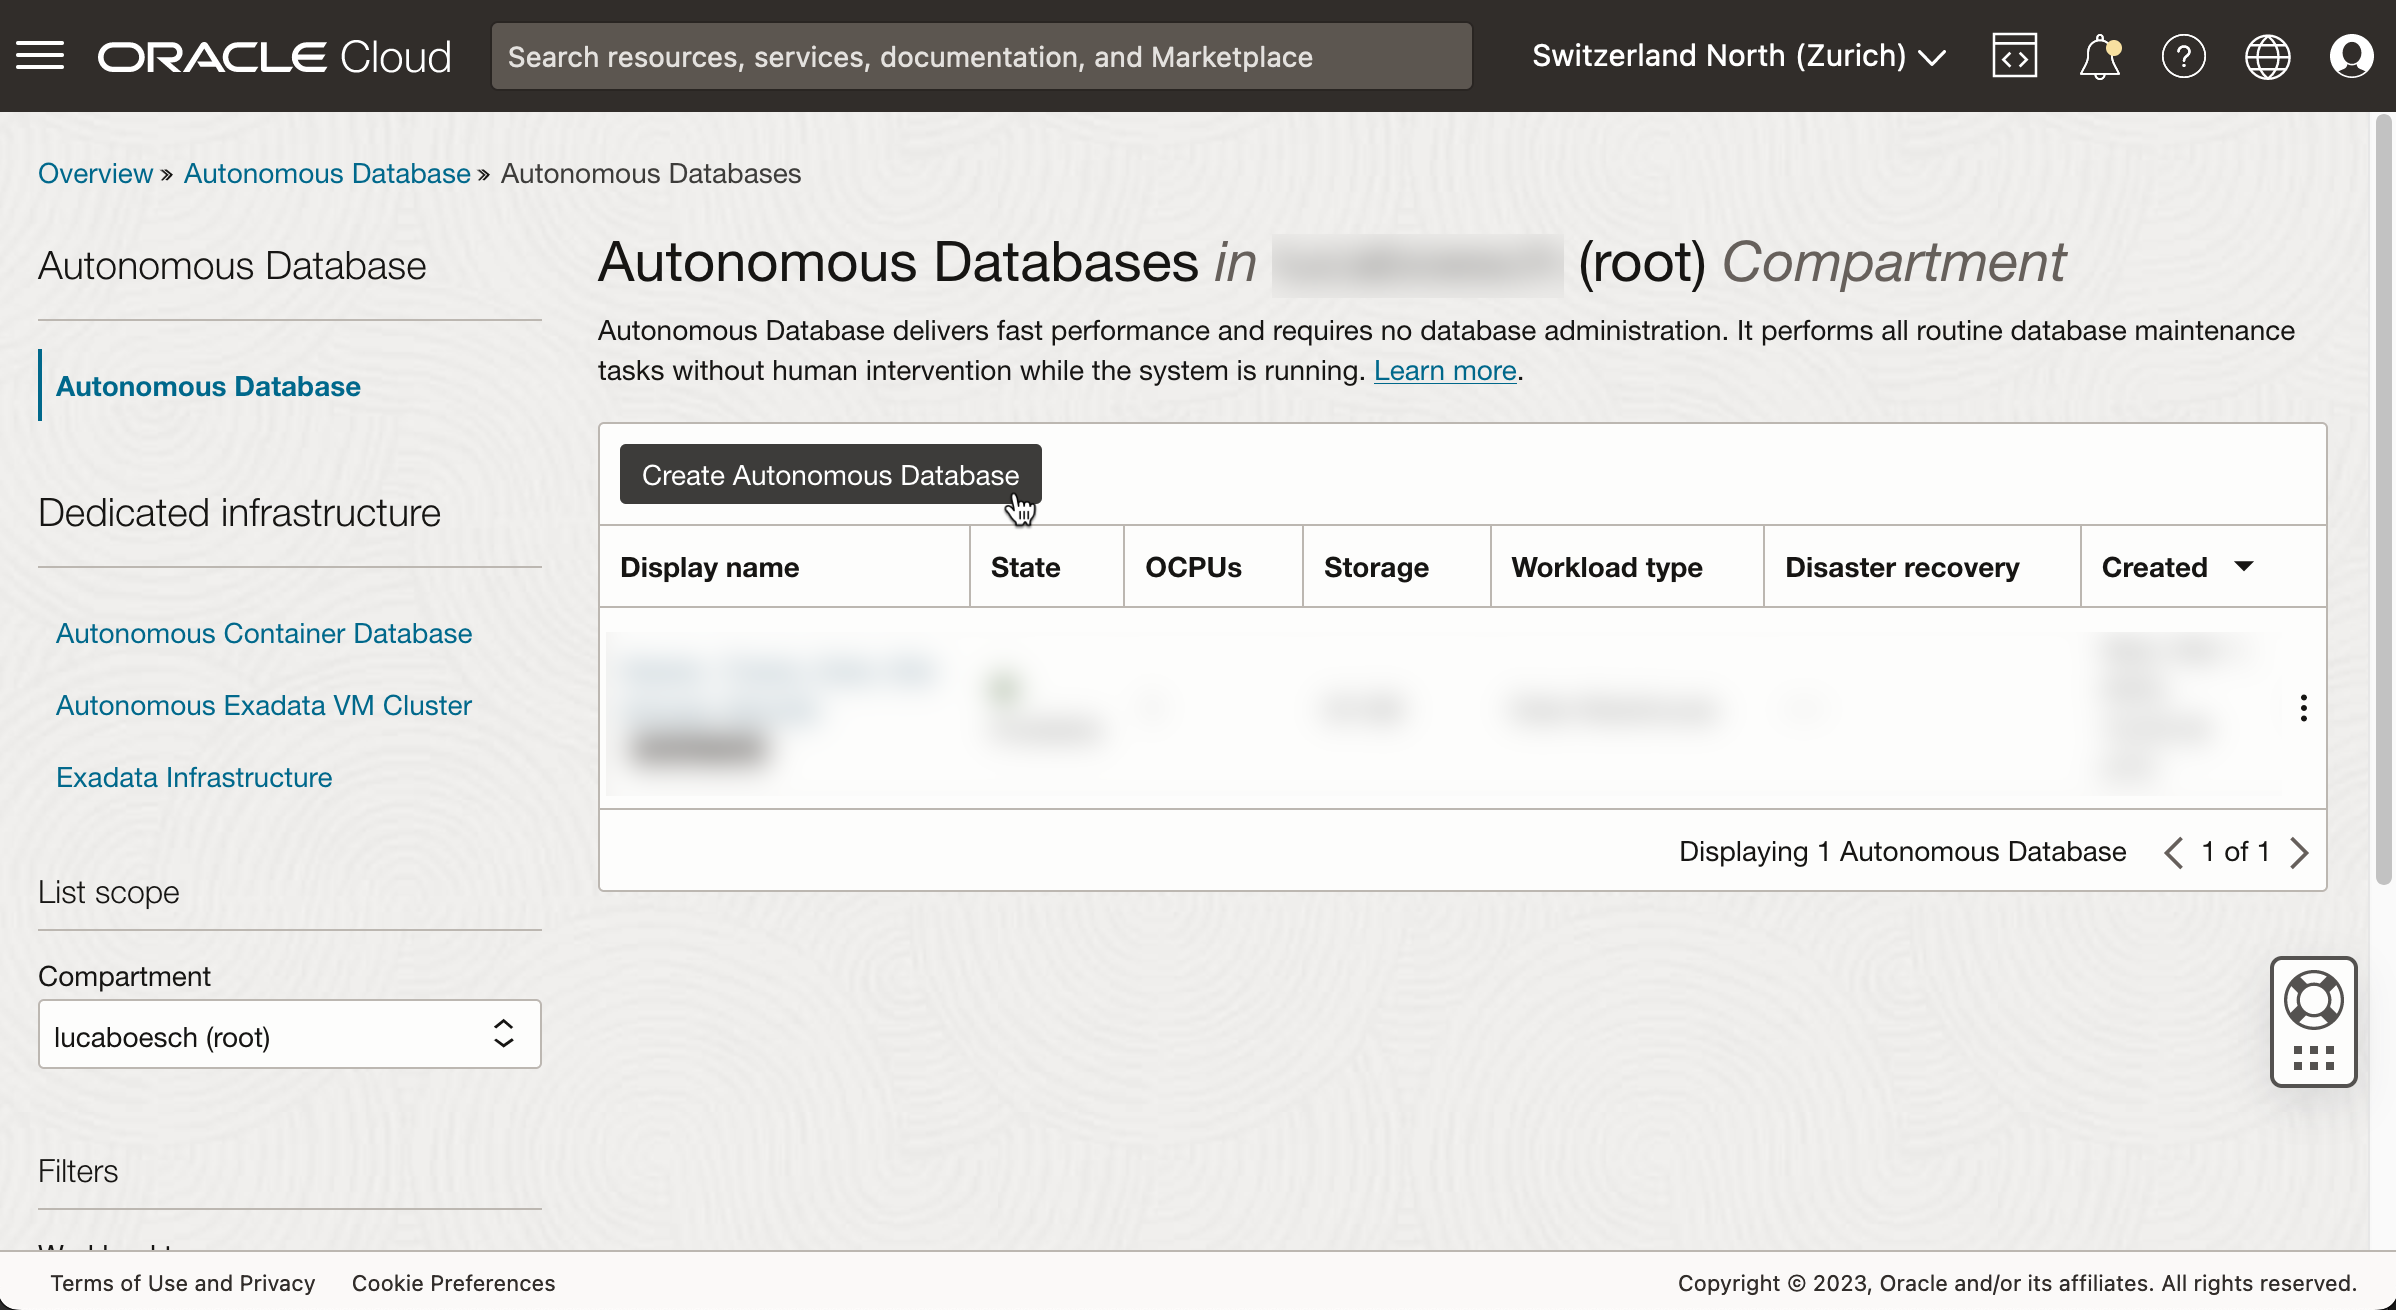
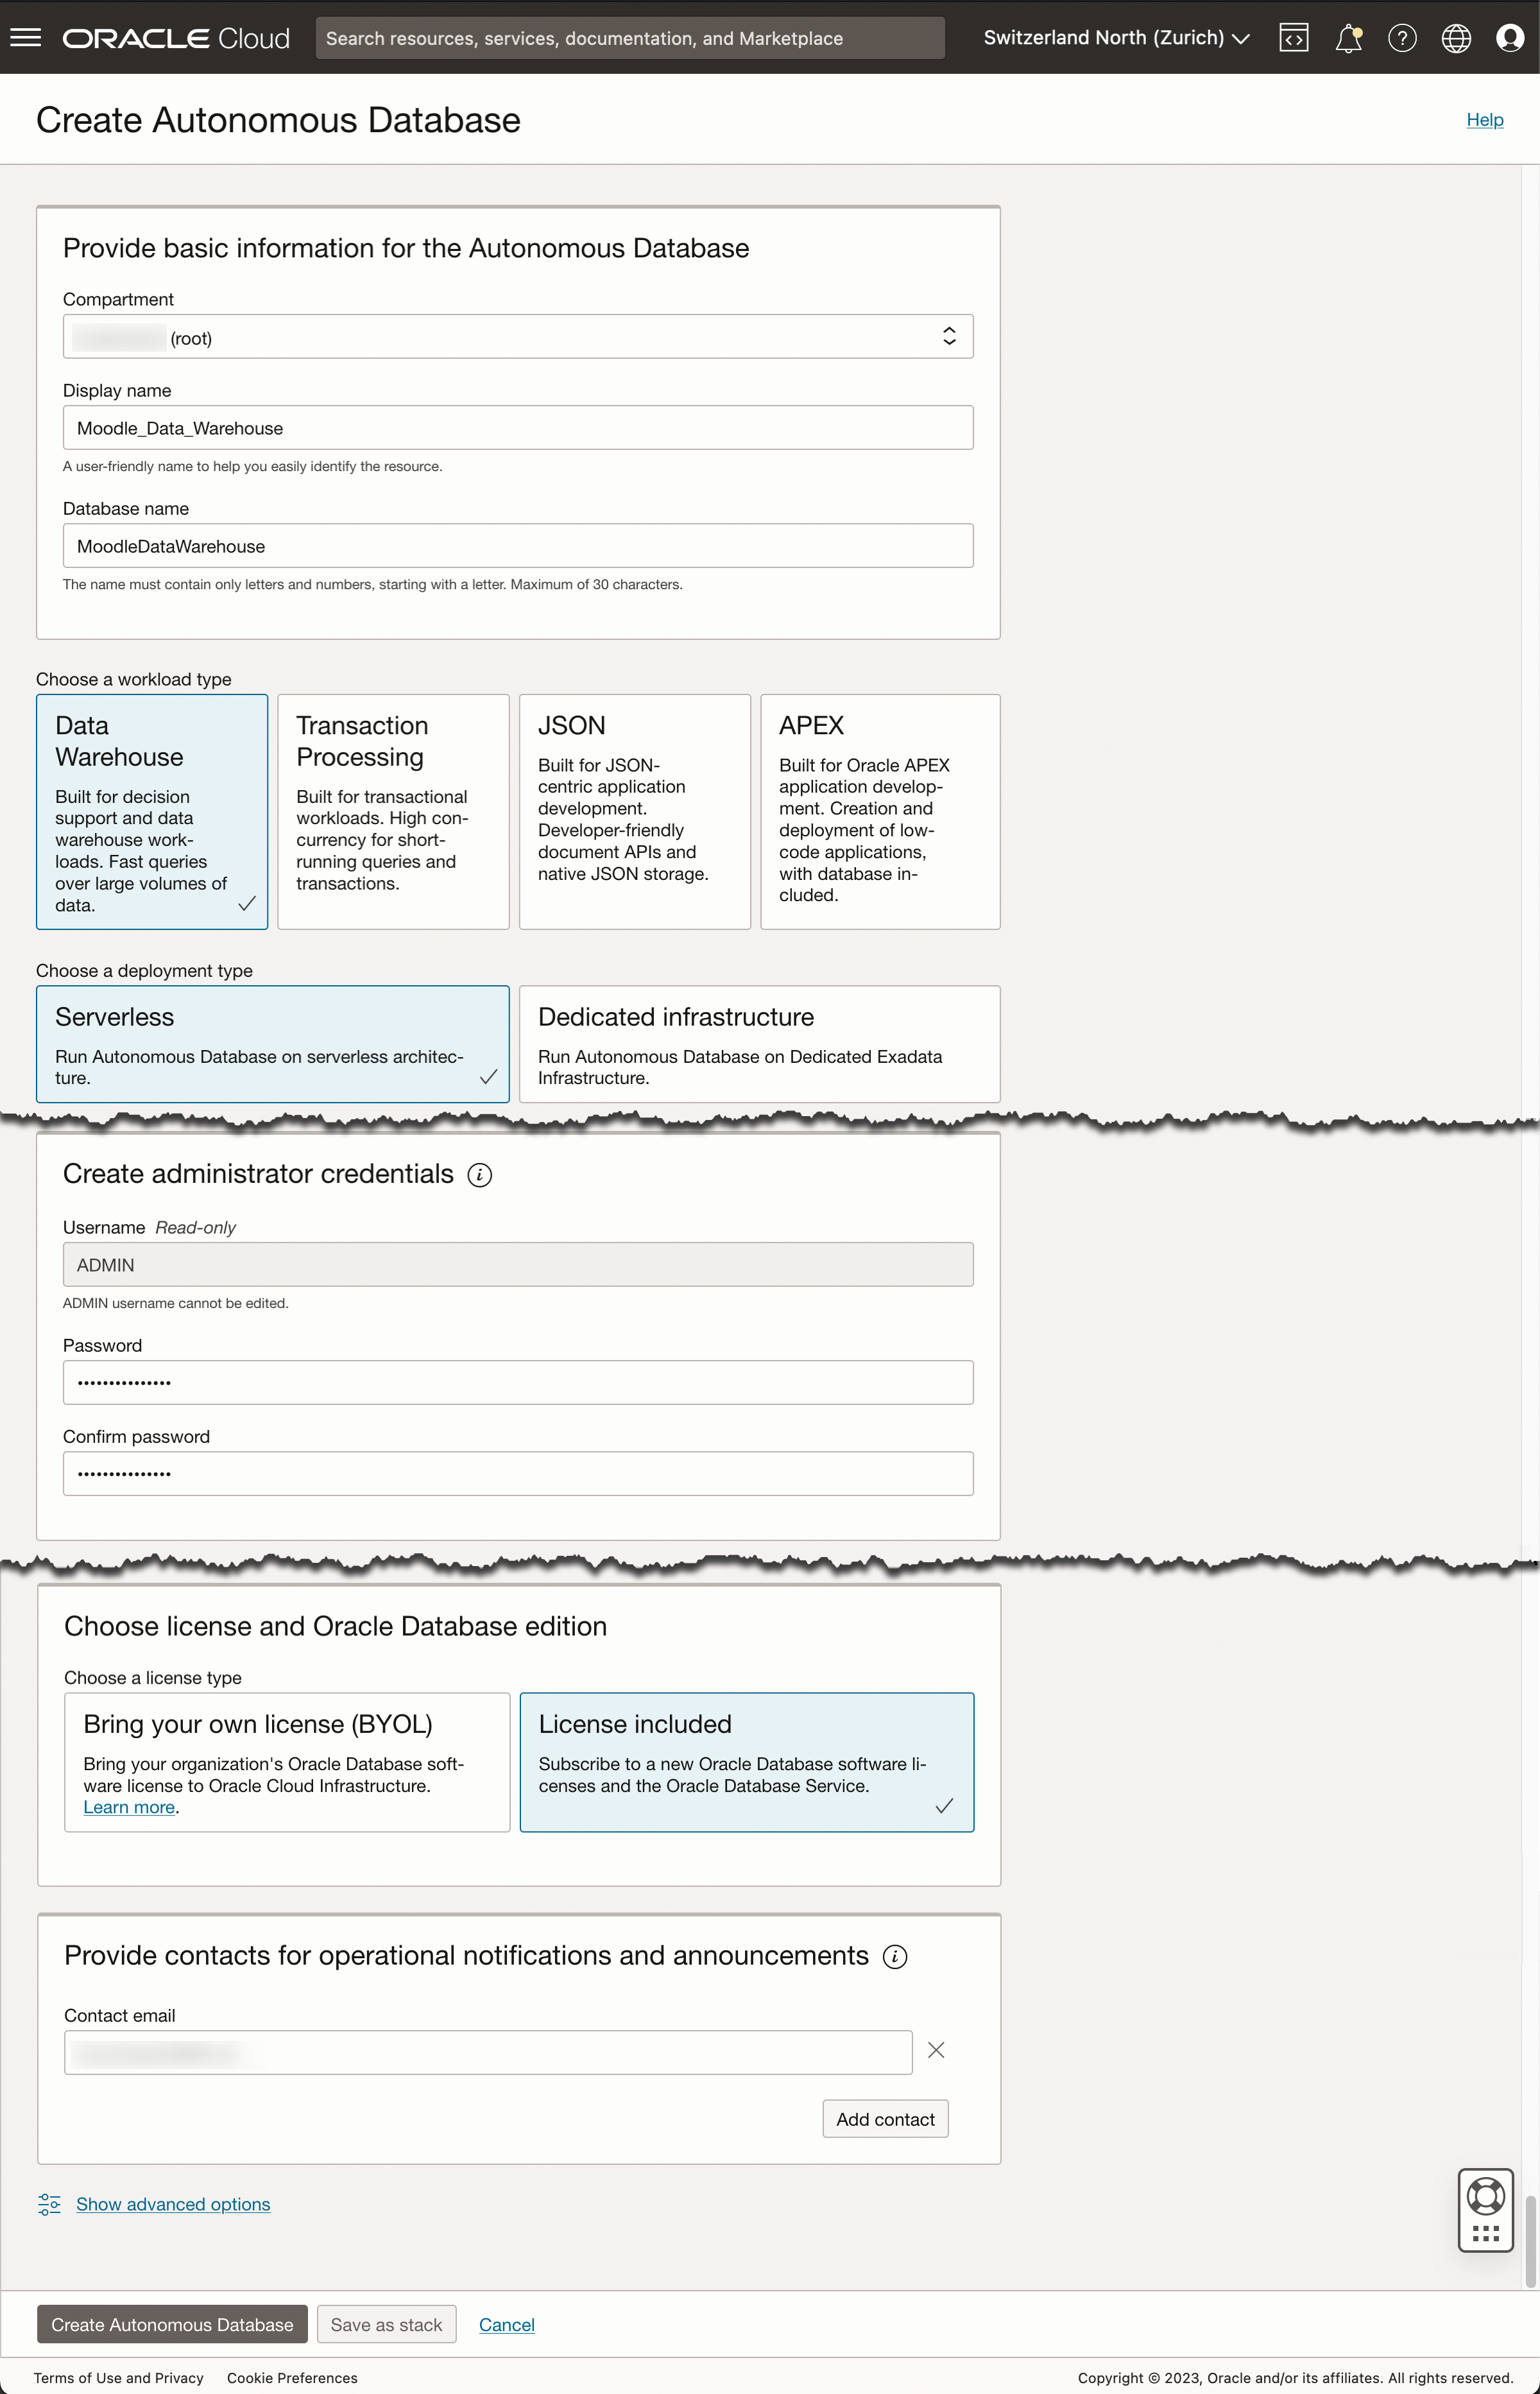
In the following page, choose a "Display name" as well as a "Database name" and create credentials for the "ADMIN" user. Under "License", choose "License included", and add a "Contact email" address and leave all other settings untouched.
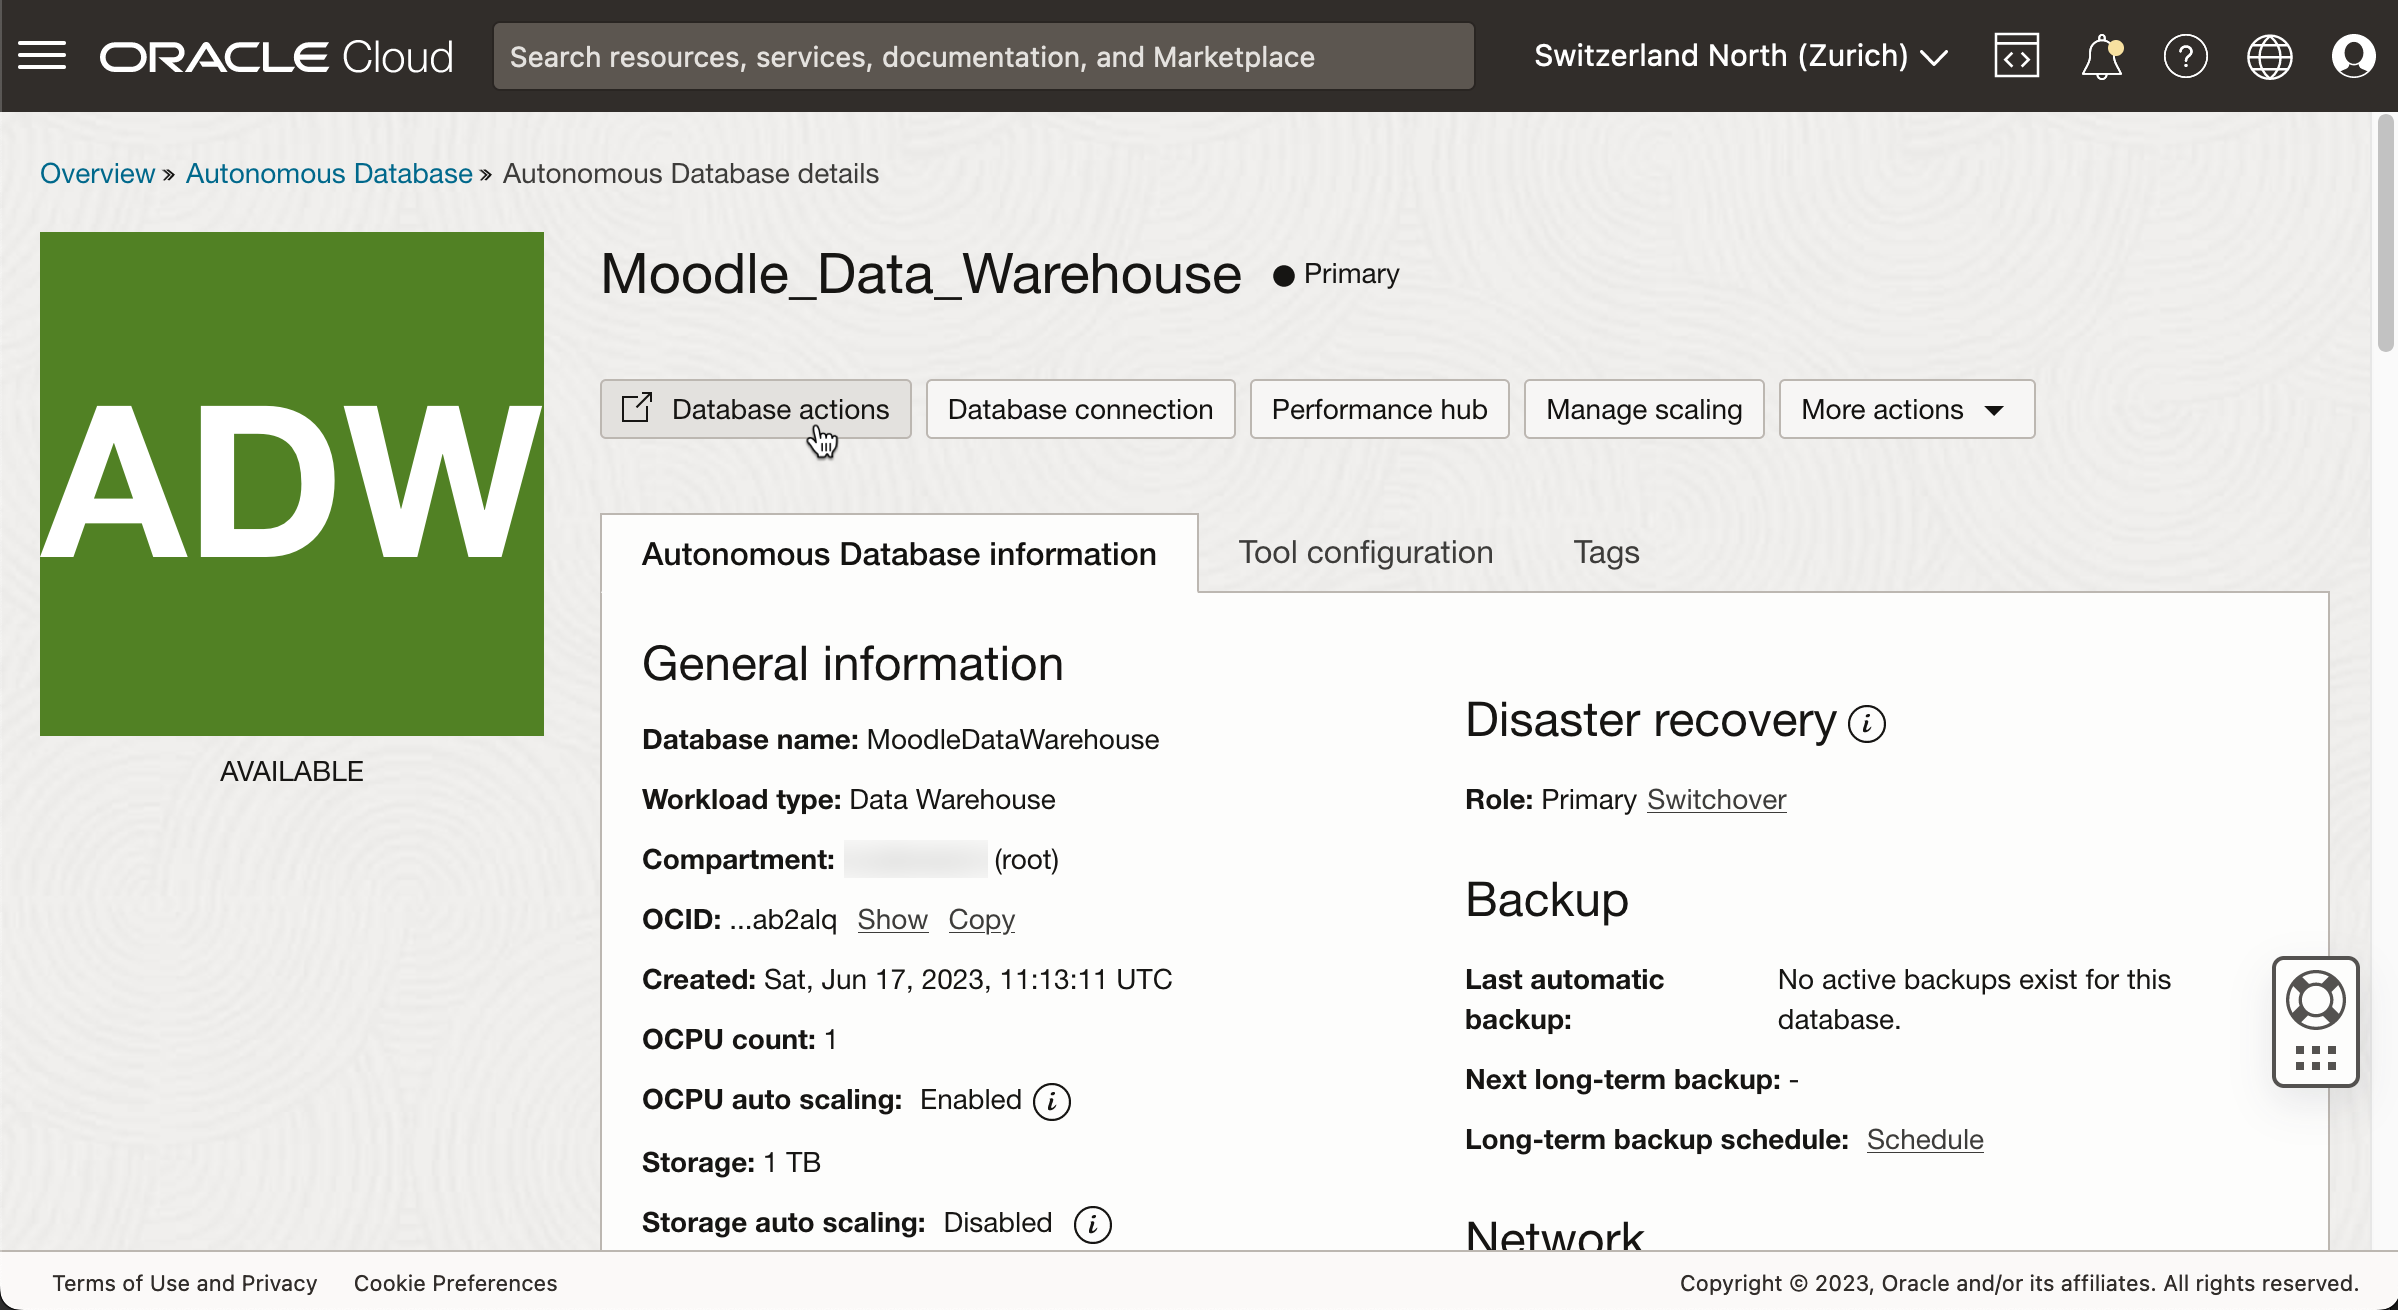
Then, wait until the state changes from "PROVISIONING" to "AVAILABLE". You also will be notified by mail.
After this, click the "Database actions" button and authenticate with the created credentials for user "ADMIN".
Scroll down to the "Administration" section, then click the "DATABASE USERS" tile.
