| title | description | icon |
|---|---|---|
Quickstart |
Start building modern documentation in under five minutes |
rocket |
Welcome! Follow the instructions below to learn how to deploy, update and supercharge your documentation with Mintlify.
Mintlify docs are rendered from MDX files and configurations defined in our starter kit. We use GitHub to integrate your docs with your code, and make source control effortless. Onboard through the dashboard or clone our starter kit to get started.
Install our GitHub app to ensure that your updates are automatically deployed when you push changes. You can find the installation link in the [dashboard](https://dashboard.mintlify.com/settings), on the Settings page. Upon successful installation, a check mark will appear next to the commit hash of the repository.<Frame>
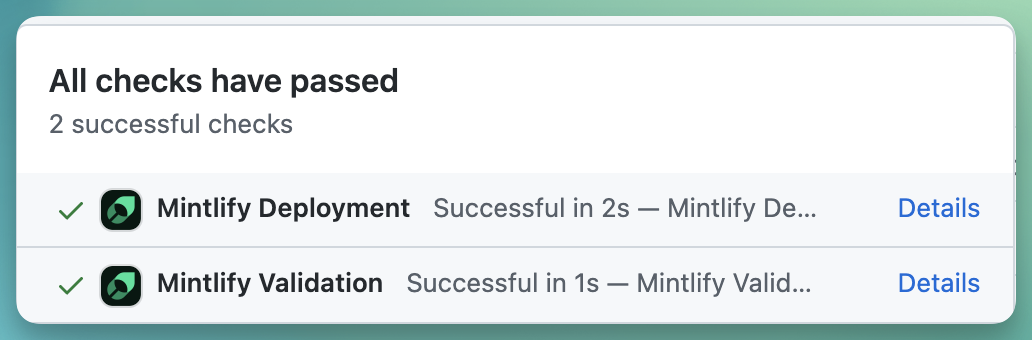
</Frame>
<Frame>
  <img
    alt="Monorepo setup"
    className="block dark:hidden"
    src="/images/monorepo-light.png"
  />

  <img
    alt="Monorepo setup"
    className="hidden dark:block"
    src="/images/monorepo-dark.png"
  />
</Frame>
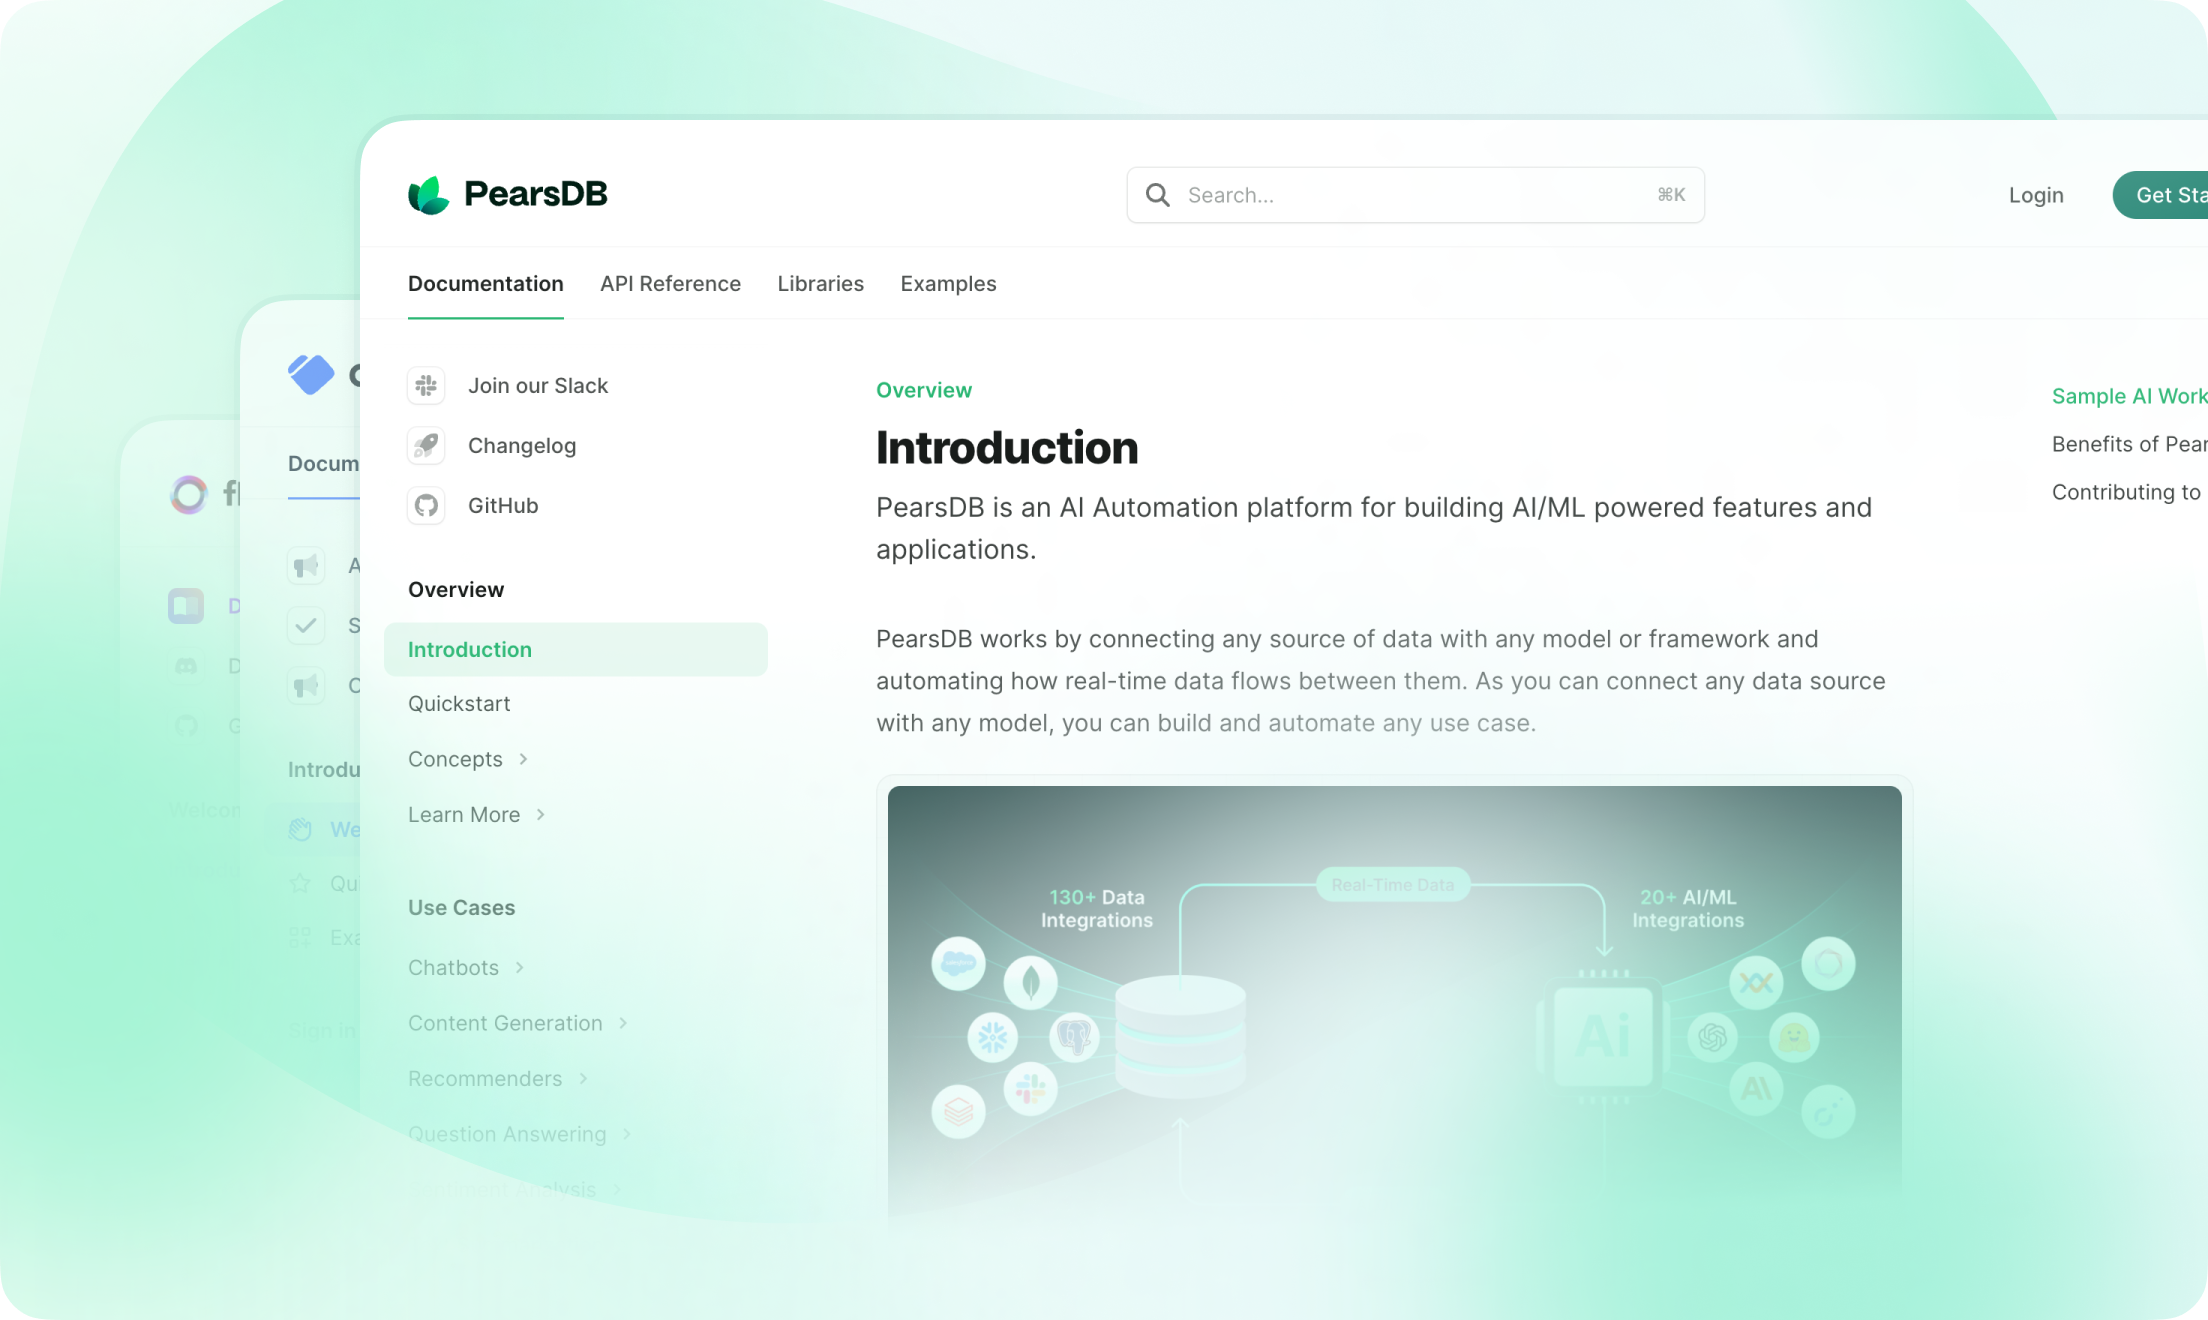
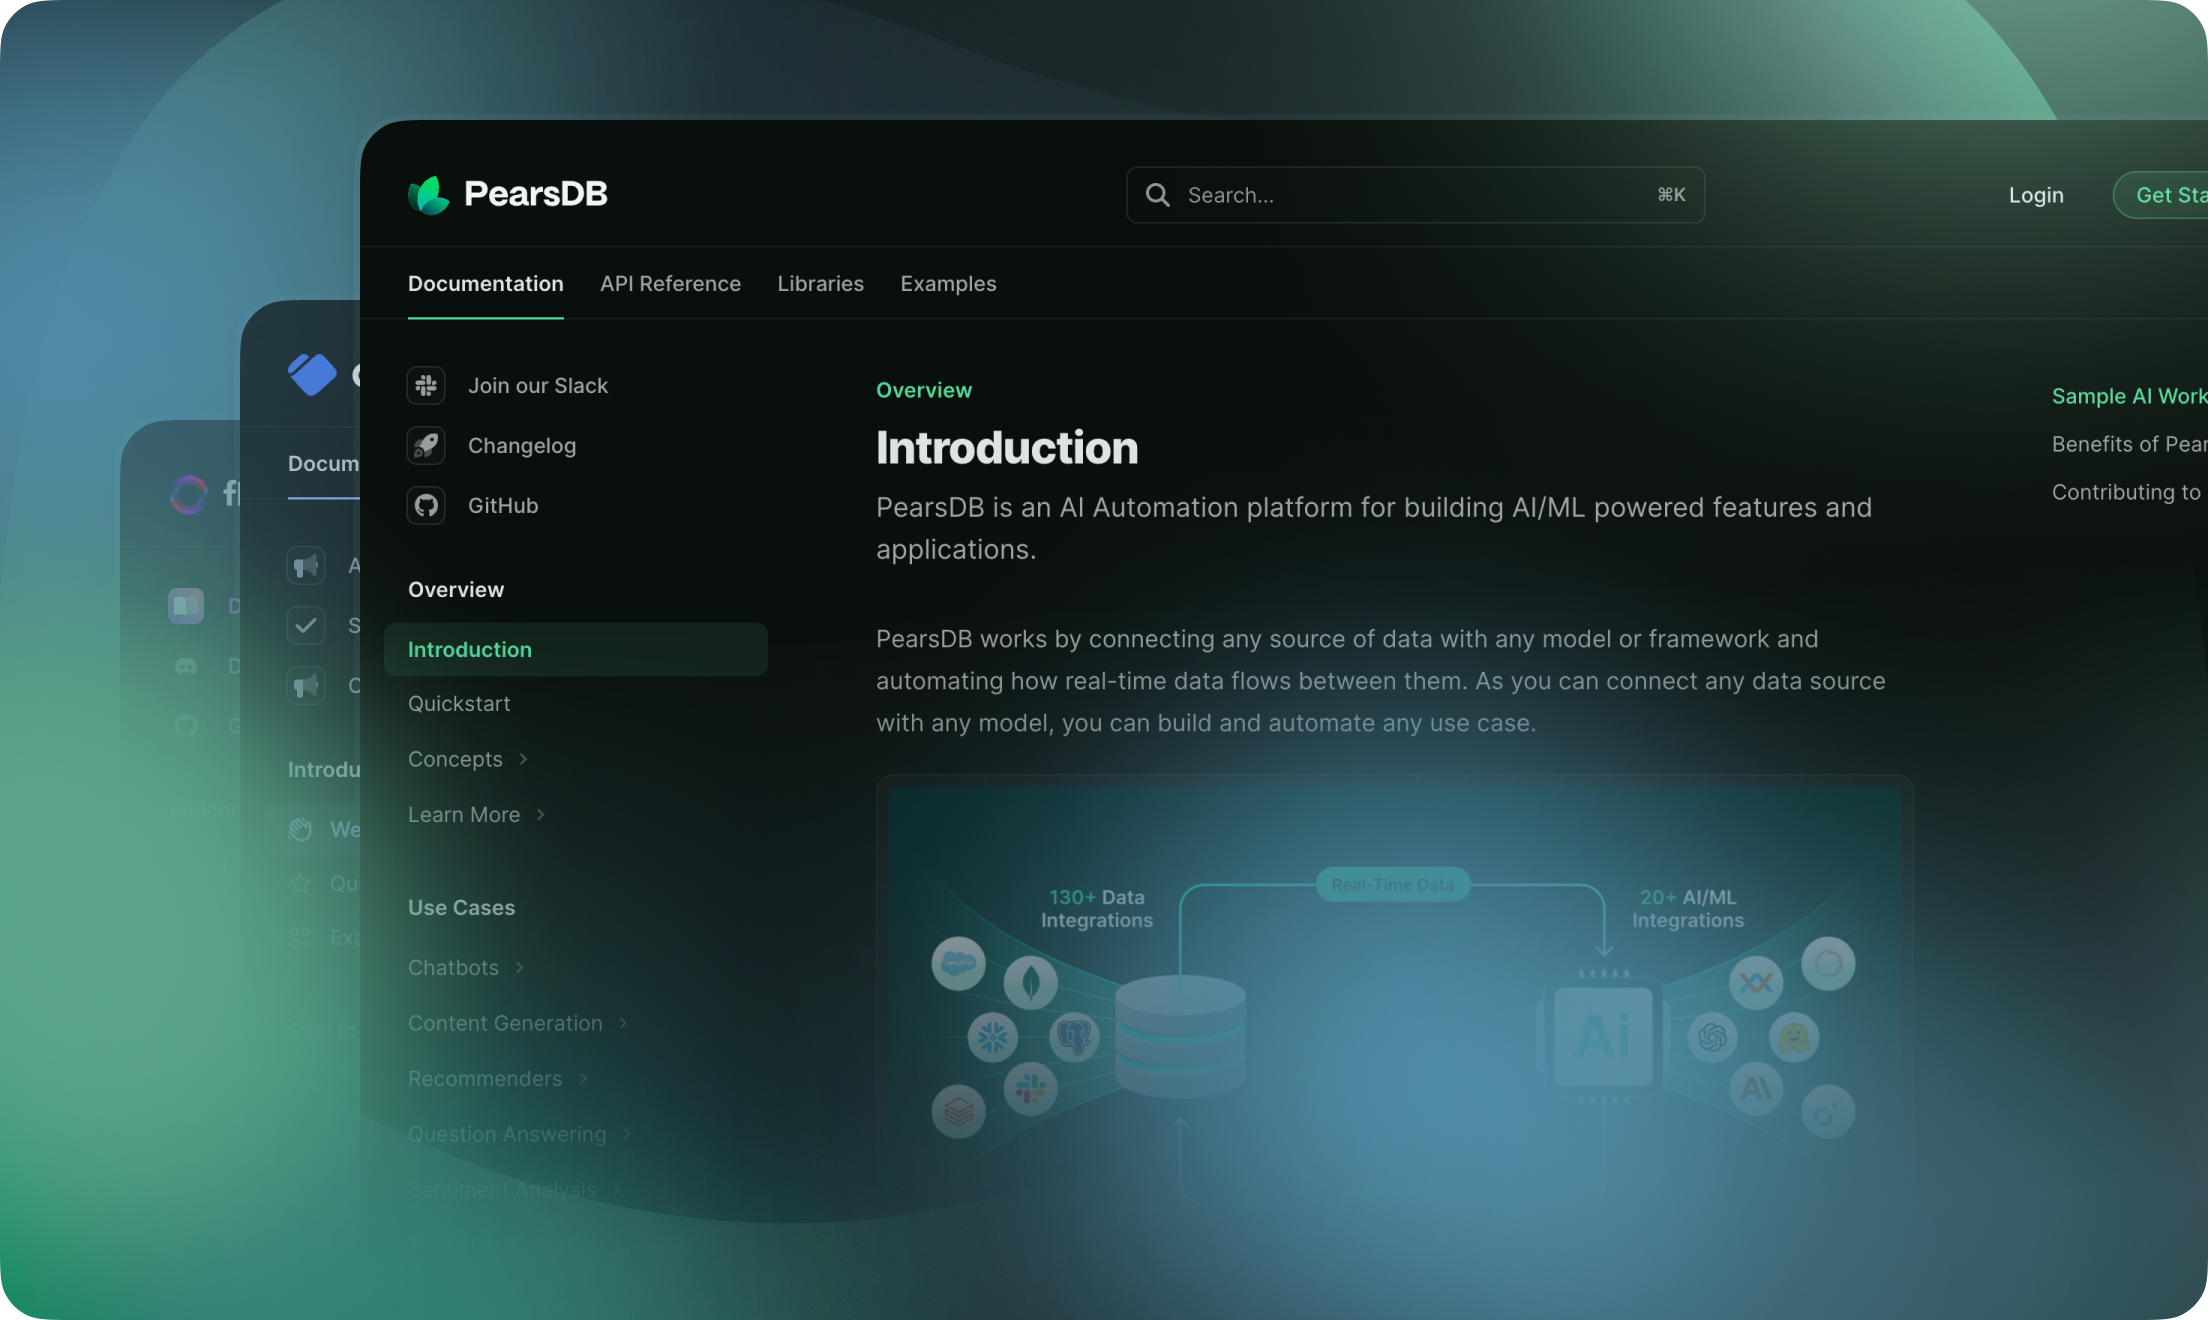
Mintlify enables you to easily customize the style, structure, and content of your docs.
1. Install [git](https://git-scm.com/book/en/v2/Getting-Started-Installing-Git). 2. Once git is installed, clone your docs repository using `git clone `. If you haven't set it up yet, now would be a good time to do so with these [SSH keys](https://docs.github.com/en/authentication/connecting-to-github-with-ssh/generating-a-new-ssh-key-and-adding-it-to-the-ssh-agent). 3. Use your favorite IDE to open the repository. 4. Install our Mintlify CLI to preview changes with `npm i -g mintlify`.Learn more about this in our [local development guide](/development).
```json
"name": "Your Company"
"logo": {
  "light": "/logo/light.svg",
  "dark": "/logo/dark.svg",
  "href": "https://yourcompany.com"
},
"favicon": "/favicon.svg",
"colors": {
  "primary": "#2AB673",
  "light": "#55D799",
  "dark": "#117866",
},
```

A full list of supported configurations can be found at [global settings](/settings/global).
```md
---
title: "Page Title"
sidebarTitle: "Sidebar title (optional - if different from page title)"
description: "Subtitle (optional)"
---
```

Learn more about adding images, tables, lists, and more using the [MDX syntax](/text). We also offer a [wide array of components](/content/components).
<Frame>
 You can easily set up your API references using an OpenAPI document.
1. Add your `openapi.yaml` or `openapi.json` file into your docs repository or define the `openapi` field in `docs.json` with a URL.

```json
"openapi": "link-to-your-openapi-file"
```

2. Use our [scraper](/api-playground/openapi/setup#autogenerate-files-recommended) to autogenerate your OpenAPI endpoints files as:

```bash
npx @mintlify/scraping@latest openapi-file <path-or-url-to-openapi-file>
```

3. Finally, include the generated endpoint MDX files to your `docs.json` under `navigation`.

For a complete guide on using Mintlify with OpenAPI, check out [this guide](/api-playground/openapi/setup). [This guide](/api-playground/openapi/writing-openapi) explains how to configure your API authentication methods. For manual API references definition, explore [our syntax](/api-playground/overview).
We also support integrations with a range of analytics providers. You can find the list of providers [here](/integrations/analytics/overview).
Navigate to your dashboard settings to add a custom domain.
Congrats, you've set up your documentation on Mintlify!
Need support or want to give some feedback? You can click support in the dashboard (bottom left corner) or reach out to [email protected].
You can also join our community to engage with other Mintlify users and stay up to date with the latest feature drops.