This guide shows how to install Visual Studio Code (VSCode) on Windows environments.
Downloading
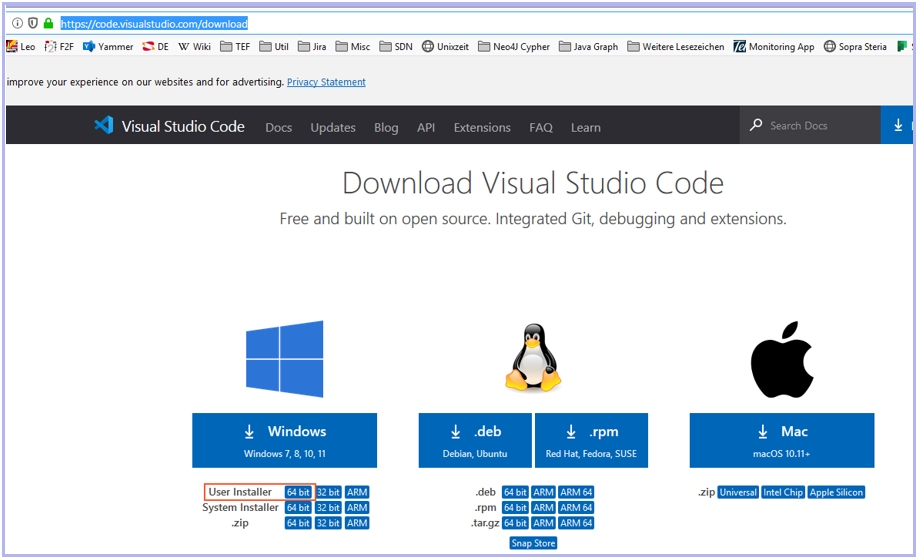
Open your browser and grab the installer from here.
Select the User Installer for your environment (e.g. 64 bit).
It can be installed on the OfficeLaptop without admin rights.
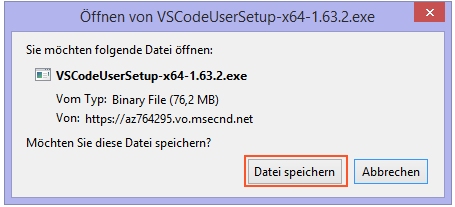
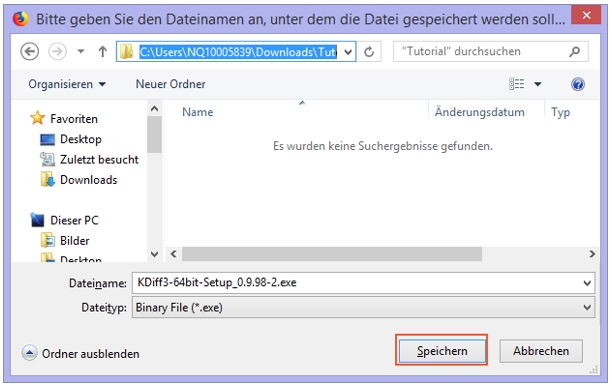
Download the installer file to the desired path:
Installing
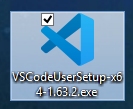
Start installation by executing the User Installer.
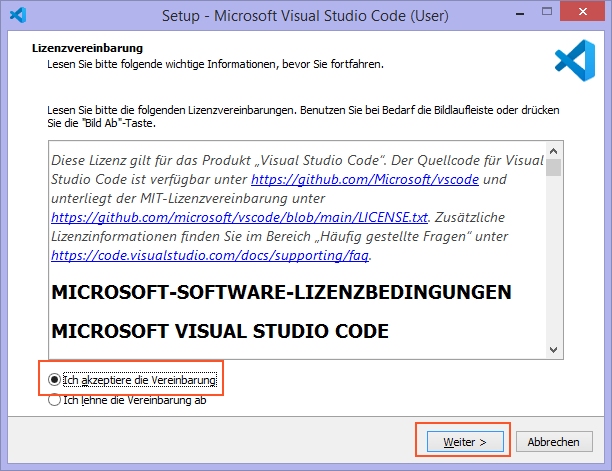
Ignore the warning and accept the license aggreement:

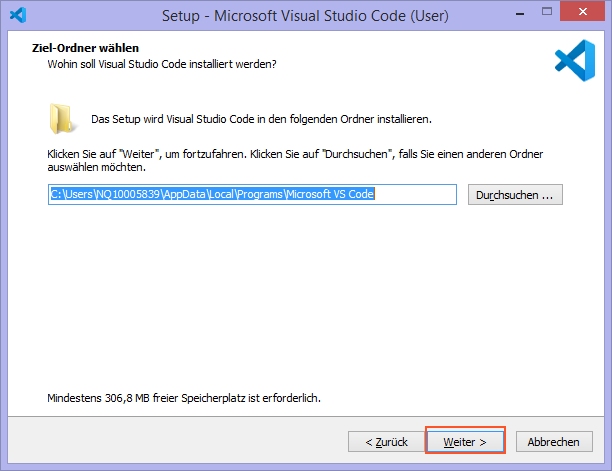
Select the installation directory:
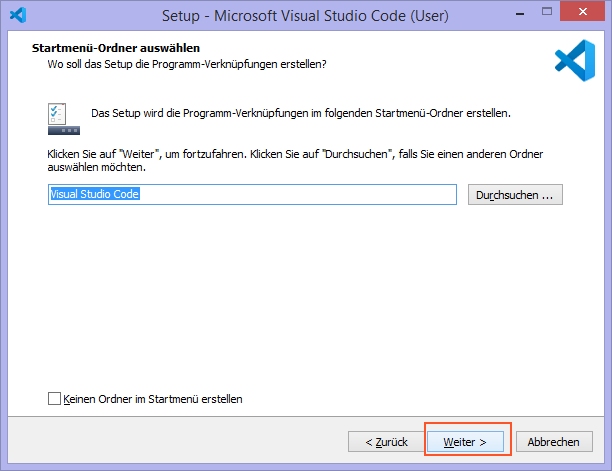
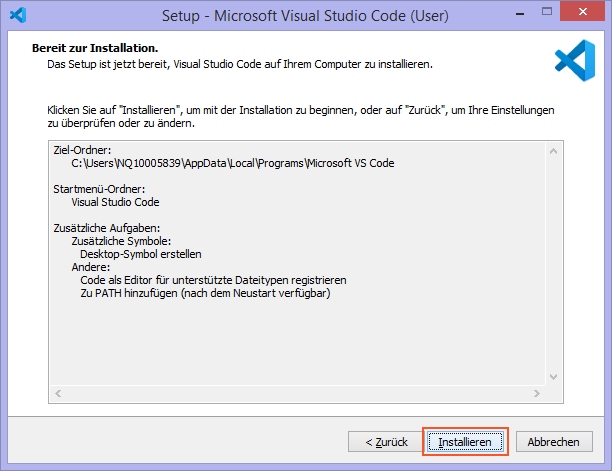
Select the options according to your preferences and install:

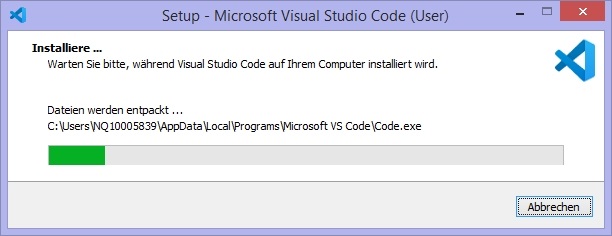
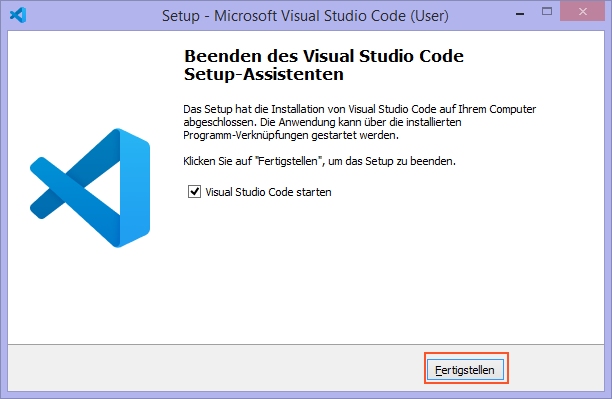
The installation is finished and Visual Studio Code is now ready to use:
For additional information on Visual Studio Code please also refer to the official vendor website.
In case of Ubuntu it is recommended to install from within the graphical software center.
Guidance on other Linux distributions can be found on this website.
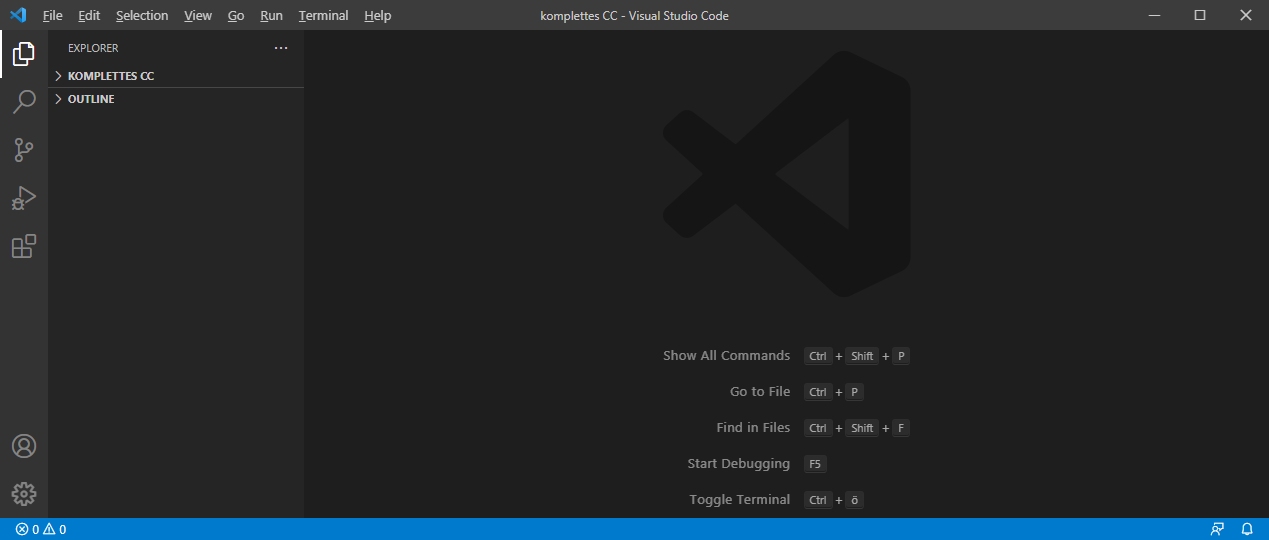
After completing the installation, please start Visual Studio Code for adding Extensions.
Click on the left bar to open the Extension section.

Type the respective Extension's name into the Search bar for searching the wished Extension.

Click on the blue "install" button of the wished Extension for starting its installation.

Repeat this procedure for all required Extensions and the recommended Extensions you wish.
Required Extensions
- GitHub Pull Requests and Issues: used to create branches from issues and also pull requests directly from within VSCode
- PlantUML: Required for sketching communication or action sequences
- YAML: Required for YAML syntax support
- OpenAPI (Swagger) Editor: Required for real-time validation of the OpenApiSpecification
Recommended Extensions
- Todo Tree: management of TODOs (or other keywords if configured) found in the workspace (highlighting, TODO lists etc.)
- GitLens: code authorship visualisation and seamless navigation of Git repositories
<- Back to Installing Git - - - Up to Preparing for Specifying Applications - - - Ahead to Connecting VSCode with GitHub ->