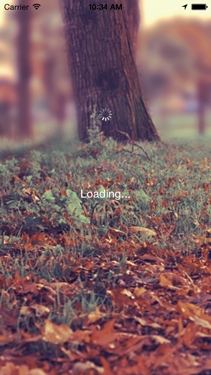
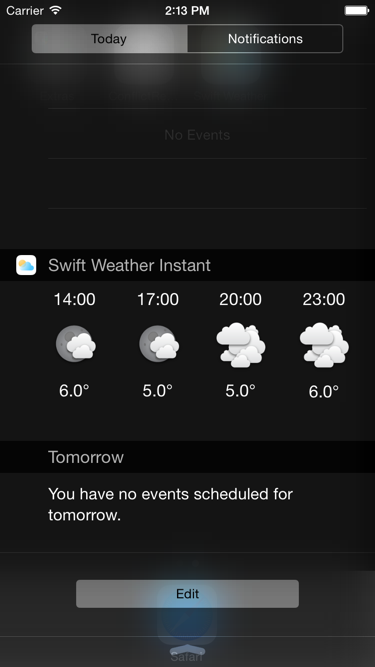
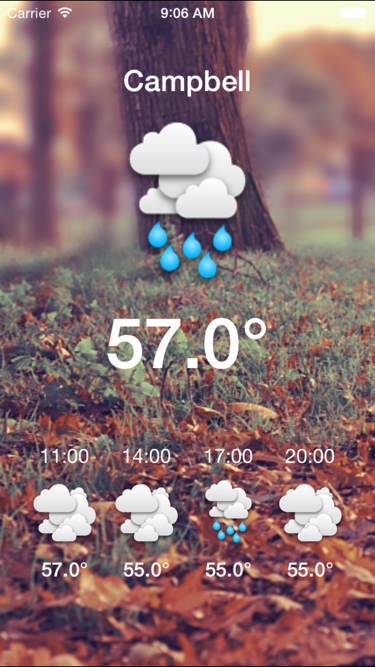
SwiftWeather is an iOS weather app developed in Swift language. The app can support iPhone 4(s), iPhone 5(s), iPhone 6 and iPhone 6 Plus. The app also support Today Widgets.
This is version 2. I have ugraded the entire project to use Carthage, Alamofire and SwiftyJSON. And the app can only support iOS8+, if you want to support iOS7 or use CocoaPods and AFNetworking. Please have a look at README.v1.md and Release Using Cocoapods and AFNetworking. Happy coding.
Because Apple keeps changing the Swift compiler, the current version can be compiled in Xcode 6.2 beta.
- Swift Programming Language
- Carthage
- Alamofire
- SwiftyJSON
- Core Location
- Using Framework to share code between targets(app and widget).
Because we are using Carthage to build the third party packages. There are some build warings like ld: warning: linking against dylib not safe for use in application extensions: /Build/Products/Debug-iphoneos/Alamofire.framework/Alamofire
Because the app uses carthage, we need to install carthage. To install the carthage tool on your system, please download and run the Carthage.pkg file for the latest release, then follow the on-screen instructions..
- Open Terminal app.
- Change directory to the project folder.
cd $project_dir - Use
lsto list all the file to check whether Cartfile file is in the folder? - If the Cartfile has been found, then execute
carthage update.This will fetch dependencies into a Carthage/Checkouts folder, then build each one. - On your application targets’ “General” settings tab, in the “Linked Frameworks and Libraries” section, drag and drop each framework you want to use from the Carthage/Build folder on disk. In our project, which are
AlamofireandSwiftyJSON - Press Cmd + B to build the app.
- Press Cmd + R to run the app on Simulator.
- Thanks to johnsonjake for adding iOS 8 support and improving the UI/UX.
- Thanks to Marc for adding forcast feature, widget and app icon.


