Usage
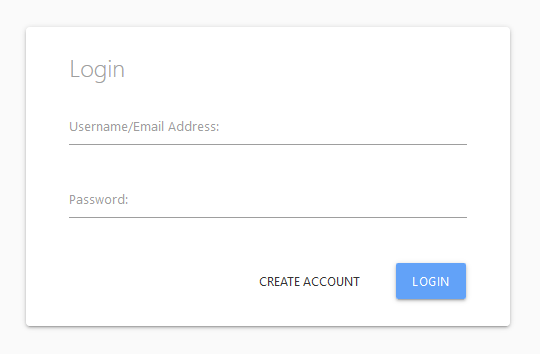
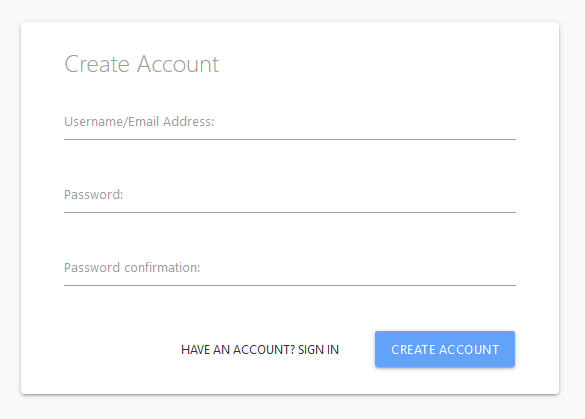
When first accessing ScreenDoor, users will find a login form asking for e-mail address and password. Click the CREATE ACCOUNT button found to the left of the LOGIN button to begin the process of creating an account. A valid canada.ca e-mail address must be used for registration. Enter a valid e-mail address, password, and password confirmation, then click CREATE ACCOUNT. Users should should then receive an e-mail containing a secure link to verify their address and activate their ScreenDoor account. Upon clicking the link, a user should see the login screen, and a message confirming account authentication. Log in to the account using the credentials set during account creation.
After logging in for the first time, users will be greeted by a message instructing them to add a position. In order to process applications and view results, a user must first add the job posting to which those applicants have applied. On the left of the screen is a sidebar with options such as View Positions and New Position. If the sidebar does not appear, click the icon at the top of the page to the left of the ScreenDoor logo. Then, click New Position. To upload a job poster already in PDF format, click PDF. Otherwise, click URL, find the jobs.gc.ca web address of the position to add, and paste the URL into the text field.
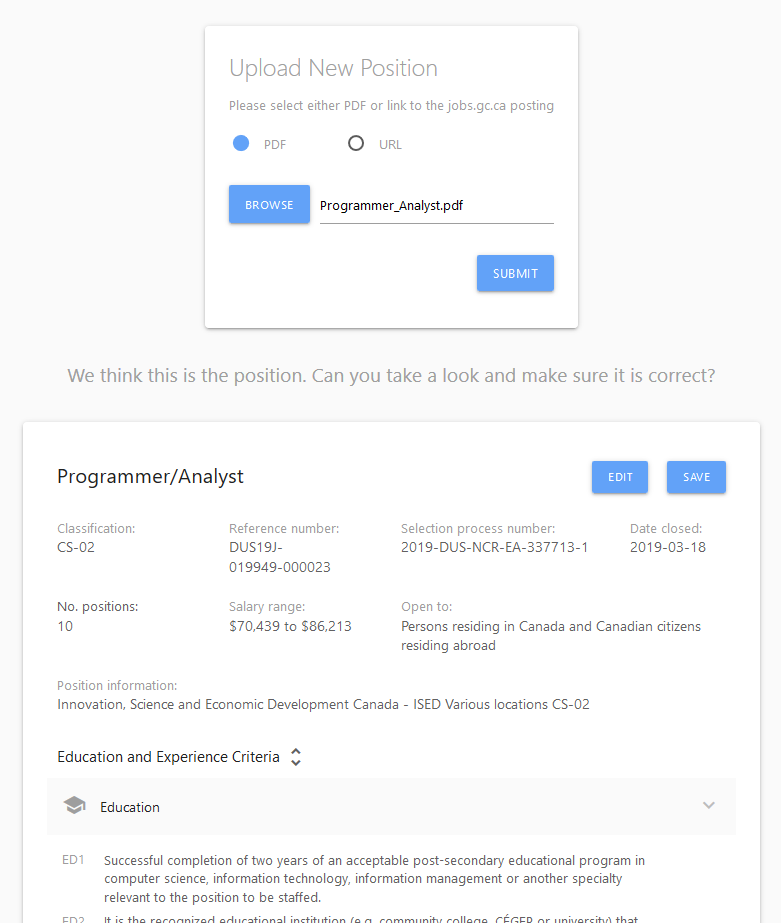
From there, users have an opportunity to review how the application has processed the job poster and make any required edits. Clicking the EDIT button on the top right of the position information allows a user to edit each field (e.g., Classification, Date closed), as well as add or remove specific education, experience, or asset requirements. Users will also be able to edit the position again after importing. When finished editing, click Save to go the ScreenDoor home page with the newly imported position.
If multiple users are part of the same hiring process, a user can share access to the a job posting they have imported. To do so, go to the detailed view of the position by clicking the VIEW button, or clicking the position title. Then, click the ADD USERS button in order to open the add users dialogue. From there, a user will see an input field and a list of users with access to that position, starting with their own e-mail address. To add another registered ScreenDoor user, type the user's e-mail address into the field, then click ADD USER. If the new user is not registered, or the user has not entered an e-mail address, an error will be displayed. If the new user is successfully added to the position, their e-mail address will appear on the list with a red "X" that, when clicked, will remove that new user from access to the position. A user cannot remove themselves from a position.
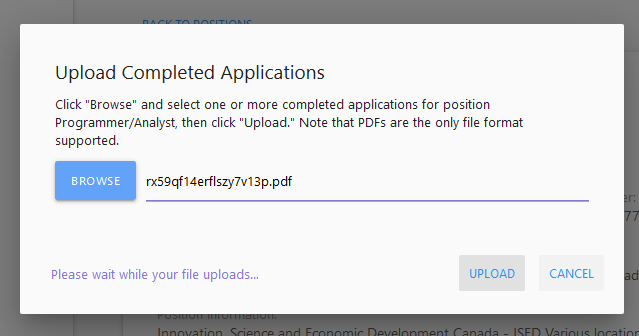
Once a user has access to a position - through uploading a job poster, or having a position shared with them - they can upload completed applications to be processed. From the positions list, or a specific position, click the UPLOAD APPLICATIONS button, then select one or more PDF files from a hard drive containing applications for this position. After a file has been selected, press the UPLOAD button to begin processing the applications. For large files, it may take several seconds to begin processing.
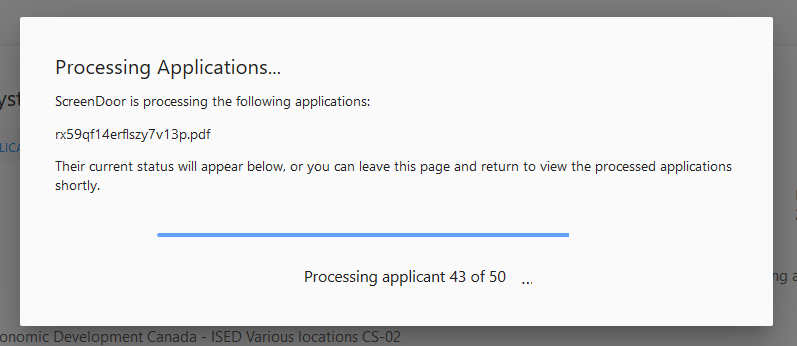
Once the file has been uploaded, a window will indicate that the applications are being processed. ScreenDoor will first calculate the total number of applicants, then display its progress in processing and analysing the applications. This process may take several minutes, depending on the number of applicants and the number of questions per applicant. Since ScreenDoor does this processing in the background, a user is safe to leave the page any time and come back to the finished task at their convenience.
When ScreenDoor is processing applications from a PDF, a number of things are going on behind the scenes. First, the basic information about each application, including questions and responses, are parsed. Then, ScreenDoor's NLP algorithms produce relevant extracts from each applicant response, and attempts to ascertain whether candidates meet depth and recency requirements for specific questions. Additionally, ScreenDoor matches the questions applicants answer to the requirements listed on the job poster.
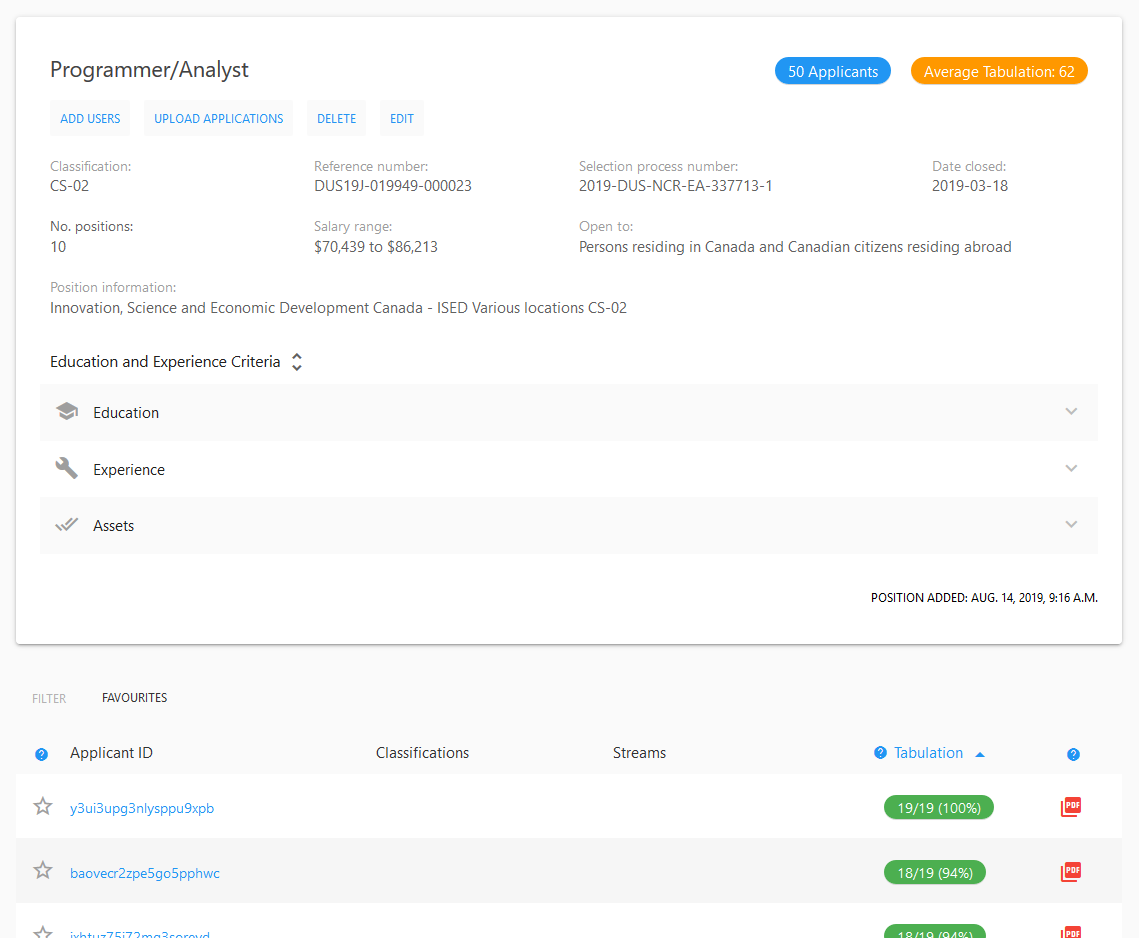
After one or more applicants have been processed for a position, the position will display summary information with the number of applicants and the average (mean) tabulation of the applicants. This number is the average number of yes responses out of the number of questions per applicant, and is intended to give users an overview of the applicants' self-reported qualifications.
Sorting applicants
From the position screen, the list of applicants can be found under the position information. If more than one applicant has been processed, applicants can be sorted by ID, classifications, streams to which they are applying, and tabulation (questions answered positively out of the number of questions). Click the heading corresponding to the sorting priority, and to reverse the sort (ascending or descending), click the heading again.
Favouriting applicants
A star icon on the left side of each applicant row indicates whether a user has added that applicant to their favourites list. A hollow star is a non-favourited applicant, while a filled-in star is favourited. To add or remove a user from the favourites list, click the star. Clicking the FAVOURITES button to the right of FILTER will filter the applicant list to include only applicants on a user's favourite list.
Exporting a Screening Evaluation Sheet PDF
On the right of each applicant row is a PDF icon. Clicking this icon will generate a PDF file containing information about the applicant, each question the applicant answered, whether they responded "yes" or "no" to the question, and any notes the user has added to each question.
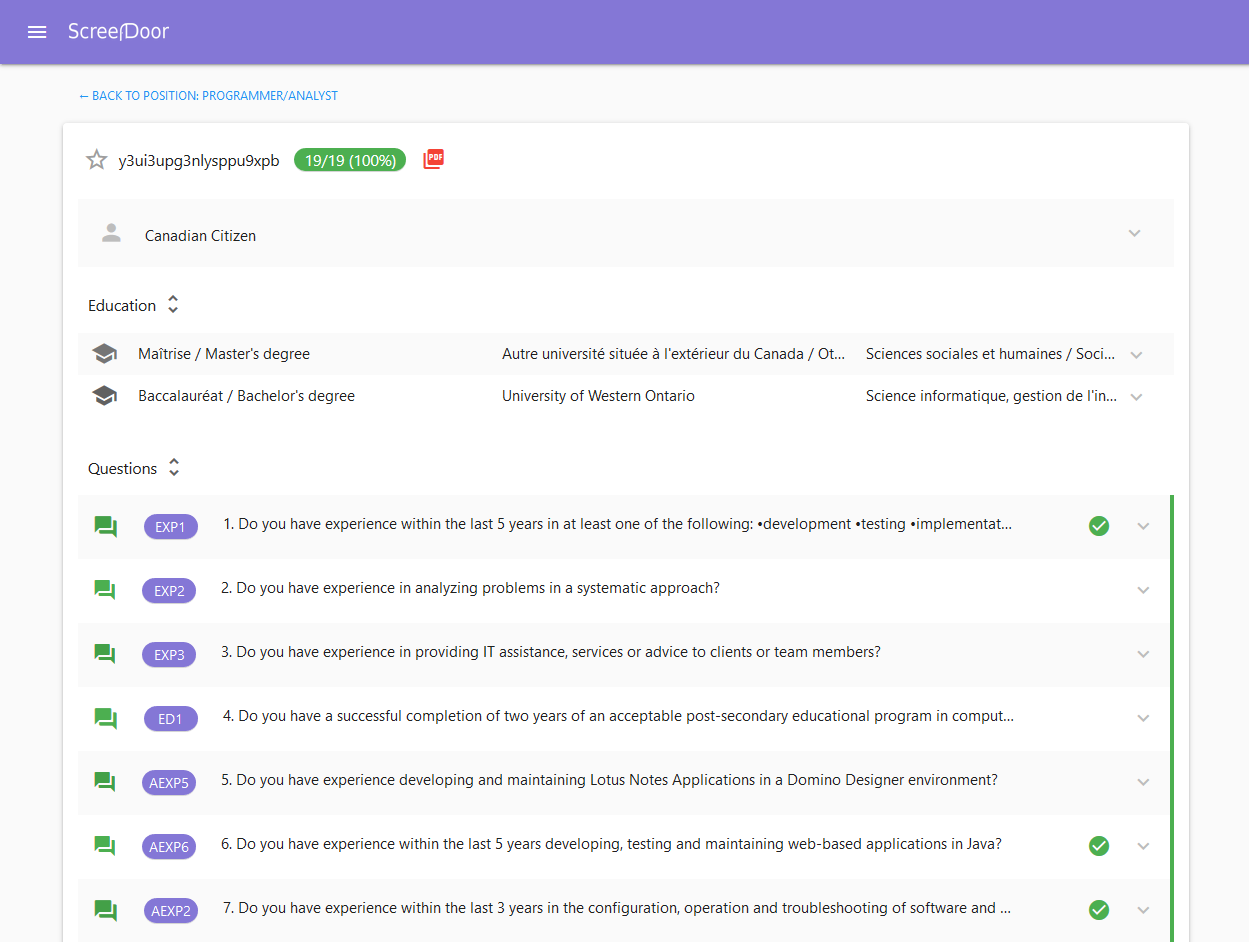
From the list of applicants in a position, clicking an applicant ID will take a user to the applicant detail view. The applicant detail view is comprised of three sections: 1) basic applicant information; 2) education qualifications; 3) questions, answers, and extracts. Clicking on any of these sections will expand them and allow a user to view detailed information.
General Applicant Information
The general applicant information header, indicated by a "person" icon, provides basic information about the applicant, including citizenship, classification (if any), streams applied to (if any), and language-related information.
Applicant Education
The education section in the applicant view provides an itemization of the applicant's education credentials. Hovering the mouse over an education header will expand the degree, institution, and area of study information. Clicking on an education header will expand this information and provide specialization, program length, years completed, and graduation date information.
Questions and Responses
An un-expanded row in the questions section can contain up to four sections. They are, from left to right:
- An icon indicating whether the applicant has answered yes or no to the question, and if they provided a complementary response. A "no" answer is indicated by a red "X". A "yes" answer with complementary response is indicated by two chat boxes. The chat boxes are hoverable, and will display NLP extracts from the applicant's complementary response. A "yes" answer without a complementary response is indicated by a green check-mark, which is not hoverable.
-
The job requirement to which the question corresponds, if applicable. Not all questions are directly linked to a job requirement. These purple "chips" can be hovered to display the full requirement.
-
The question number and text. This text can be expanded by hovering.
-
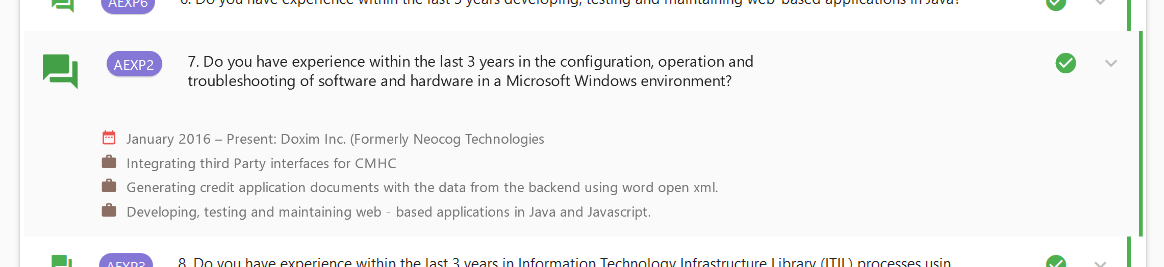
Qualifier analysis, if applicable. If a question contains information specifying a depth or recency of experience that the candidate must meet, ScreenDoor's NLP analysis attempts to ascertain whether the applicant has met those qualifications based on the applicant's response. If ScreenDoor can detect that these time-related requirements have been met, a green circle with a white check-mark will be displayed. If the NLP analysis determines that the qualifications have not been met, a red circle with a white "X" will be displayed, while a grey circle with a question mark will be displayed if the qualification is undetermined. These icons can be hovered to display detailed information about the qualification.
Clicking anywhere on a question row will expand the row to display the applicant's complementary response (if applicable), and ScreenDoor's NLP extracts from that response. Hovering the mouse over an extract will highlight the corresponding source sentence from the applicant's complementary response.
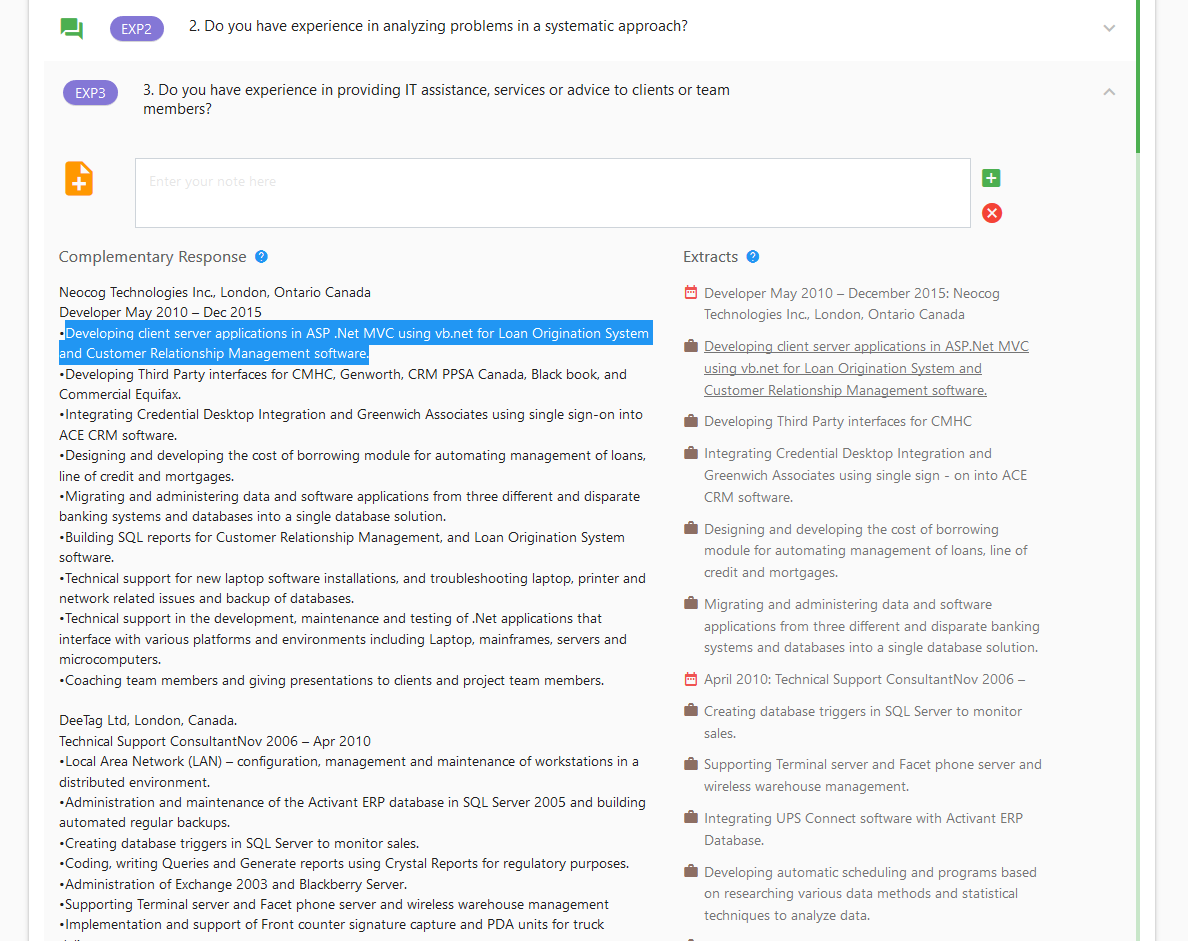
Expanding a question row also reveals an orange icon allowing a user to add notes to that question. Multiple users can add notes to the same question, and view each others' notes. Each note added will indicate the user who added the note, the note text, and the date and time the note was added. If a user adds a note while another user is active on the same applicant page, the latter will receive a notification asking them to refresh the page to view the updated content. Notes can also be added to questions to which the applicant has answered "no," or did not provide a complementary response. These notes will be present on the Screening Evaluation Sheet PDF generated upon a user clicking the red "PDF" icon at the top of the applicant page.