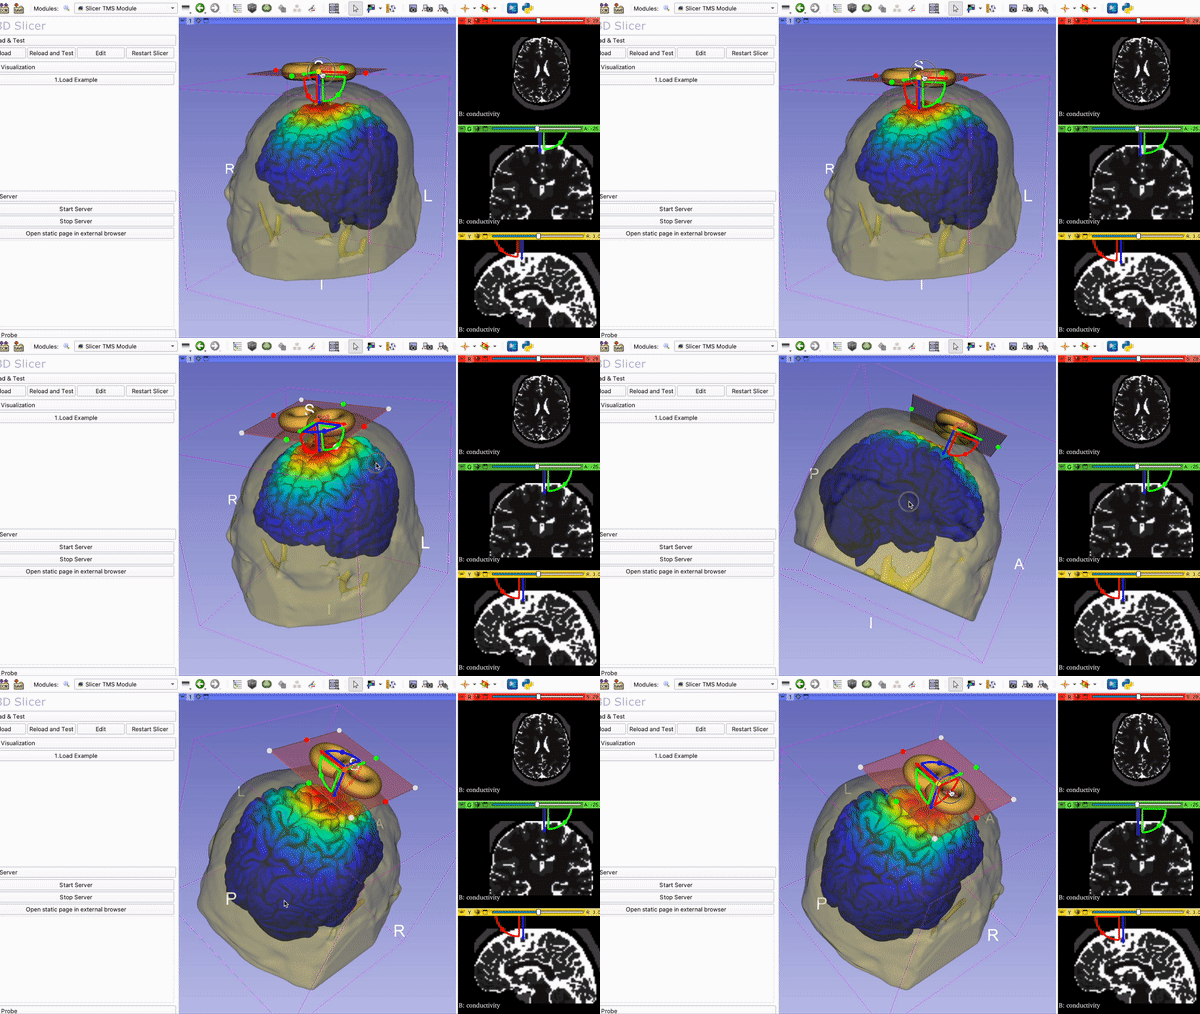
SlicerTMS - A Visualization Tool for the neuronavigation software 3DSlicer for real-time Transcranial Magnetic Stimulation (TMS)
 |
1. 3D Slicer Download the free, open-source neuronavigation software 3D Slicer from http://slicer.org for your OS. The current stable version is 5.0.3. SlicerTMS will only work with the newest Slicer version. Slicer documentation can be found here as well: https://slicer.readthedocs.io/ |
 |
2. SlicerTMS Repository Clone this Github repository to your local computer. Here you can find instructions how to clone a repo: https://docs.github.com/en/repositories/creating-and-managing-repositories/cloning-a-repository |
 |
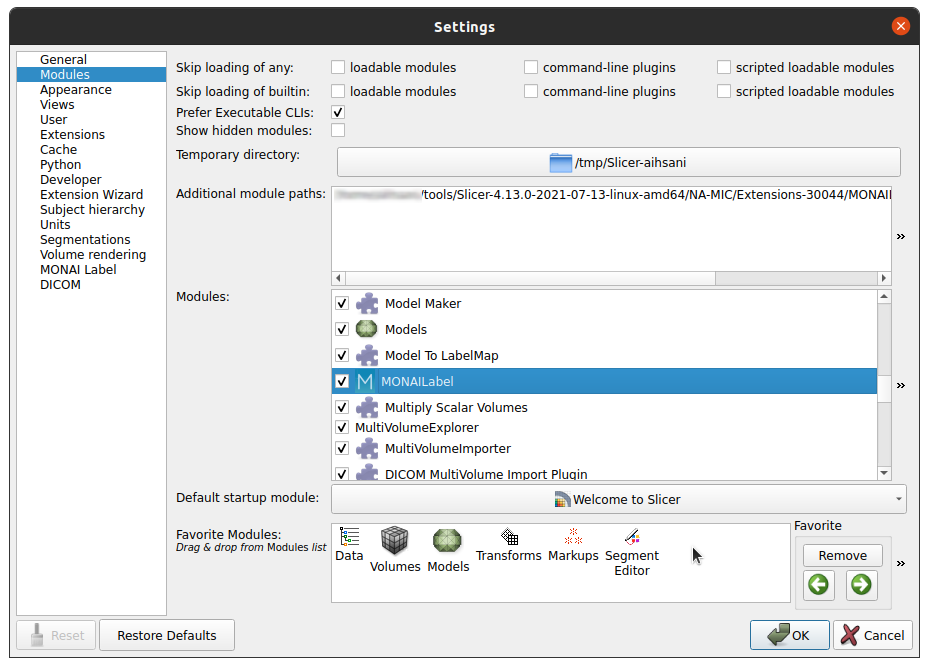
3. Install SlicerTMS extension in 3DSlicer Start Slicer. Go to Edit --> Application Settings --> Developer --> Check the enable developer mode. Then, Go to Developer tools --> Extension Wizard --> Click Select the extension and select the cloned repository folder with the SlicerTMS.py file from your local computer. Alternatively, you can install SlicerTMS in the Application settings under Modules. You can add the path to the application by clicking the two arrows on the right of the window and selecting 'Add'. |
 |
4. Install OpenIGTLinkIF extension Install the Plugin 'SlicerOpenIGTLink' with Slicer's Extension Manager. The data will be transferred from the deep learning model through the built-in 3D Slicer module OpenIGTLinkIF and then visualized with our TMS tool in real time. |
| 4. Install SlicerDMRI extension Install the Plugin 'SlicerDMRI' (http://dmri.slicer.org/) with Slicer's Extension Manager. The tractography data and fiber files will be visualized with this extension and allows for selection of an ROI. | |
 |
6. Select your data You will find a folder called data by navigating to the local cloned SlicerTMS repository. The current version contains two different patient examples, Example1 and Example2. The example folders contain the coils, electric field, and magnetic field files of the TMS, as well as skin and brain meshes. Also, each folder has a model.pth.tar file which is a pre-trained PyTorch model. You can exchange these files with your own examples and models. |
| |
7. Environment to run the CNN and TMS module Please make sure that you have the correct environment and libraries to run the neural network model. You will need to configure your libraries according to you GPU (if you don't have a GPU, the model will run by default on your CPU). We included an environment.yml file that can be imported into anaconda. If you create your own environment, make sure to install the libraries vtk, pyigtl and nibabel. Please also see the conda website for how to activate an environment: https://conda.io/projects/conda/en/latest/user-guide/tasks/manage-environments.html |
 |
8. Run Slicer TMS Open your command line and navigate to the folder SlicerTMS/server. After the correct libraries have been installed in the environment, start the CNN model prediction by typing python server.py Example1 to run the data from the Example1 folder and python server.py Example2 for Example2. Please do NOT close this window and open 3D Slicer now. After opening 3DSlicer navigate to the dropdown menu Welcome to Slicer and select TMS --> Slicer TMS Module.
|
Additionally, we will integrate a connection to transfer data between the neuronavigation platform 3D Slicer and a web browser using secure WebSockets. This web-based application simulates the brain with an interactive TMS-coil in augmented reality using WebXR-enabled devices.
Copyright (c) 2022 The SlicerTMS Developers. SlicerTMS is licensed under the MIT License: http://www.opensource.org/licenses/mit-license.php
to appear :-)


